Instant Pot Corn on the Cob
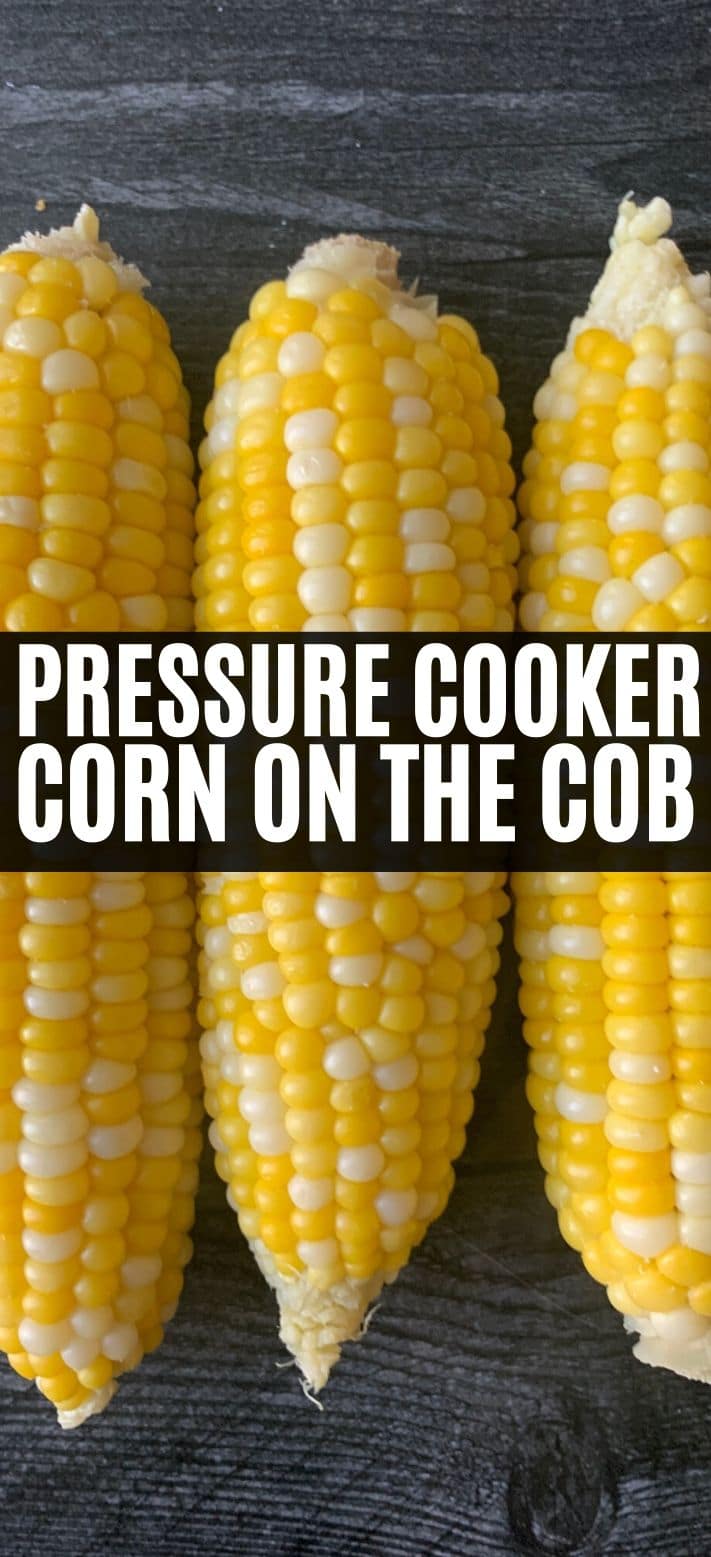
Corn on the cob in a pressure cooker with husks on is the BEST way to enjoy tender crisp corn without the work. Easy to make, done in minutes, enjoy corn on the cob in a snap without second guessing. A perfect pressure cooker (Ninja Foodi) recipe!
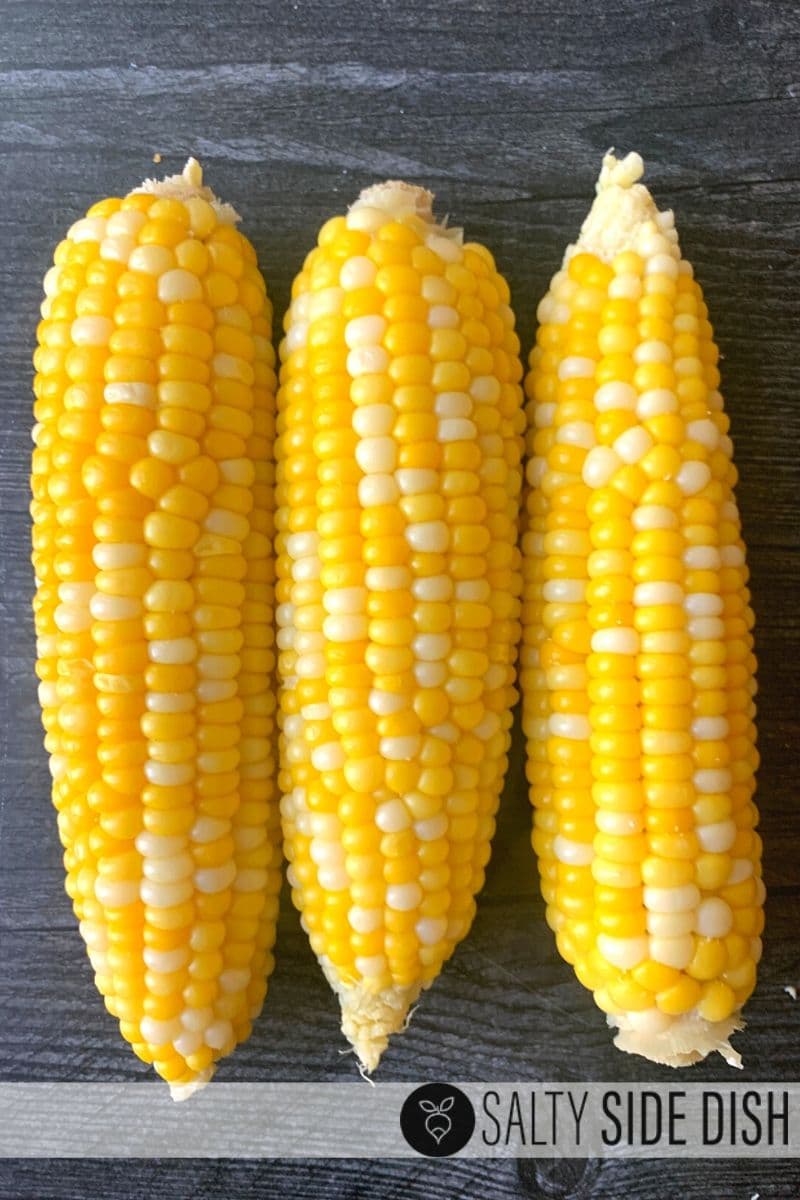
This Instant Pot corn on the cob recipe might just be one of the most convenient ways to make this summer time veggie. You can cook the corn right in its husk in less than 10 minutes. The result? Perfectly juicy, tender, sweet corn every time.
Why You’ll Love Instant Pot Corn on the Cob
Honestly, you’d be hard pressed to find something not to like about this recipe. It’s wonderfully simple and yields some truly fabulous results. Here’s why I like it so much.
- Sweet, tender, juicy corn. You really will get perfect corn here, every time. The husks seal in the natural, sweet juices of the vegetable and the milk has a magical way of making the corn extra sweet and tender. It’s so good!
- Quick and easy. This recipe is super easy to follow (perfect for any skill level) and it literally only takes 10 minutes from start to finish. You’ll only need to be in the kitchen for about 2 of those. Leave the rest up to the Instant Pot
- No fuss husks. Cooking the corn in the husk makes the husks and silks SO easy to remove (which I think is the worst part about making corn) once the pressure cooker is done doing its thing.
What You’ll Need
You’ll only need 4 ingredients to turn this recipe into a reality. Here they are. Scroll on down to the recipe card below for exact measurements.
- Corn on the cob – Make sure you pick out fresh, quality corn (check out the “Tips and Tricks” section below for more on that) and leave the corn in husks.
- Garlic Salt – You can leave out the garlic salt but I love the little hint of flavor it brings to the table. Regular salt would also work.
- Water
- Milk – I think adding milk makes for sweeter, more tender corn. It also brings a creamy flavor and texture to the kernels that I can’t get enough of. That being said, you can replace the milk with water if you’d like.
In terms of materials, the only thing fancy you’ll need is an Instant Pot. Any pressure cooker will do, though. I have always loved Ninja Foodi’s pressure cooker. Ninja Foodi corn on the cob kinda has a ring to it, doesn’t it?
How To Make Pressure Cooker Corn on the Cob
Ready to learn how to make corn in your trusty Instant Pot? Here’s a quick look at how to do it. Be sure to scroll to the recipe card below for more detailed instructions.
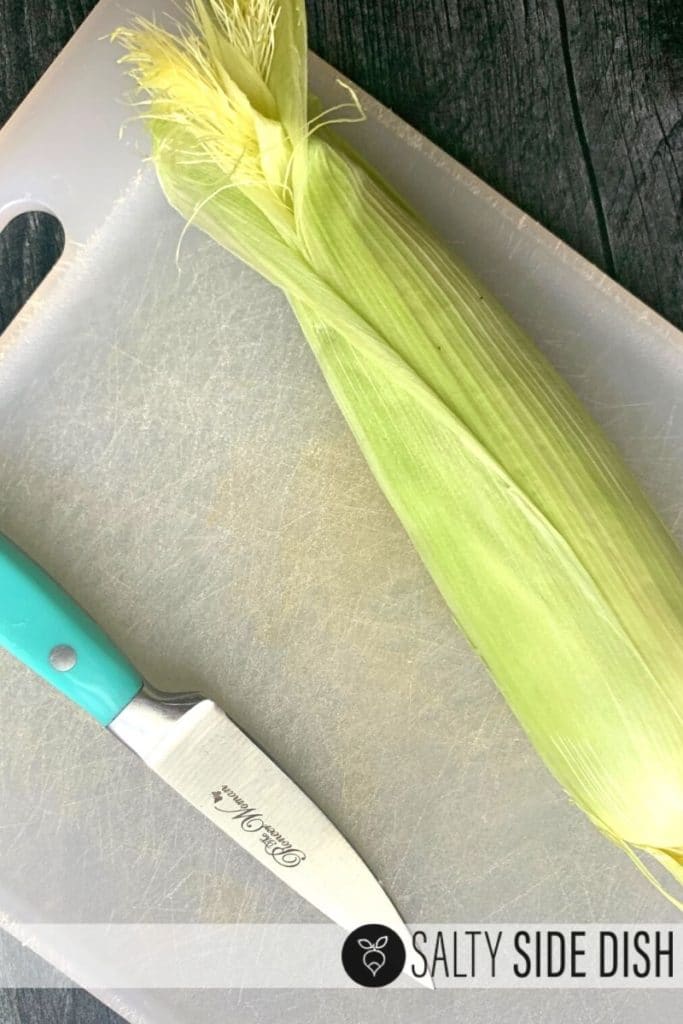
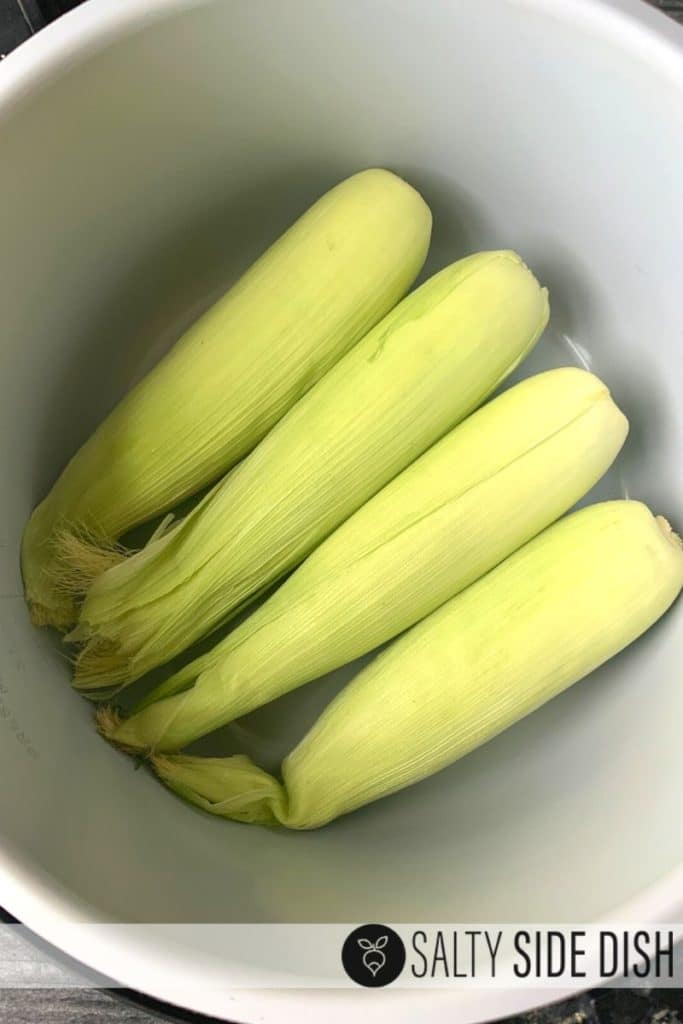
- Prep the corn. Cut or break the bottom of the corn stems off.
- Load the Instant Pot. Arrange the corn in a single layer at the bottom of an Instant Pot and pour the water, milk, and garlic salt over it.
- Cook. Seal the pressure cooker and cook on high pressure for 3 minutes and then perform a quick release.
- Cool. Open the Instant Pot, remove the corn with tongs, and let it cool for a few minutes.
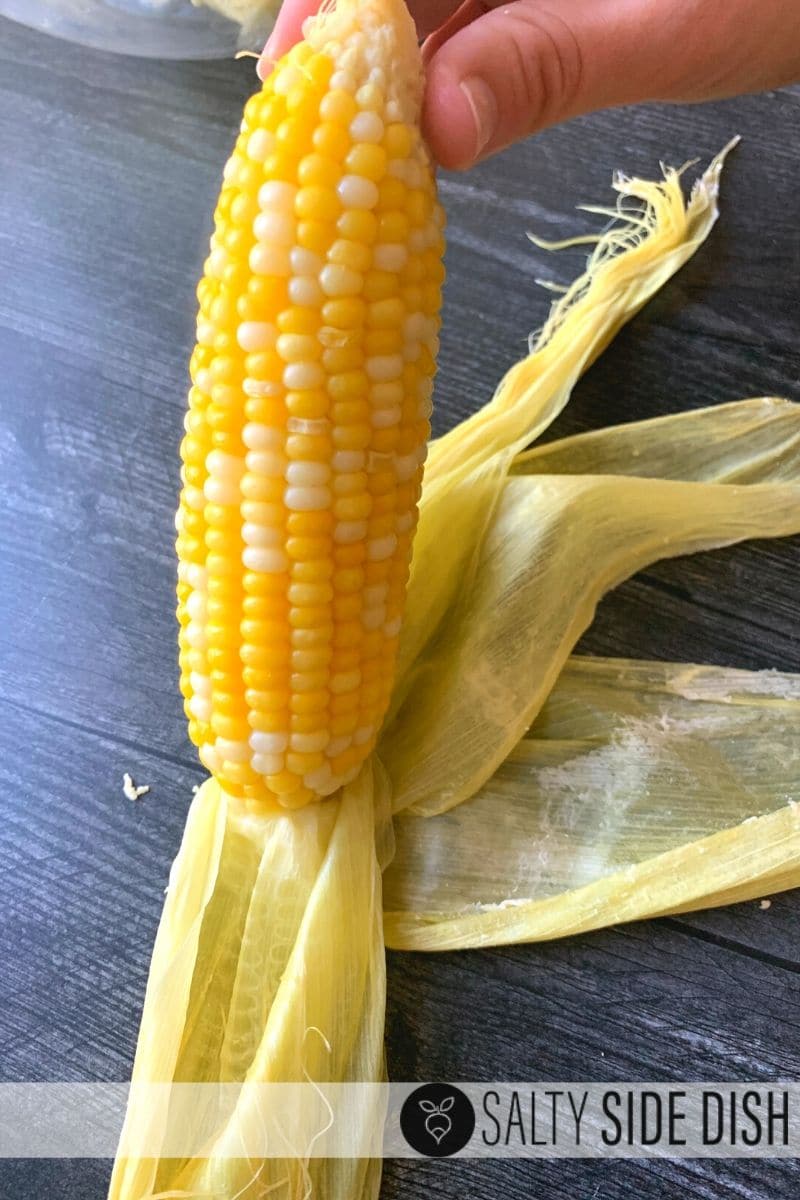
- Remove the husks and silks. Peel husks and silks off of the corn.
Looking for other methods for making corn on the cob? Check out my post on How to Boil Corn on the Cob or this one on Microwaving Corn on the Cob. In a grilling mood? Try this Grilled Mexican Street Corn.
Tips for Success
This pressure cooker corn on the cob recipe is wonderfully simple but that doesn’t mean I don’t have some awesome tips and tricks that will help you get the best result possible. Study up.
- Choose your corn wisely. The corn is the star of the show here and, as such, you want it to be in tip top condition. Make sure each ear has a nice, earthy-sweet smell to it and that the husks are fresh, green, and unblemished. Check the silks, too. They should be brown and slightly sticky. The kernels should be plump and tightly packed in neat rows and the corn should feel slightly moist when you give it a gentle squeeze.
- Leave the husks on. One of the perks of this recipe is that you can cook the ears of corn in their husks. Not only will this save you so much hassle (the husks and silks are 100 times easier to remove after cooking) but the husks will hold the natural moisture inside the corn, ending you with perfectly juicy, sweet kernels.
- If you want to make more corn. This recipe is written for 4 ears of corn but you can add more to the pressure cooker. Just make sure to stack them in a crisscross pattern so the steam can circulate around each ear.
- Protect your hands. When removing the corn from the pressure cooker, use tongs or hot pads. The corn will be very hot. Allow it to cool for a bit before removing the husks.
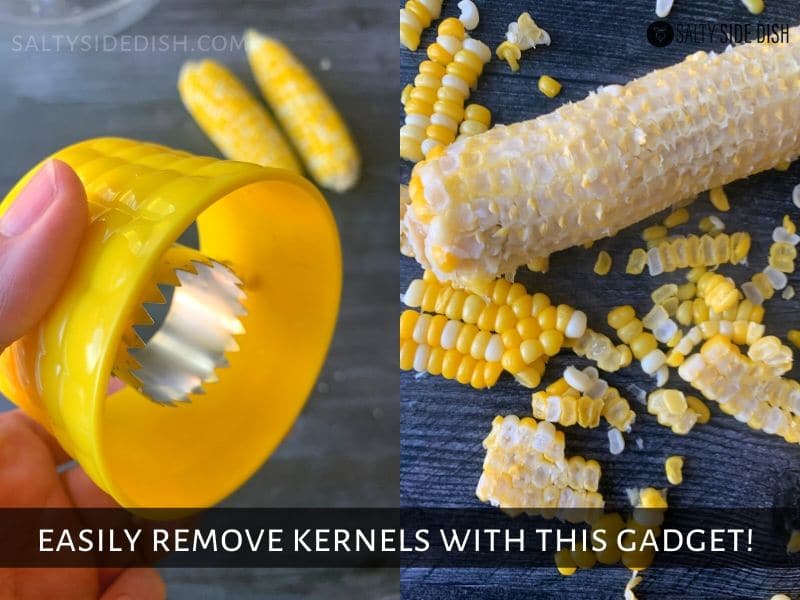
- For corn off the cob. If you would like to remove the kernels from the cob, you can. I highly suggest using one of these corn stripping tools. It will make your life way easier.
FAQ
Here are some of the more common questions I encounter when the subject of making corn in the pressure cooker comes up. If you have additional questions, drop them in the comments section below.
How many corn cobs can you put in the pressure cooker?
This recipe is meant to make 4 ears of corn but you can add more to the Instant Pot if you’d like. Layer any additional ears on top of the first 4 ears in a crisis cross pattern so that steam can circulate around each ear.
I thought you couldn’t put dairy in the pressure cooker?
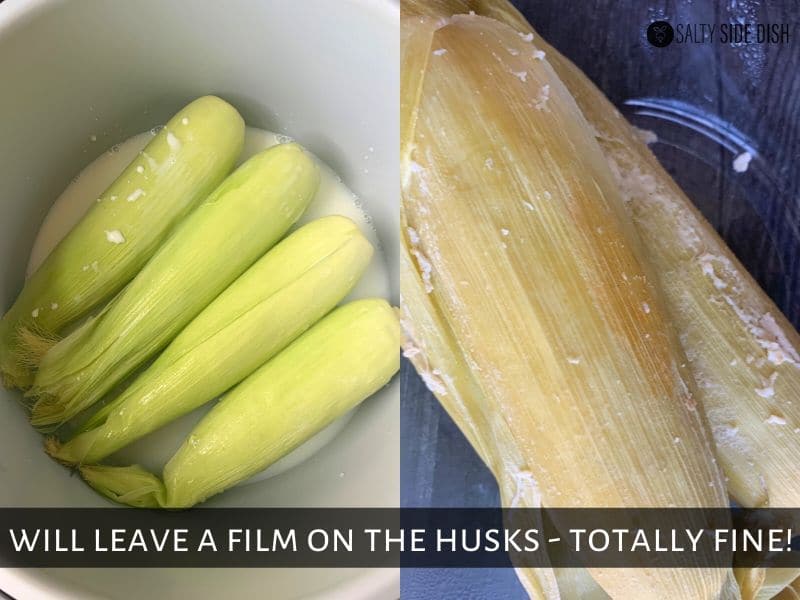
It’s true that cooking dairy in the Instant Pot will often leave you with curdled dairy. That doesn’t really matter here, though, because the husks stay on the corn, protecting the edible portion of the vegetable from any curdled milky residue.
How long do you cook corn on the cob in the Instant Pot?
For me, 3 minutes followed by a quick release is perfect. It yields wonderfully tender, yet still slightly crisp kernels every time. That being said, smaller ears of corn need a little less time and larger ones need a bit more. Also, if you like softer kernels, you’ll want to cook the corn for a little longer. If you like crisper kernels, cook the corn for less time.
Serving Suggestions
This Instant Pot corn on the cob is delightful as is but even tastier when topped with butter, salt, and pepper. Feeling fancy? Try garlic butter or a herby compound butter. Serve it alongside other summery sides, such this Creamy Tortellini Pasta Salad or my refreshing Pea Salad.
In terms of entrees to pair Instant Pot corn on the cob with, I have been loving it with this Asparagus Stuffed Chicken, but this Ranch Chicken Casserole is pretty delightful as well. Honestly, though, it kind of goes with everything!
How To Store & Reheat Leftovers
- Refrigerator. Once cool, wrap each ear of corn in plastic wrap or aluminum foil. The leftovers will keep in the fridge for up to 5 days. If you’d like to remove the kernels from the cob (this corn stripping tool makes life so much easier) and seal them in an airtight container, that will work as well. The kernels will keep in the fridge for up to 4 days.
- Freezer. Wrap each ear of corn in plastic wrap or aluminum foil and then load them all into a freezer bag. They’ll keep in the freezer for up to 8 months. You could also remove the kernels from the cobs, seal them in an airtight container, and store them in the freezer for up to 6 months.
- To reheat corn on the cob. Wrap an ear of corn (cold or frozen) in a damp paper towel and microwave in 30-second intervals until heated through. Otherwise, toss the leftover corn on the grill for a few minutes or reheat it in a hot oven.
- To reheat corn kernels. Allow the corn kernels to thaw (if frozen), transfer them to a microwave save bowl, and microwave in 30-second intervals, stirring between each, until heated through.
More Corn Recipes
The days are getting longer and warmer and that means that corn season is upon us. Here are some other fabulous ways to use this summery vegetable.
Ingredients
Steps
- 1
First remove the bottom of your corn stem with a knife (carefully). You CAN cut a chunk off, leaving the corn exposed, but I just basically snap off the stems.
- 2
Add corn, with husks, to the bottom of your pressure cooker. You can stack more in your pressure cooker, but try to criss cross them so steam can get underneath each ear. I do not use the metal steamer basket that comes with the Ninja Foodi, but its OK to use it.
- 3
Add Water, milk, and garlic salt to pressure cooker
- 4
Set your pressure cooker on HIGH, 3 minutes. Seal your release closed.Your pressure cooker will come up to heat with corn on the inside, then countdown 3 minutes.
- 5
Once your 3 minutes are done, quick release. Open pressure cooker carefully and remove corns with tongs.
- 6
Let corn cool in husks for about 3-5 minutes. Then peel husks from corn, which should peel off perfectly. I just peel mine from both sides. Cut any remaining husks off the bottom (or tear off). If you cut the very bottom of your corn off, you can slide the corn right out as well, but I do not bother.
- 7
Optional Fun - I love this corn on the cob kernel shucker/remover. It's great for fresh corn or succotash.
Nutrition
- Calories
- 130
- Carbs
- 25 g
- Protein
- 6 g
- Fat
- 3 g
- Fiber
- 2 g
- Sodium
- 394 mg
- Sugar
- 5 g
Estimates for one serving.
Filed under Side Dish Recipes Vegetables Vegetables Corn Recipes Ninja Foodi Recipes