
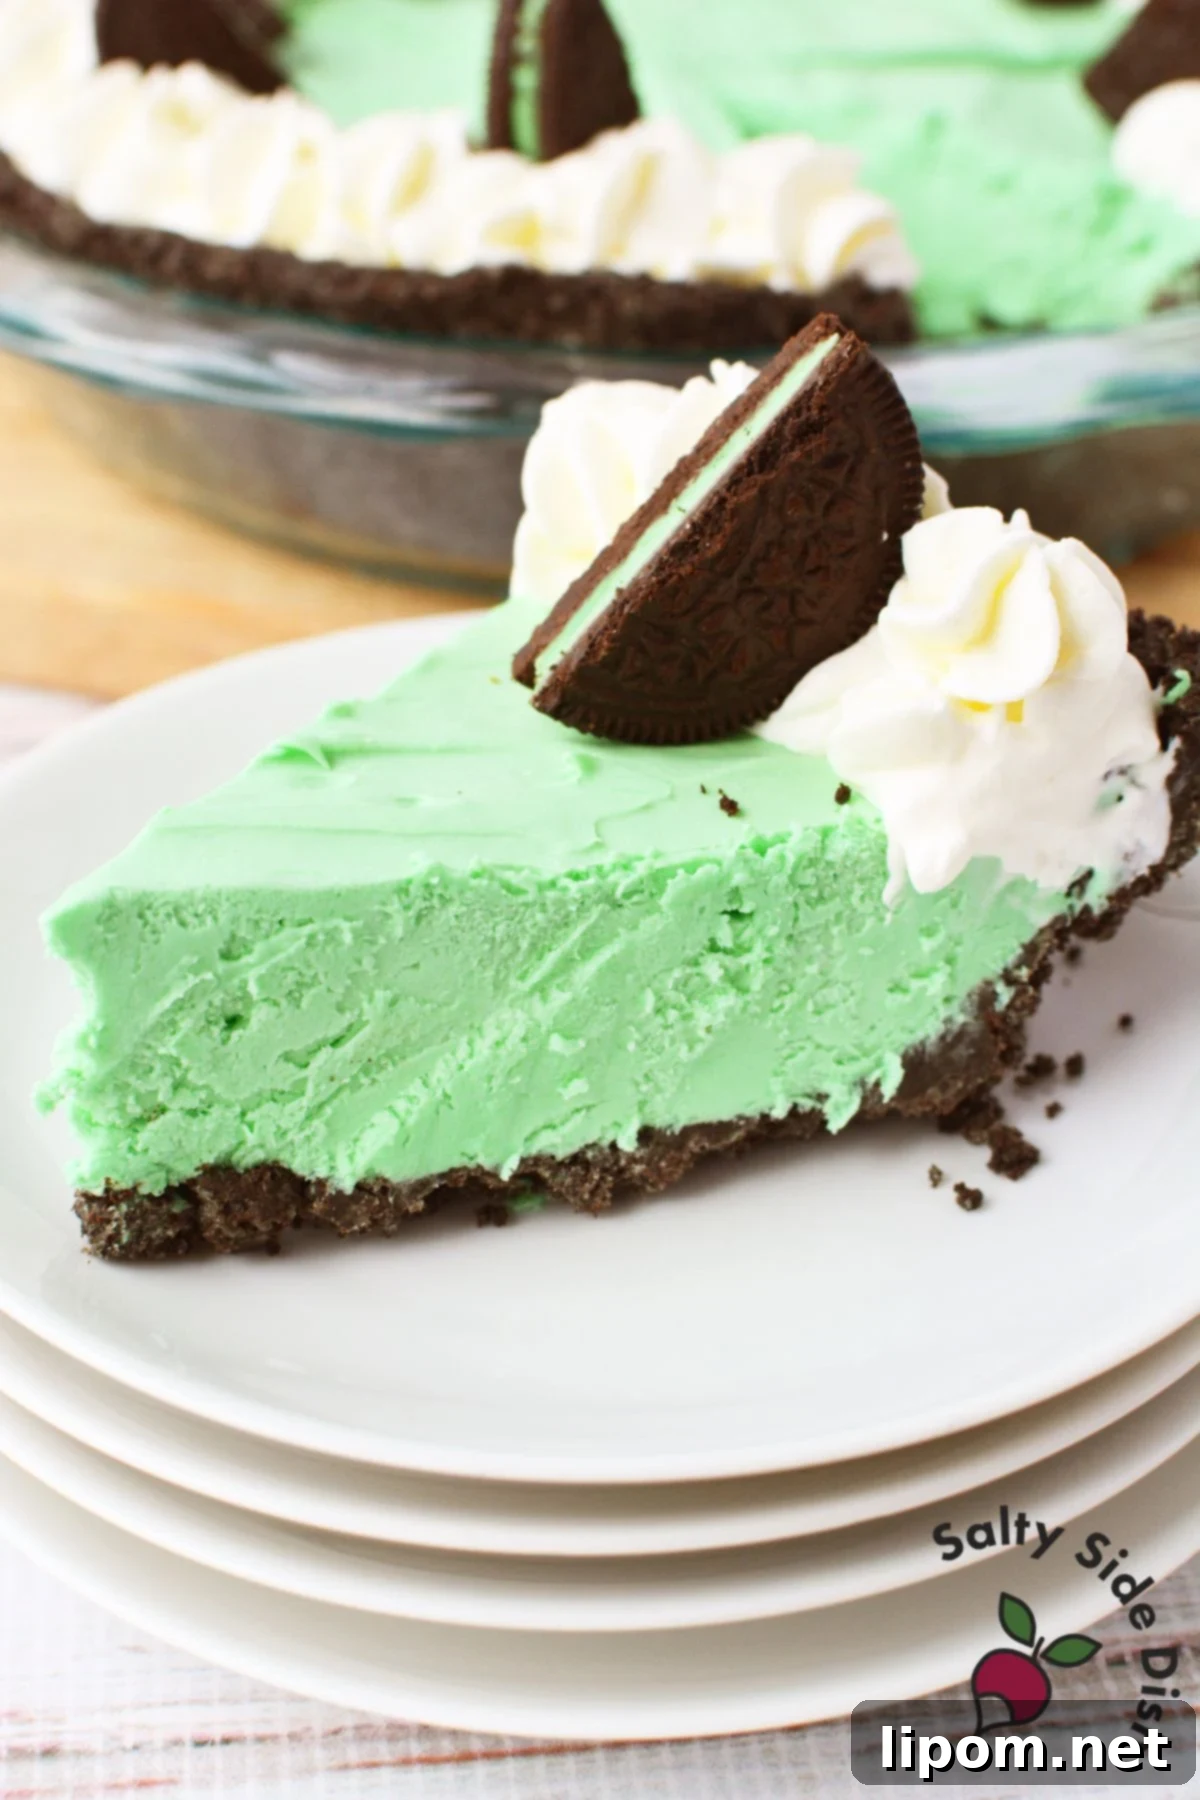
This No-Bake Grasshopper Pie is truly a showstopper – a dessert so irresistibly delicious it vanishes from the table in record time, often prompting guests to ask for the recipe before the evening is even over. I experienced this firsthand when I brought this creamy, minty treat to a recent gathering; it wasn’t just politely enjoyed, it was *devoured*, leaving behind only whispers of “who took the last piece?” It’s a testament to its perfect balance of cool mint and rich chocolate, making it an unforgettable addition to any occasion. If you’re looking for an easy, make-ahead dessert that impresses every single time, this Mint Oreo Pie is your answer.
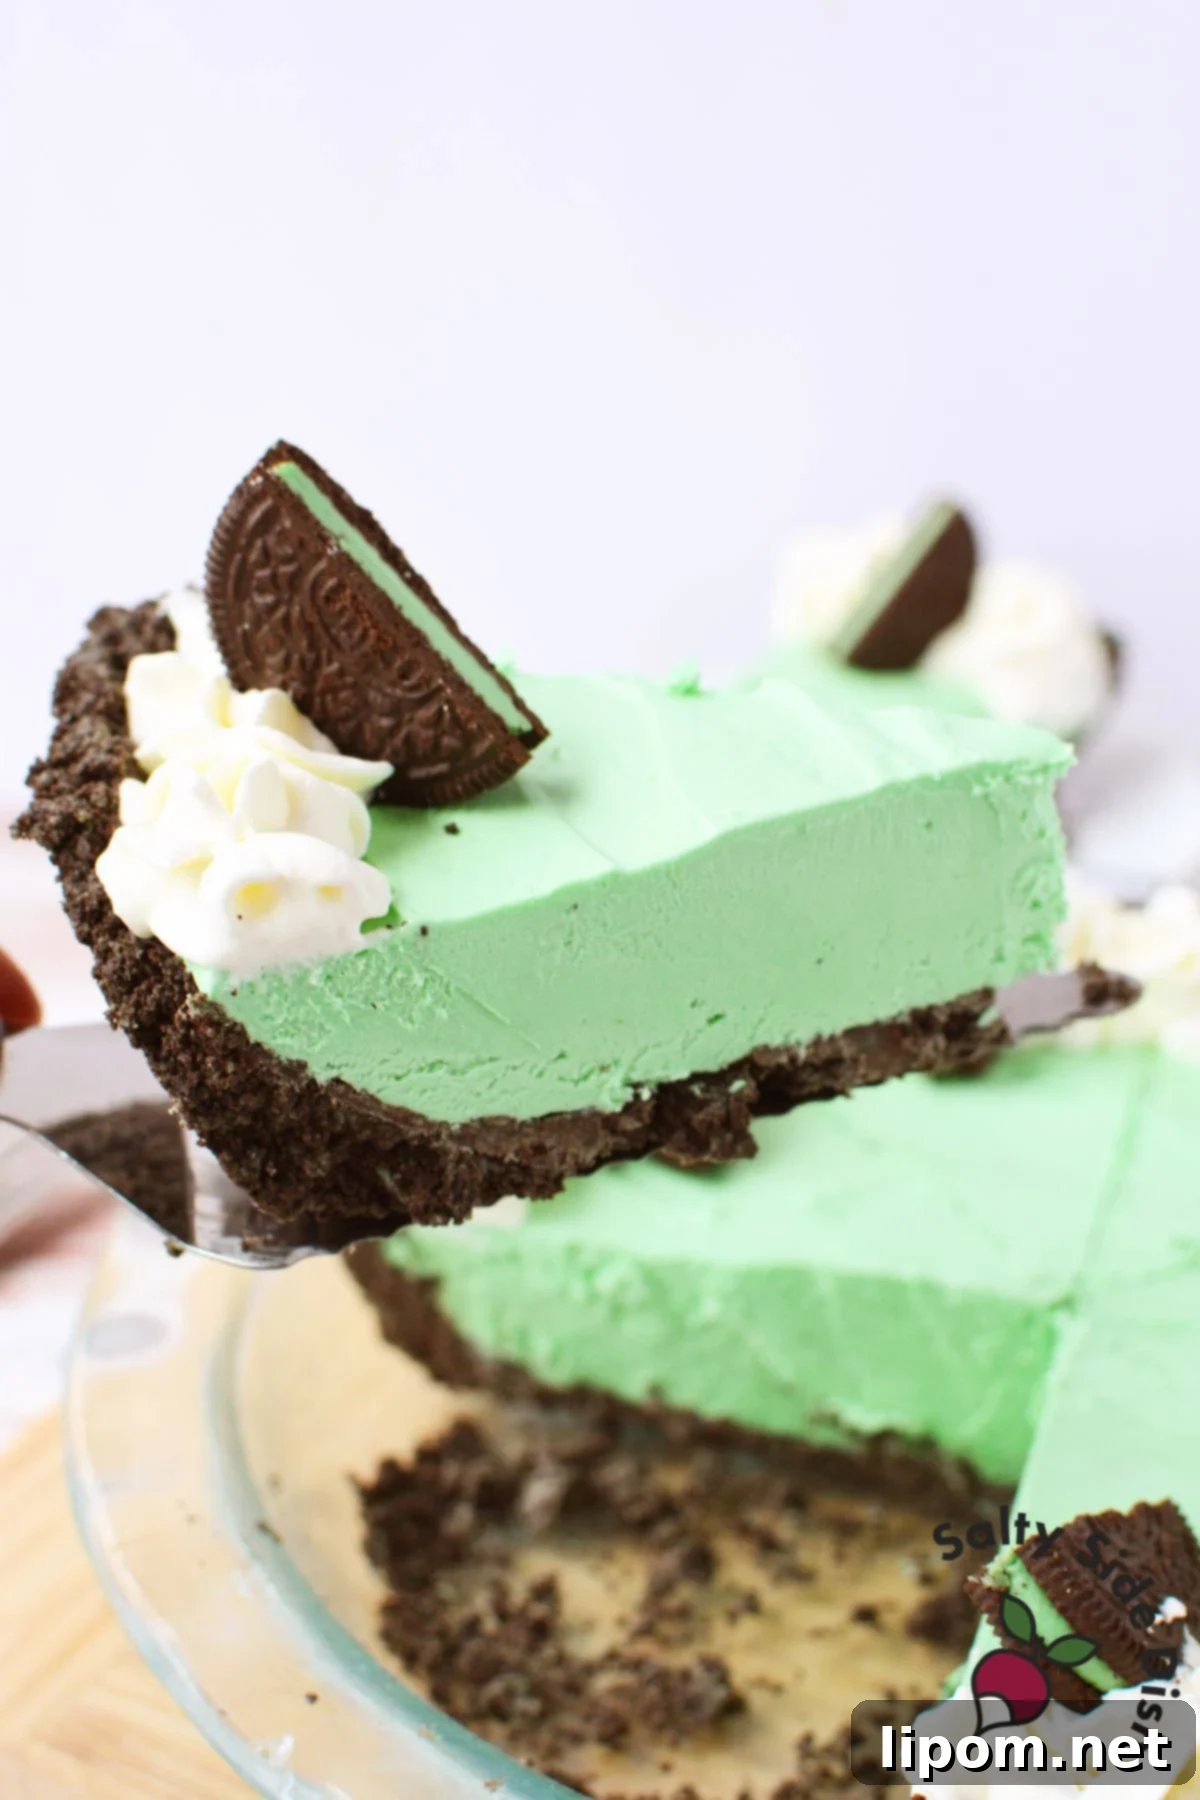
What sets this particular Grasshopper Pie recipe apart is its incredible **creamy texture and perfectly balanced mint flavor** – present enough to be refreshing without being overwhelming. Designed as a frozen pie, it’s an absolute dream for entertaining, allowing you to prepare it entirely in advance and simply pull it from the freezer when ready to serve. Unlike some traditional versions that rely heavily on alcohol, our recipe is family-friendly and appeals to a broader audience, ensuring every guest can indulge in its delightful layers.
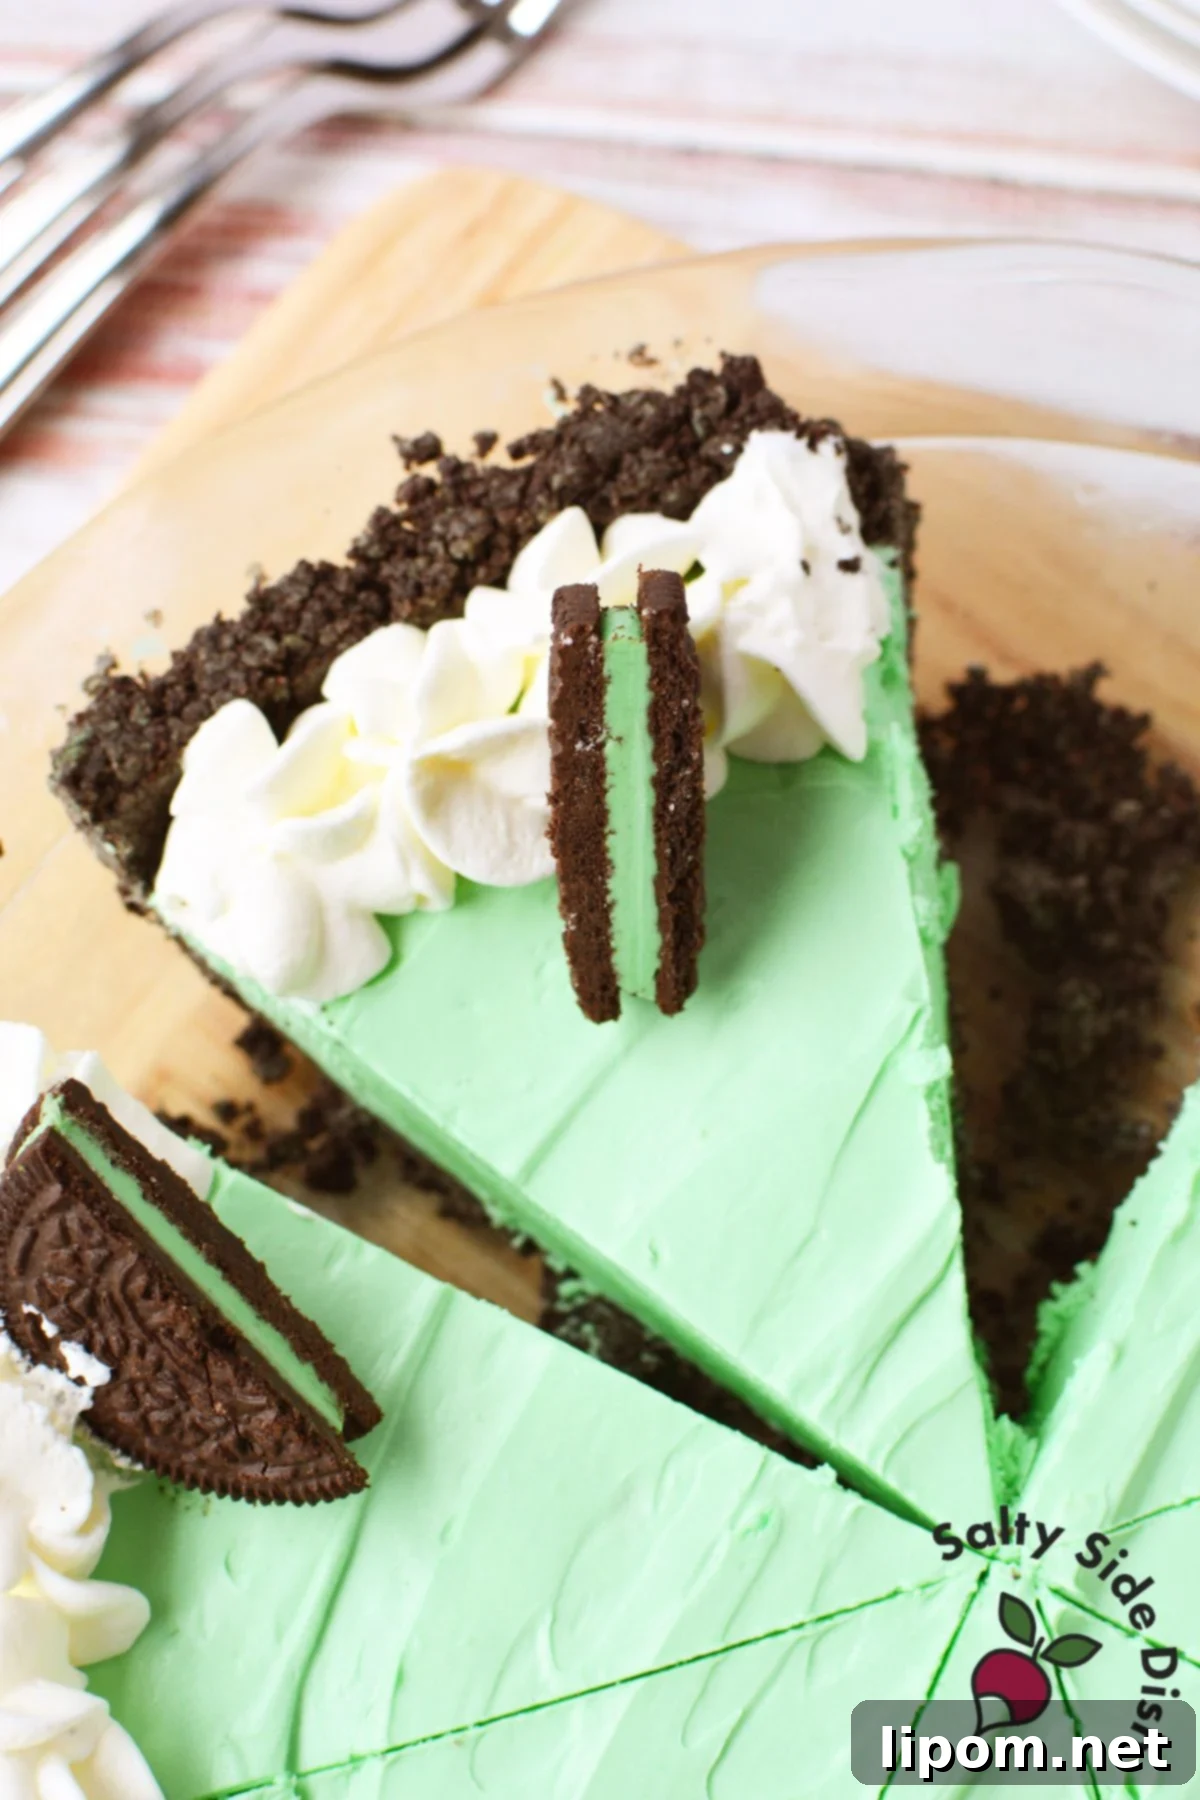
A crucial tip for serving, which I learned from experience: this pie does freeze quite solid. For impeccably clean slices and the best eating experience, plan to let it sit out at room temperature for about 10 to 20 minutes before cutting. This brief resting period allows the filling to soften just enough to glide through with ease, ensuring each slice is as beautiful as it is delicious.
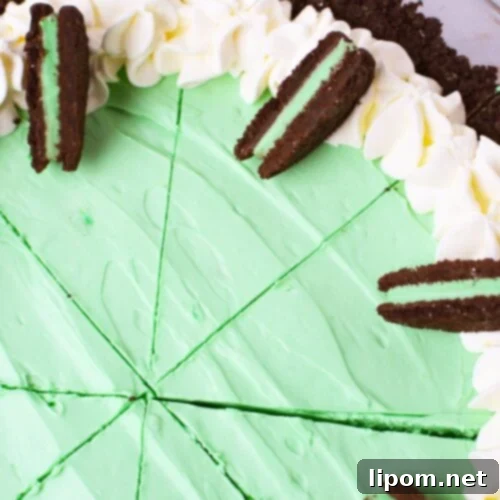
This no-bake marvel is not just a dessert; it’s a moment of pure bliss. Its vibrant green hue and rich chocolate crust make it visually appealing, while the smooth, cool mint filling creates a refreshing sensation that’s especially welcome after a meal. Whether it’s a holiday gathering, a potluck, or just a weeknight treat, this frozen Grasshopper Pie consistently receives rave reviews.
Essential Ingredients for a Perfect Mint Oreo Pie
The magic of this Grasshopper Pie lies in its carefully selected ingredients, which come together to create a **smooth, creamy mint filling** that holds its consistency beautifully when frozen, preventing any iciness. The star of the show, the Mint Oreo crust, provides a delightful chocolate contrast that makes every bite a harmonious blend of flavors. While the mint flavor is undoubtedly present and invigorating, it’s expertly balanced so it enhances, rather than dominates, the overall experience.
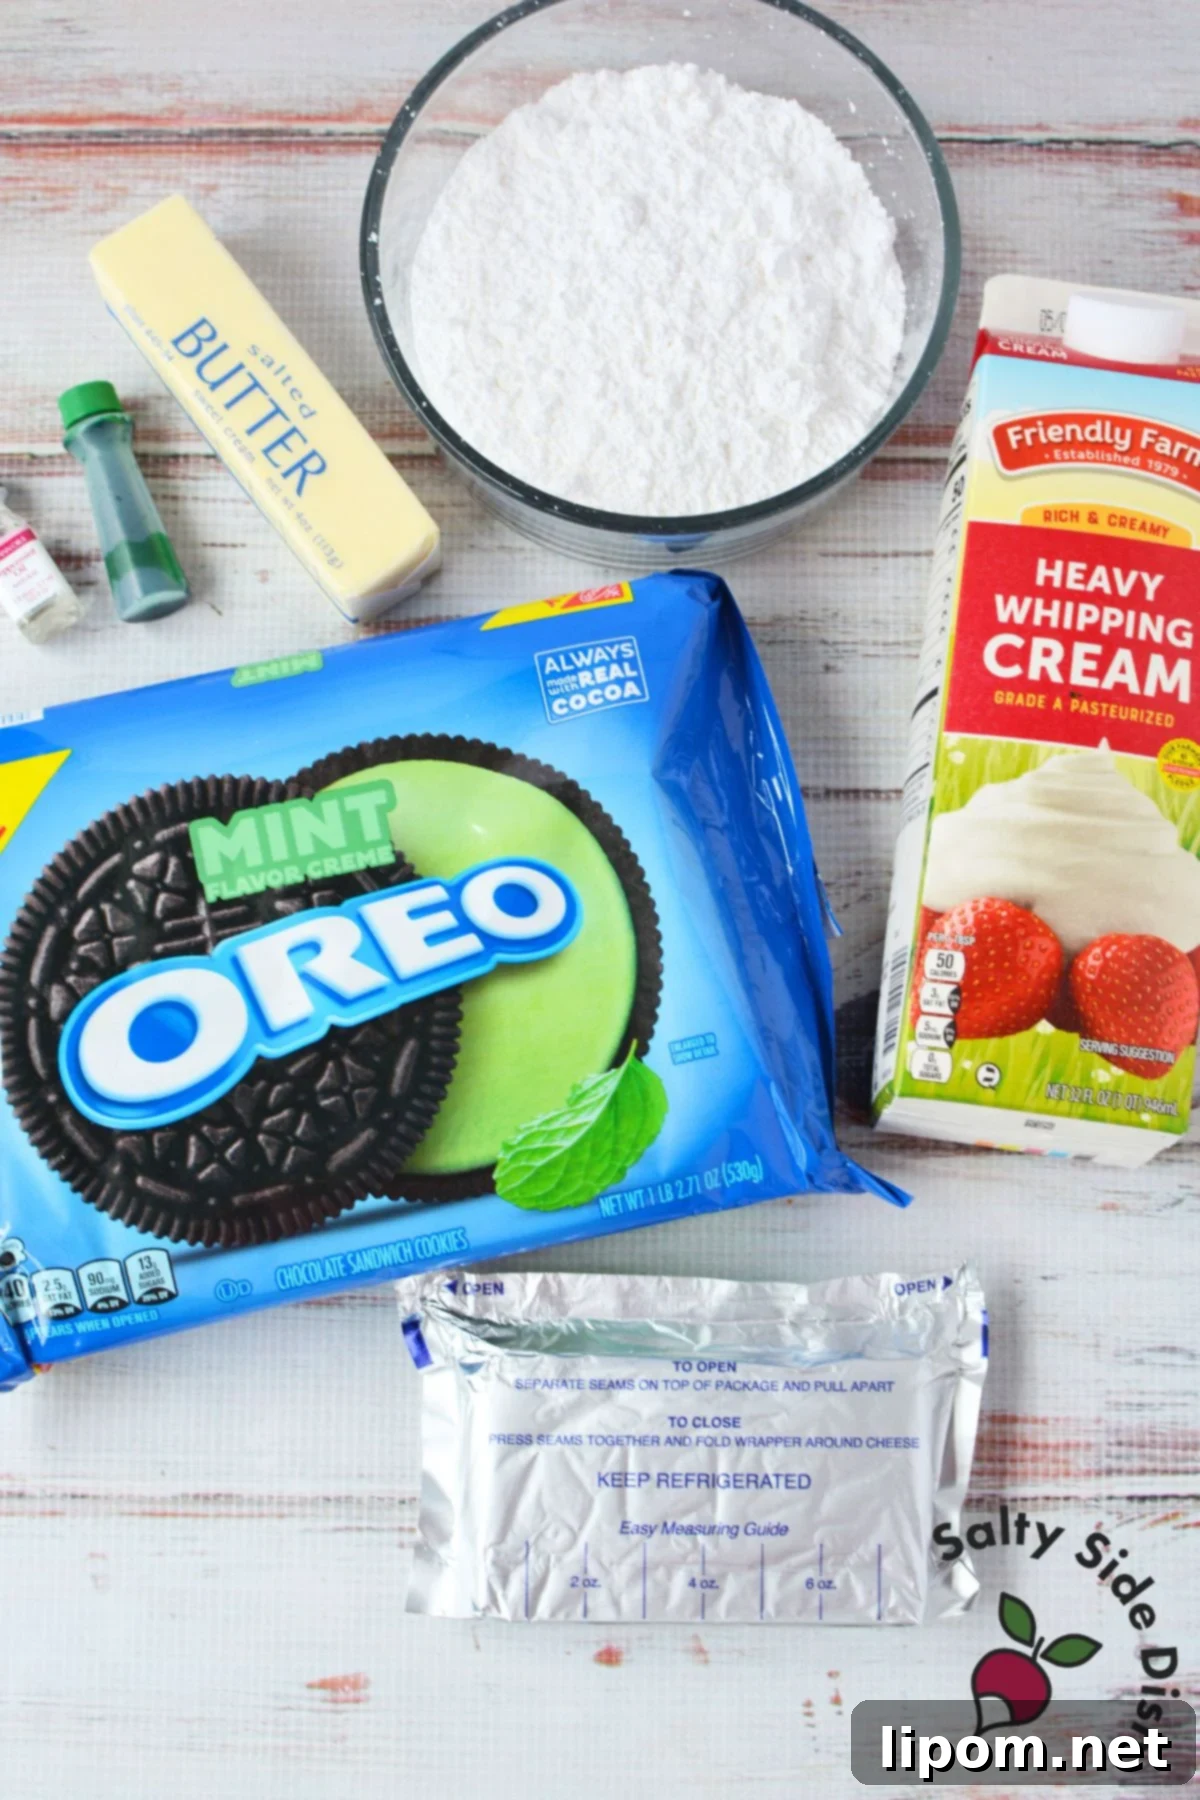
- 1 family size package Mint Oreo cookies (about 19 oz): These are non-negotiable! They form the foundation of both the crust and the subtle mint flavor throughout the pie, eliminating the need for separate chocolate and mint components for the crust.
- 5 tablespoons butter, melted: Essential for binding the Oreo crumbs into a firm, delicious crust. Unsalted butter is usually preferred in baking, but for a dessert like this, regular salted butter works just fine and can even enhance the flavor.
- 1 block (8 oz) cream cheese, softened: The secret to the pie’s luxurious creaminess. Ensure it’s fully softened to room temperature for a lump-free, silky smooth filling.
- 2 1/2 cups heavy whipping cream, divided: Provides the light, airy texture that makes this pie so delightful. It’s divided for both the main filling and the optional homemade whipped topping.
- 1 3/4 cups powdered sugar, divided: Sweetens both the filling and the optional topping, dissolving easily to ensure a smooth consistency.
- 1/4 teaspoon peppermint extract: A little goes a long way! Peppermint extract is potent, so precise measurement is key to achieving that perfect minty balance without it tasting like toothpaste.
- Green food coloring (optional): Purely for aesthetic appeal. It gives the pie its signature “grasshopper” green color, but skipping it won’t impact the taste whatsoever.
Expert Ingredient Notes & Tips for Success:
- Peppermint Extract vs. Peppermint Oil: I specifically use LorAnn peppermint oil, which is highly concentrated. If you’re using a standard peppermint extract (like McCormick or similar baking aisle brands), you might need to increase the amount slightly, perhaps to 1/2 teaspoon, depending on its potency. Always taste and adjust carefully. If you’re a fan of strong mint chocolate, this same powerful peppermint is what makes my mint chocolate fudge so incredibly good – perfect for another easy mint chocolate treat!
- Achieving the Perfect Green Hue: The green food coloring is purely for visual impact, giving the pie its festive and classic grasshopper appearance. I tend to add a generous amount to achieve that bright, vibrant green, but you can certainly adjust the intensity to your preference or omit it entirely for a naturally cream-colored pie. Liquid or gel food coloring both work well.
- The Power of Mint Oreos: These cookies are the backbone of this recipe, infusing a delightful minty chocolate flavor into the crust and complementing the filling without any extra steps. Their distinct taste means you don’t need to overcomplicate the flavor profile with additional mint candies or chocolate pieces within the filling itself.
- Softened Cream Cheese is Key: For a truly smooth and lump-free filling, make sure your cream cheese is at proper room temperature. This usually takes about 30-60 minutes on the counter. If it’s too cold, your filling will be lumpy and difficult to beat evenly.
Step-by-Step Guide: Crafting Your Own No-Bake Grasshopper Pie
Creating this irresistible Mint Oreo Pie is surprisingly simple, thanks to its no-bake nature. Follow these straightforward steps to assemble your very own frozen mint chocolate masterpiece.
Step 1: Prepare the Irresistible Mint Oreo Crust
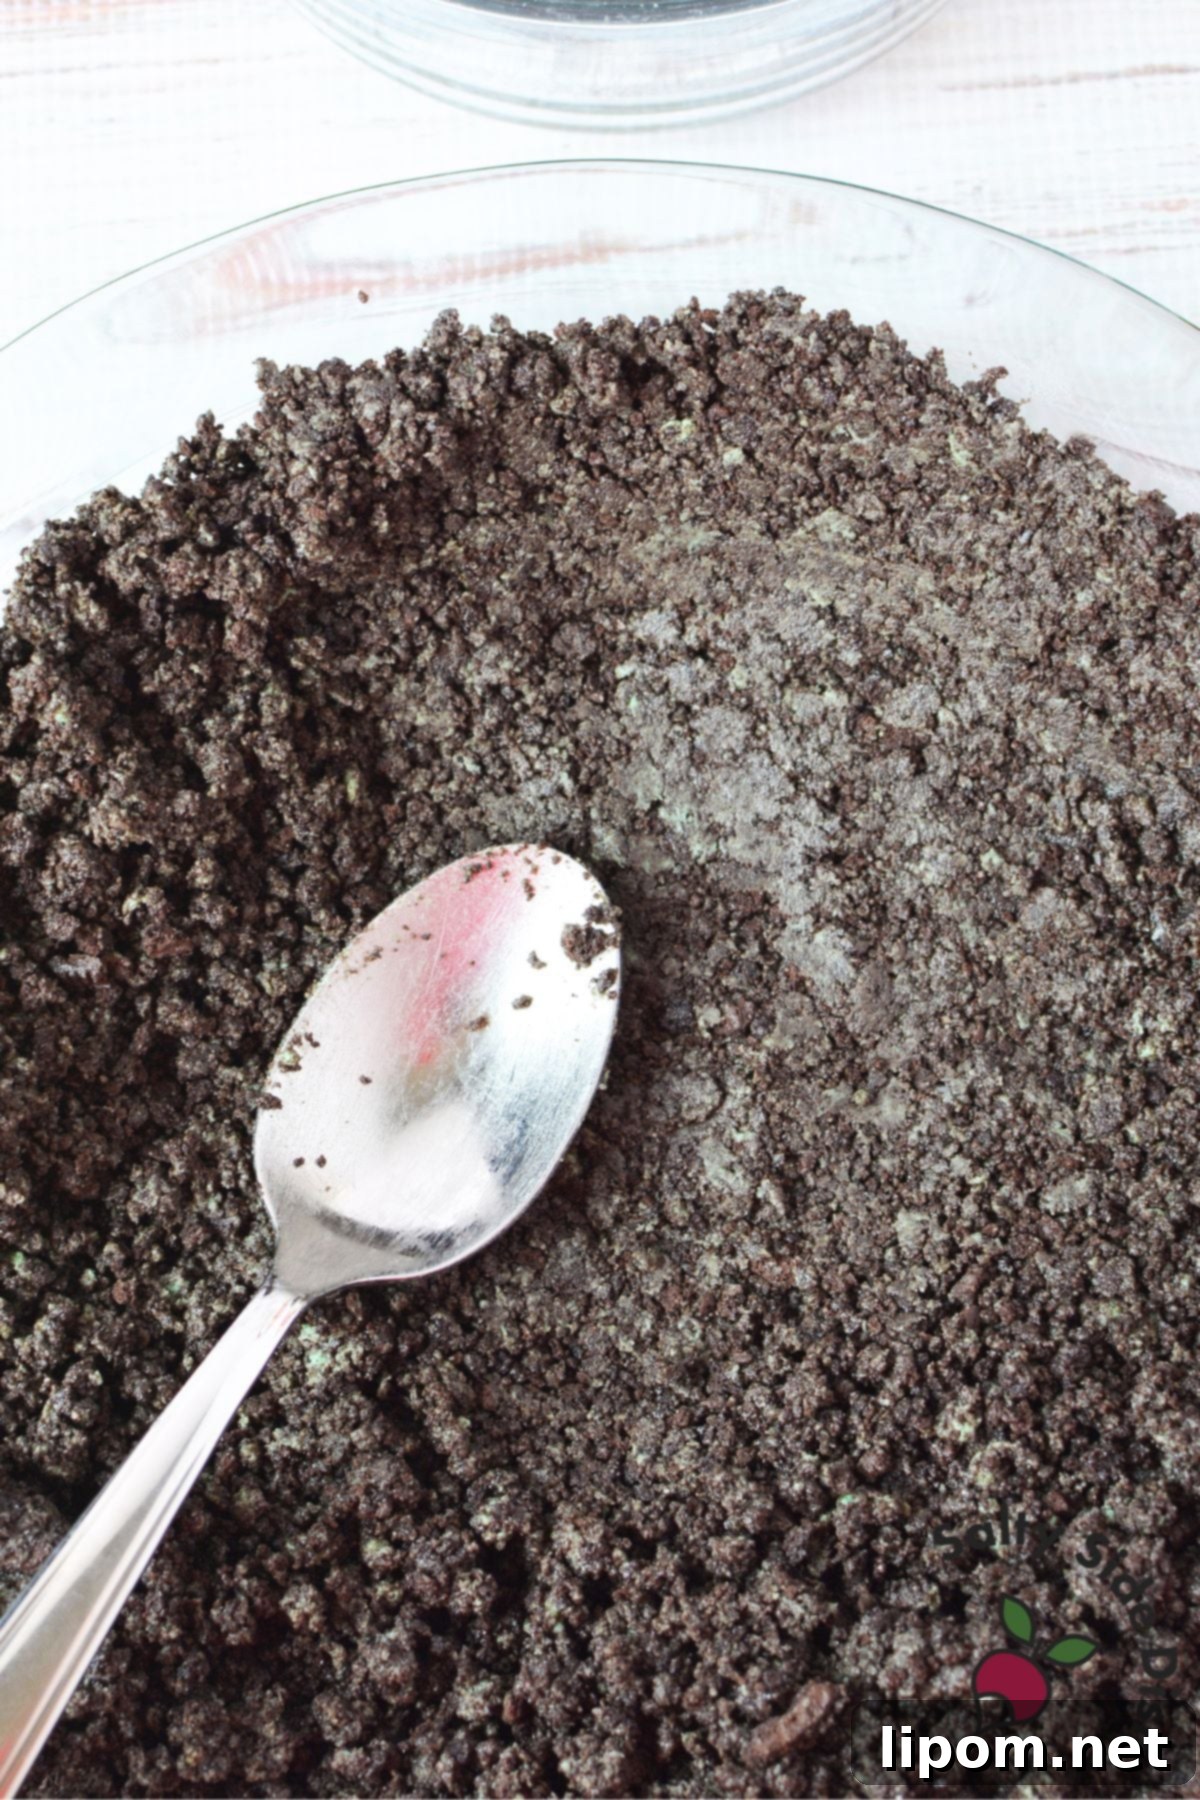
Begin by making the foundation of your pie: the rich Mint Oreo crust. Take approximately 30 Mint Oreo cookies (enough to make about 19 ounces from a family-size package) and add them to a food processor. Pulse for about 10-15 seconds until fine, uniform crumbs form. You want a texture similar to coarse sand, with no large chunks remaining.
Next, pour the melted butter over the cookie crumbs in the food processor. Pulse again for about 5 seconds, or until the butter is thoroughly combined with the crumbs and the mixture resembles wet sand. This ensures an even and sturdy crust.
Firmly press this mixture into the bottom and slightly up the sides of a 9.5-inch pie plate. Use the back of a spoon or the bottom of a flat-bottomed glass to compact it tightly. A well-pressed crust will hold its shape beautifully. Once pressed, place the crust in the freezer to chill and set while you prepare the creamy filling. This step is crucial for preventing a crumbly crust when slicing.
Step 2: Create the Creamy Mint-Infused Cream Cheese Base
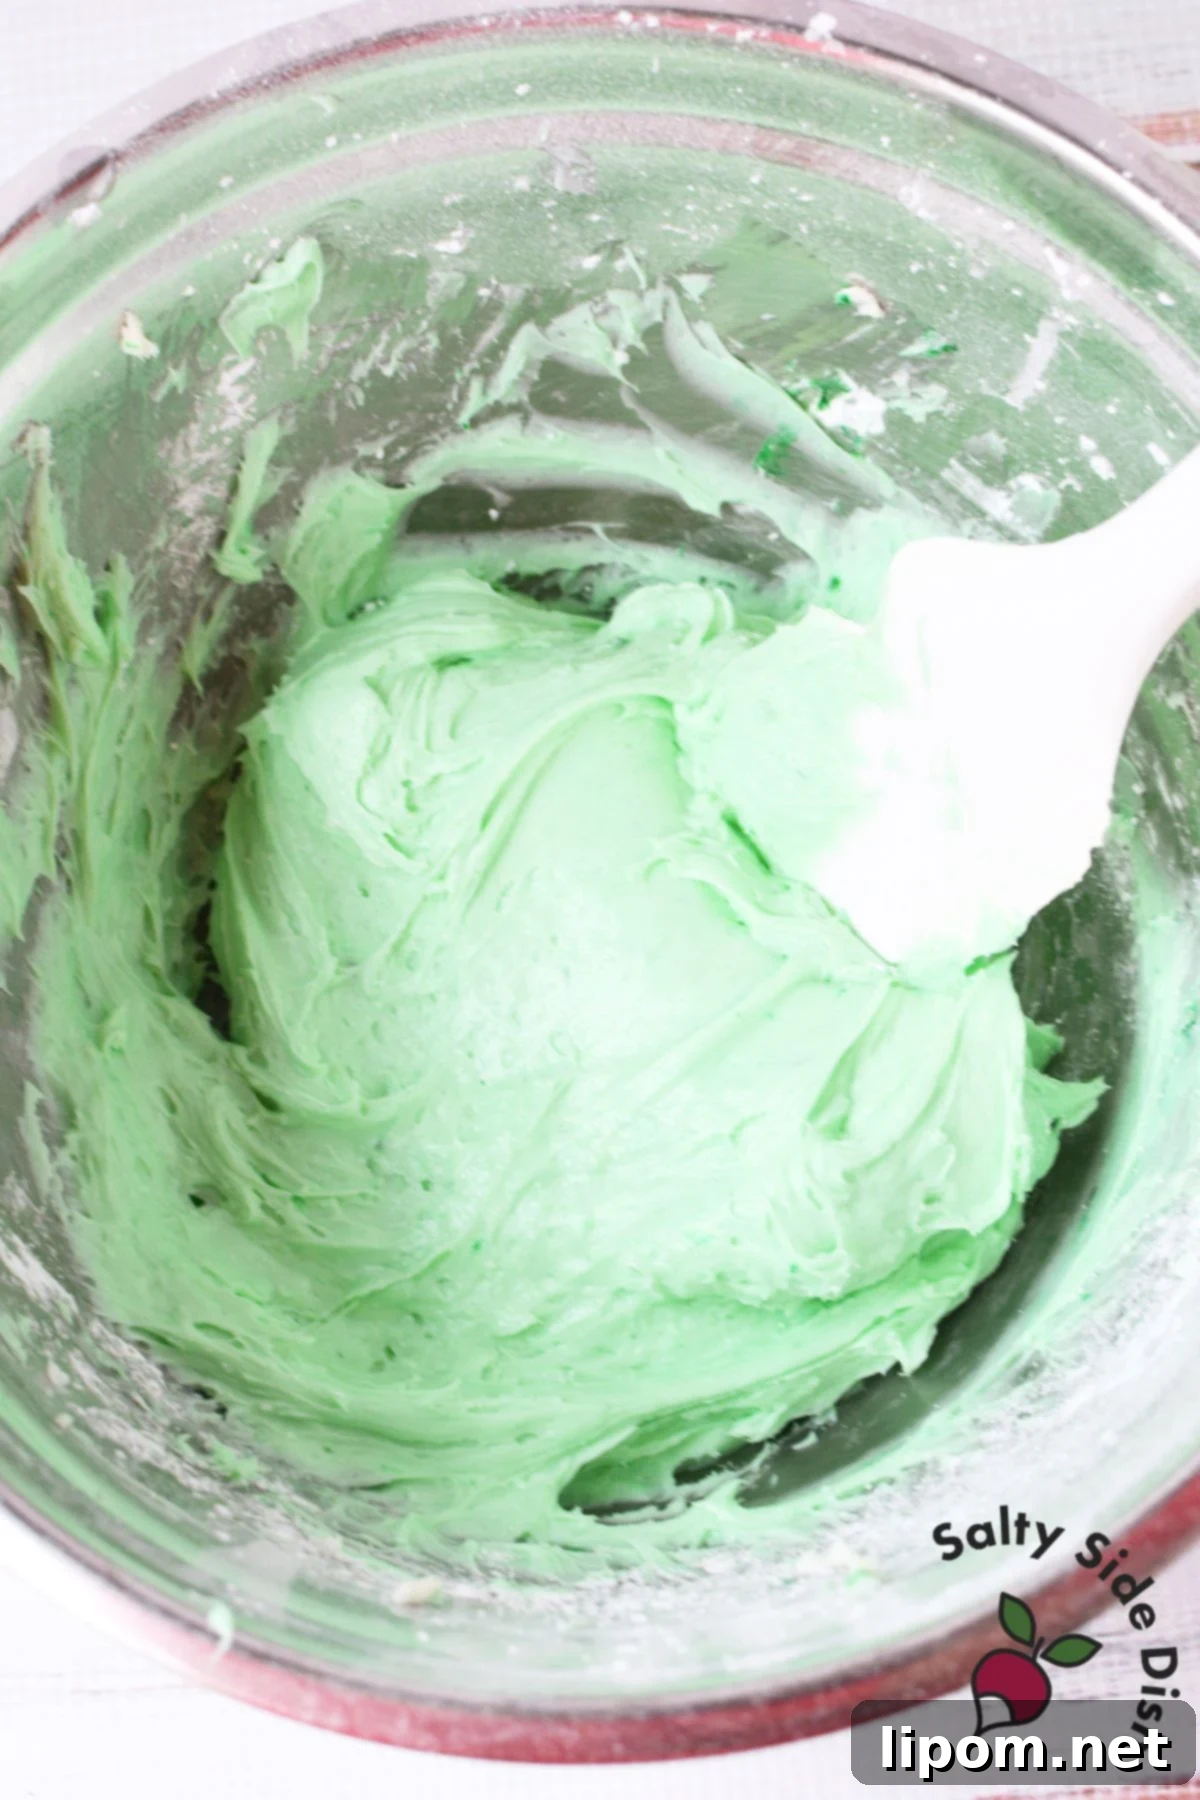
In a large mixing bowl, using an electric mixer, beat together the softened cream cheese, 1 1/2 cups of powdered sugar, the peppermint extract, and your desired amount of green food coloring (if using). Beat on medium speed until the mixture is completely smooth, well-combined, and free of any lumps. Scrape down the sides of the bowl as needed to ensure everything is incorporated.
At this stage, the mixture will be notably thick and slightly stiff, which is perfectly normal and exactly what you want. This density will provide stability to the pie’s filling, preventing it from becoming too watery or icy once frozen.
Step 3: Whip the Heavy Cream to Stiff Peaks
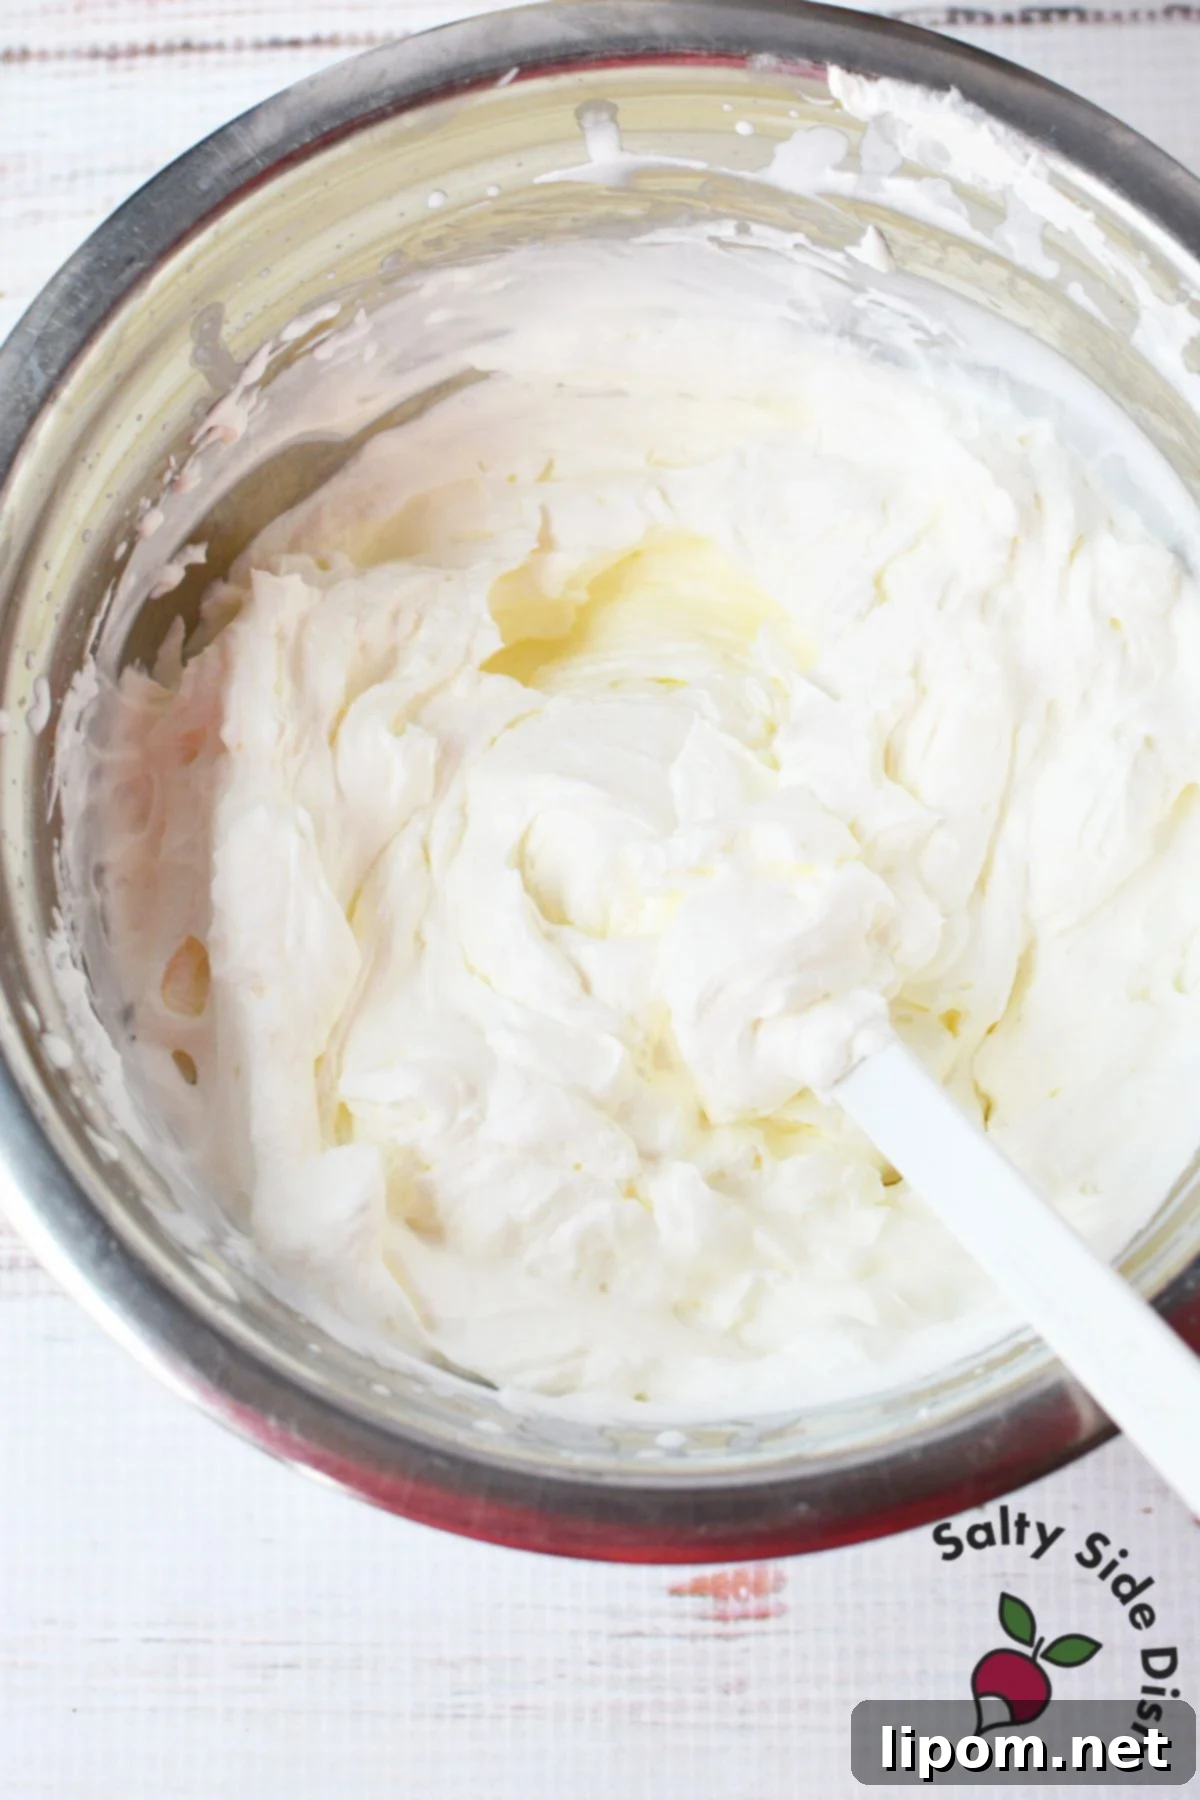
In a separate, clean mixing bowl, pour 1 1/2 cups of heavy whipping cream. Using an electric mixer (preferably with chilled beaters and a chilled bowl for best results), beat the cream on high speed until stiff peaks form. This typically takes about 4 to 5 minutes, but keep a close eye on it to avoid over-whipping, which can turn it grainy. Stiff peaks mean that when you lift the beaters, the cream stands up firmly without collapsing.
Once your whipped cream is ready, gently fold it into the cream cheese mixture until fully combined and smooth. Be careful not to overmix, as this can deflate the airiness of the whipped cream. The goal is a light, uniform, and fluffy mint-green filling. If you desire a brighter green color, now is the perfect time to add a few more drops of food coloring and gently fold them in.
Step 4: Assemble and Freeze for the Perfect Set
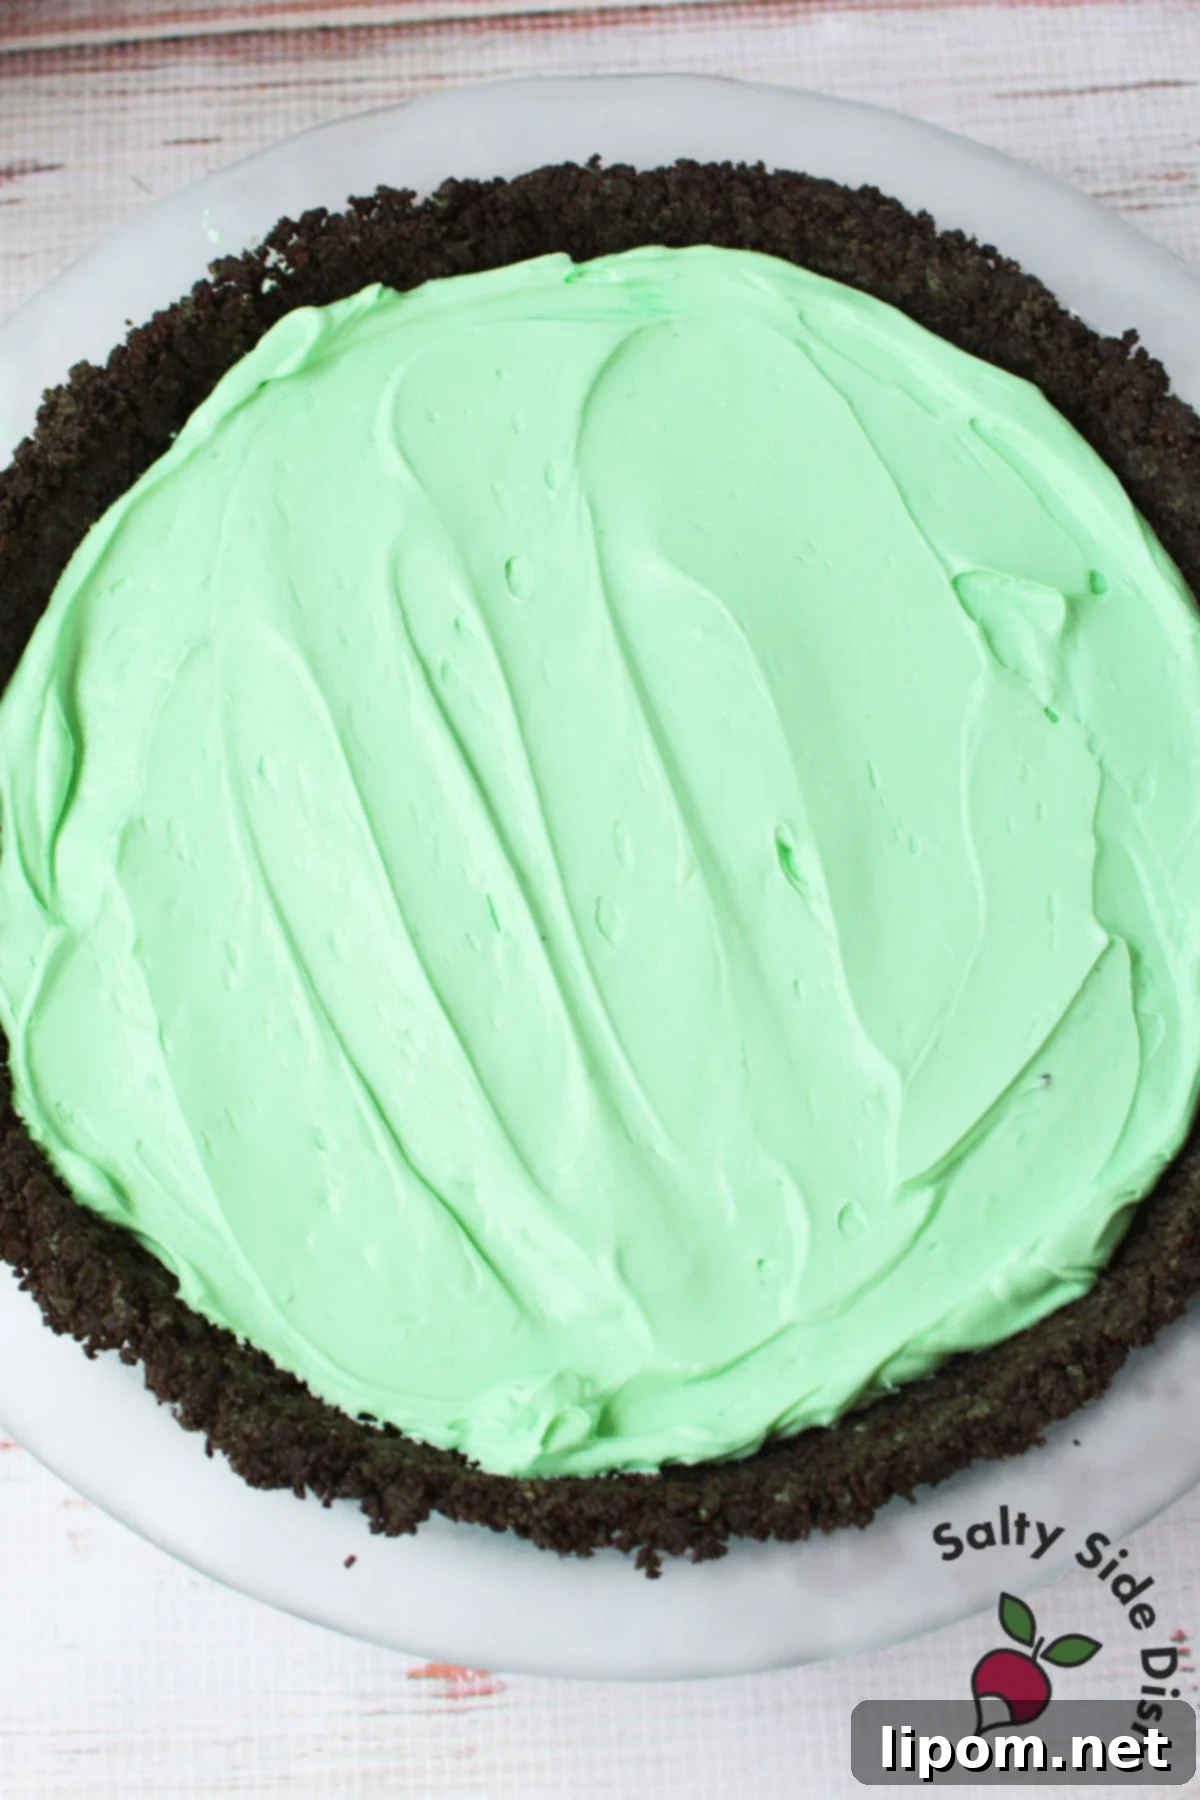
Retrieve your chilled Oreo crust from the freezer. Carefully spread the prepared minty cream cheese filling evenly into the pie shell. Use an offset spatula or the back of a spoon to smooth the top for a polished look.
Once assembled, place the pie back into the freezer for at least 6 hours, or ideally, overnight. This extended freezing time is crucial for the pie to fully set, ensuring a firm, sliceable texture and allowing all the flavors to meld beautifully. Patience is key here; a well-frozen pie is a perfectly delicious pie.
Finish with Flair: Garnish and Serve
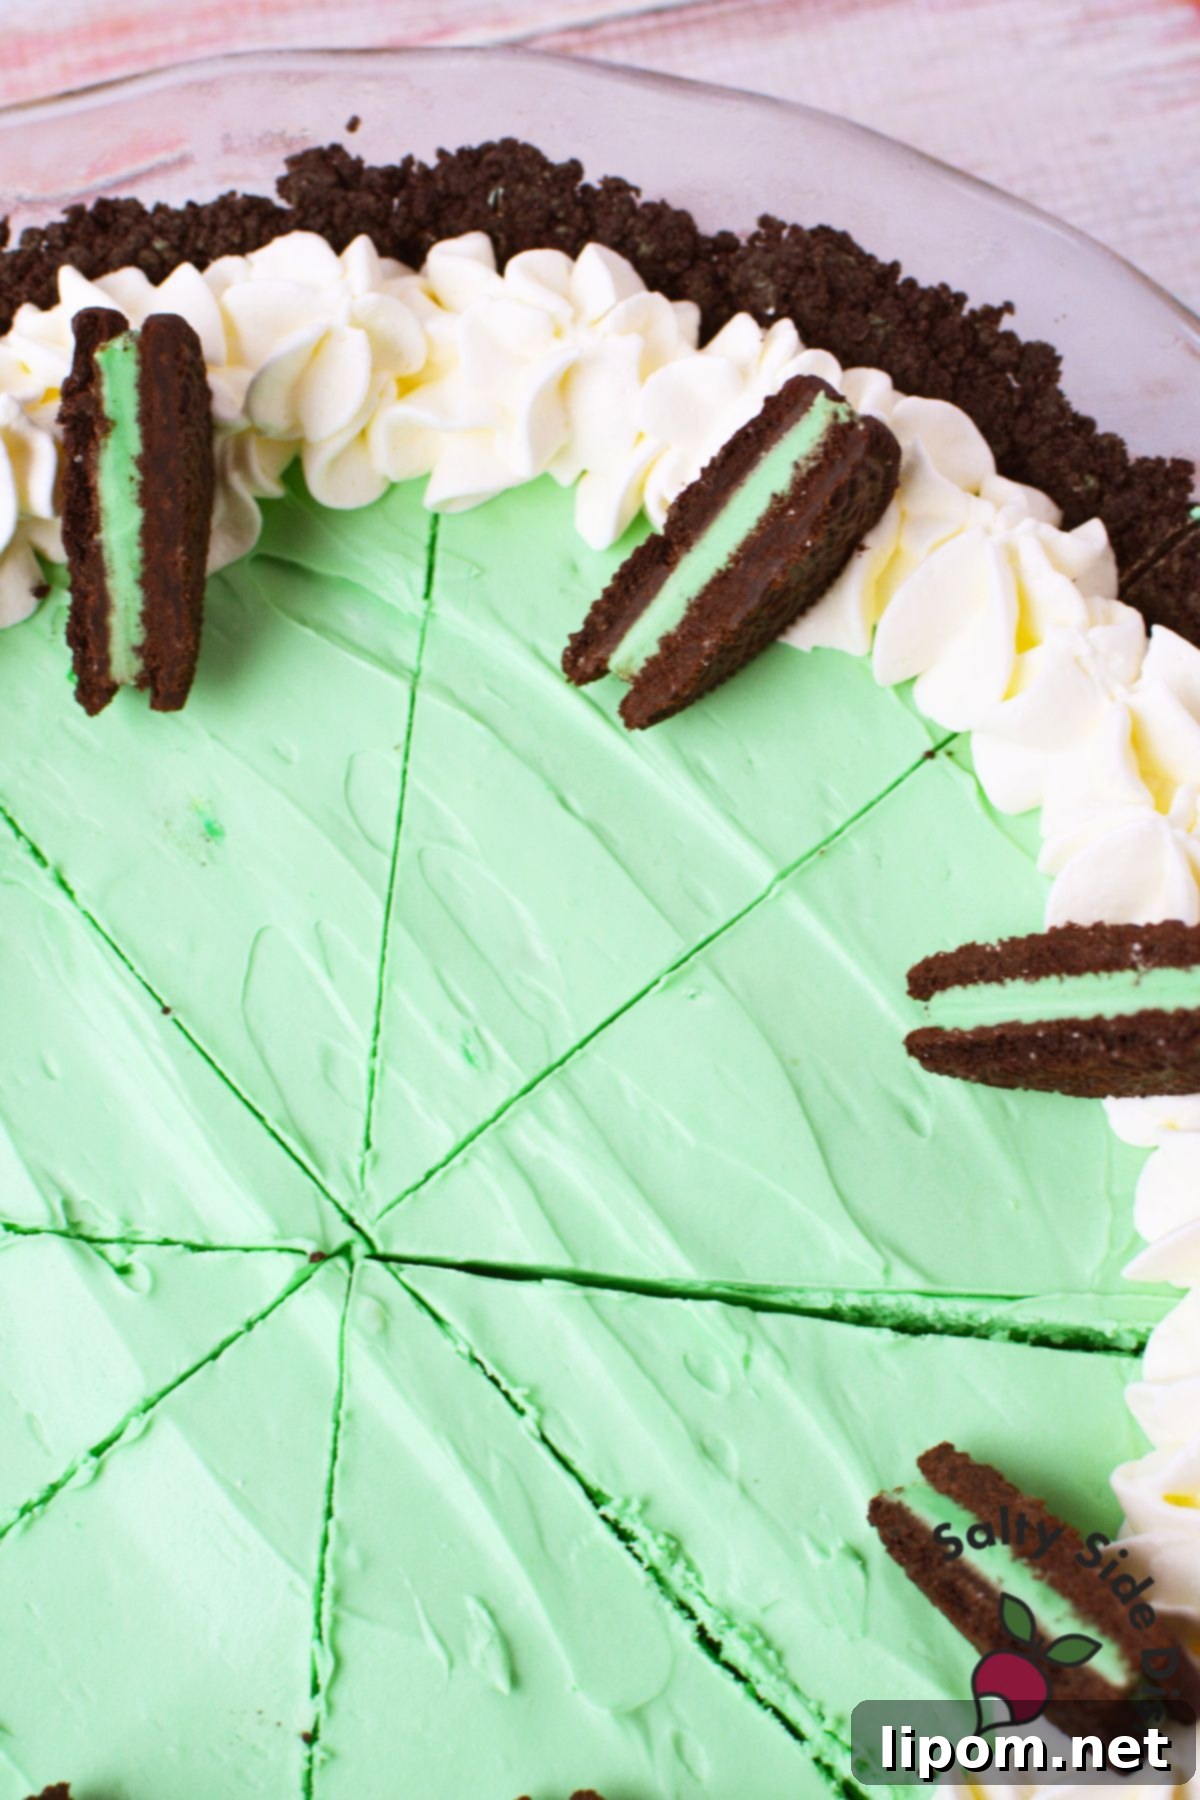
When you’re ready to serve your magnificent Grasshopper Pie, remove it from the freezer and allow it to sit at room temperature for approximately 10 to 20 minutes. This crucial thawing time is just enough for the pie to soften slightly, enabling you to slice it cleanly without cracking the filling or crust, while still maintaining its firm, frozen shape. You’ll notice the very edges of the pie begin to yield slightly when it’s perfectly ready for slicing.
For an elegant garnish, take the remaining Mint Oreo cookies and slice them in half, creating 8 decorative pieces.
In a clean bowl, beat the remaining 1 cup of heavy whipping cream with 1/4 cup of powdered sugar until stiff peaks form, which usually takes about 3 to 4 minutes. This homemade whipped cream adds an extra layer of freshness and richness.
Transfer the freshly whipped cream to a piping bag fitted with a large star tip. Pipe beautiful rosettes or dollops onto each slice of pie. Finally, place one halved Oreo cookie on top of each whipped cream garnish for a professional finish and an extra touch of mint-chocolate goodness before serving. If you’re short on time, store-bought whipped topping is a perfectly acceptable alternative for convenience.
Pro Tips for a Flawless Grasshopper Pie Experience
Having made this delectable pie countless times, I’ve gathered a few practical tips to ensure your Grasshopper Pie turns out perfectly every time and simplifies your dessert preparation:
- Prep Ahead Whipped Topping: To save precious time on the day of serving, you can prepare the homemade whipped topping a day in advance. Simply beat the cream and powdered sugar until stiff peaks form, transfer it to a piping bag (with or without the tip already attached), and store it in the refrigerator. This keeps it fresh and ready for last-minute garnishing.
- Transporting Your Frozen Masterpiece: If you’re planning to transport your Grasshopper Pie to a party or gathering, rest assured that the natural softening during transit will actually work in your favor. It often helps the pie reach that ideal, slightly softened consistency for clean slicing upon arrival, making serving even easier.
- Chill Your Tools for Whipped Cream: For the quickest and most stable whipped cream, place your mixing bowl and beater attachments in the freezer for 10-15 minutes before whipping the heavy cream. Cold tools help the cream whip up faster and hold its stiff peaks longer.
- Use a Warm Knife for Clean Slices: For the absolute cleanest cuts, especially if the pie is still quite firm, dip a sharp knife in hot water and wipe it clean between each slice. This slight warmth helps glide through the frozen layers effortlessly.
- Consider a Springform Pan: While a traditional pie plate works wonderfully, using a springform pan (9 or 10-inch) can make for an incredibly elegant presentation. Once frozen, you can release the sides of the pan, allowing for a perfect, crust-visible pie that’s easier to slice and serve directly from a platter.
- Don’t Overmix the Cream Cheese: While you want the cream cheese base to be smooth, avoid overmixing it once the whipped cream is folded in. Overmixing can deflate the whipped cream and reduce the desired airy texture of the filling.
Unveiling the History: What Exactly Is Grasshopper Pie?
Grasshopper Pie is a beloved mint-chocolate dessert that takes its vibrant name and signature flavor profile from the classic “Grasshopper” cocktail. This vintage alcoholic drink, popular in the mid-20th century, typically features crème de menthe (a mint liqueur), crème de cacao (a chocolate liqueur), and cream, giving it a distinctive green hue and a refreshing yet rich taste.
The dessert version, however, has evolved significantly, especially in homemade recipes like ours. While some traditional pie recipes might still incorporate a splash of mint or chocolate liqueur, most contemporary homemade Grasshopper Pies skip the alcohol entirely. Instead, they focus on capturing that iconic cool mint flavor and pairing it with a complementary chocolate element, making it accessible and enjoyable for everyone, including children and those who prefer non-alcoholic treats.
This particular recipe exemplifies the modern, practical approach to Grasshopper Pie. By utilizing readily available ingredients like Mint Oreos for the crust and a simple, cream-based filling, it delivers that classic flavor profile without the need for specialty liqueurs or overly complex steps. The result is a dessert that freezes beautifully, offering a smooth, refreshing consistency that softens just enough for perfect slicing and serving. It’s a nostalgic taste with a convenient, modern twist, proving that some classics are best reimagined for today’s kitchens.
If you find yourself on a delightful mint-chocolate kick after trying this pie, you absolutely must try my homemade thin mints. They’re another fantastic no-bake treat that captures that familiar Andes mint flavor and can be ready to enjoy in under 30 minutes – a perfect companion to your Grasshopper Pie obsession!
Storage Solutions for Your Frozen Grasshopper Pie
One of the many benefits of this no-bake frozen Grasshopper Pie is its excellent storability, making it an ideal make-ahead dessert. Proper storage ensures it remains fresh, delicious, and free from freezer burn.
Always keep the pie stored in the freezer until you are ready to serve. For optimal freshness and to prevent the absorption of freezer odors or the formation of ice crystals, ensure the pie is tightly wrapped. Once fully frozen, you can carefully wrap the entire pie dish (or just the pie itself if you remove it from the dish) with several layers of plastic wrap, followed by a layer of aluminum foil. This double-layer protection is key to maintaining its quality.
If you have leftovers, return individual slices or the remaining pie to the freezer immediately. For individual slices, it’s best to wrap each piece tightly in plastic wrap before placing them in an airtight container or freezer bag. When you’re ready to enjoy a leftover slice, simply let it sit out briefly at room temperature (5-10 minutes) to soften slightly before indulging. The pie can be stored in the freezer for up to 1-2 months, making it perfect for satisfying those spontaneous mint-chocolate cravings long after it’s made.
No-Bake Grasshopper Pie (Creamy Mint Oreo Pie)
Equipment
-
9.5 Inch Pie Plate (I use Pyrex for its durability)
-
Food Processor
-
Electric Mixer (handheld or stand mixer)
-
Large Mixing Bowls (x2)
-
Rubber Spatula
-
Piping Bag and Star Tip (optional, for garnish)
Ingredients
For the Mint Oreo Crust:
- 19 oz. Mint Oreo cookies (family size package, approx. 30 cookies)
- 5 tablespoons unsalted butter melted
For the Creamy Mint Filling:
- 8 oz cream cheese softened to room temperature
- 1 1/2 cups heavy whipping cream
- 1 1/2 cups powdered sugar
- 1/4 teaspoon peppermint extract (or to taste, depending on potency)
- Green food coloring optional, for vibrant color
For the Homemade Whipped Topping & Garnish (Optional):
- 1 cup heavy whipping cream
- 1/4 cup powdered sugar
- 4-8 Mint Oreo cookies halved, for garnish
Instructions
Making the No-Bake Grasshopper Pie:
-
Prepare the Oreo Crust: In a food processor, pulse 30 Mint Oreo cookies until fine crumbs form. Add the melted butter and pulse again until fully combined. Press the mixture firmly and evenly into the bottom and slightly up the sides of a 9.5-inch pie plate. Place the prepared crust in the freezer to chill while you prepare the filling.
-
Make the Cream Cheese Base: In a large mixing bowl, beat the softened cream cheese, 1 1/2 cups powdered sugar, peppermint extract, and green food coloring (if using) with an electric mixer until the mixture is completely smooth, thick, and lump-free.
-
Whip the Heavy Cream: In a separate, clean bowl, beat 1 1/2 cups heavy whipping cream until stiff peaks form (this usually takes 4-5 minutes). Gently fold the whipped cream into the cream cheese mixture until fully combined and smooth. If you desire a more vibrant green color, add additional food coloring now and gently mix.
-
Assemble and Freeze: Remove the chilled crust from the freezer and evenly spread the creamy mint filling into the pie shell. Place the pie in the freezer for at least 6 hours, or preferably overnight, to allow it to fully set.
-
Thaw and Serve: Before serving, remove the pie from the freezer and let it sit at room temperature for 10 to 20 minutes, just until it softens enough to slice cleanly. This makes for easier cutting and a more enjoyable texture.
Homemade Whipped Topping & Garnish (Optional)
-
Prepare Topping: In a clean bowl, beat the remaining 1 cup heavy whipping cream with 1/4 cup powdered sugar until stiff peaks form (about 3-4 minutes). Transfer to a piping bag with a large star tip. Pipe decorative rosettes or dollops onto the sliced pie. Halve the remaining 4-8 Mint Oreo cookies and place one half on each garnished slice. Serve immediately and enjoy! If preferred, you can use canned whipped cream instead of making it from scratch for added convenience.
Nutrition
Nutritional Disclaimer: The nutritional data provided here is auto-calculated and intended for your convenience only. As it’s generated via automation, its accuracy may be compromised. For precise nutritional insight, please compute the values utilizing the actual ingredients in your recipe through your chosen nutrition calculator or application.
Sharing of this recipe is encouraged and appreciated. Copying of full recipe to any social media is prohibited.
Did You Make This Recipe?
We’d love to see your creations! Make sure to follow Salty Side Dish on Pinterest, share your photos, and of course, rate the recipe here! Also, feel free to leave a comment below with your feedback or any variations you tried.