No Bake Cherry Cheesecake Bars
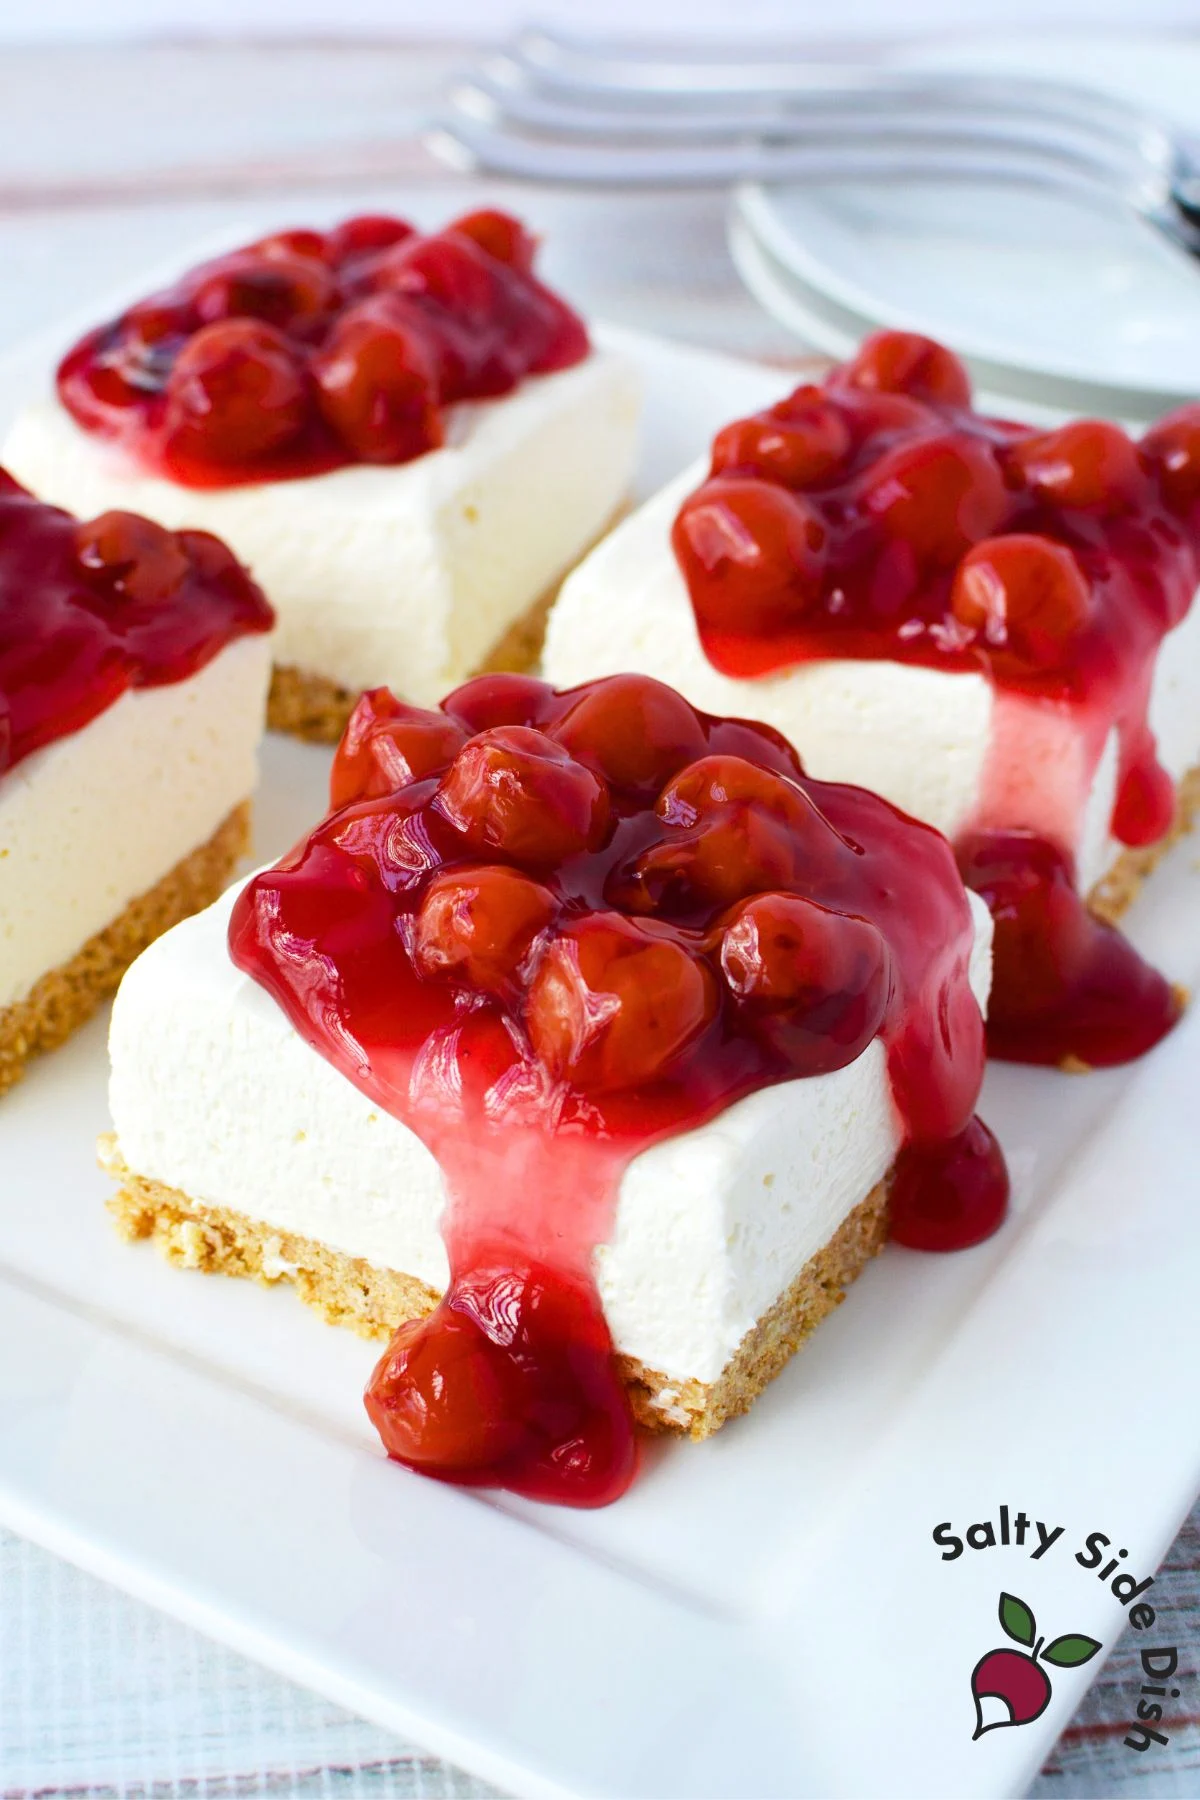
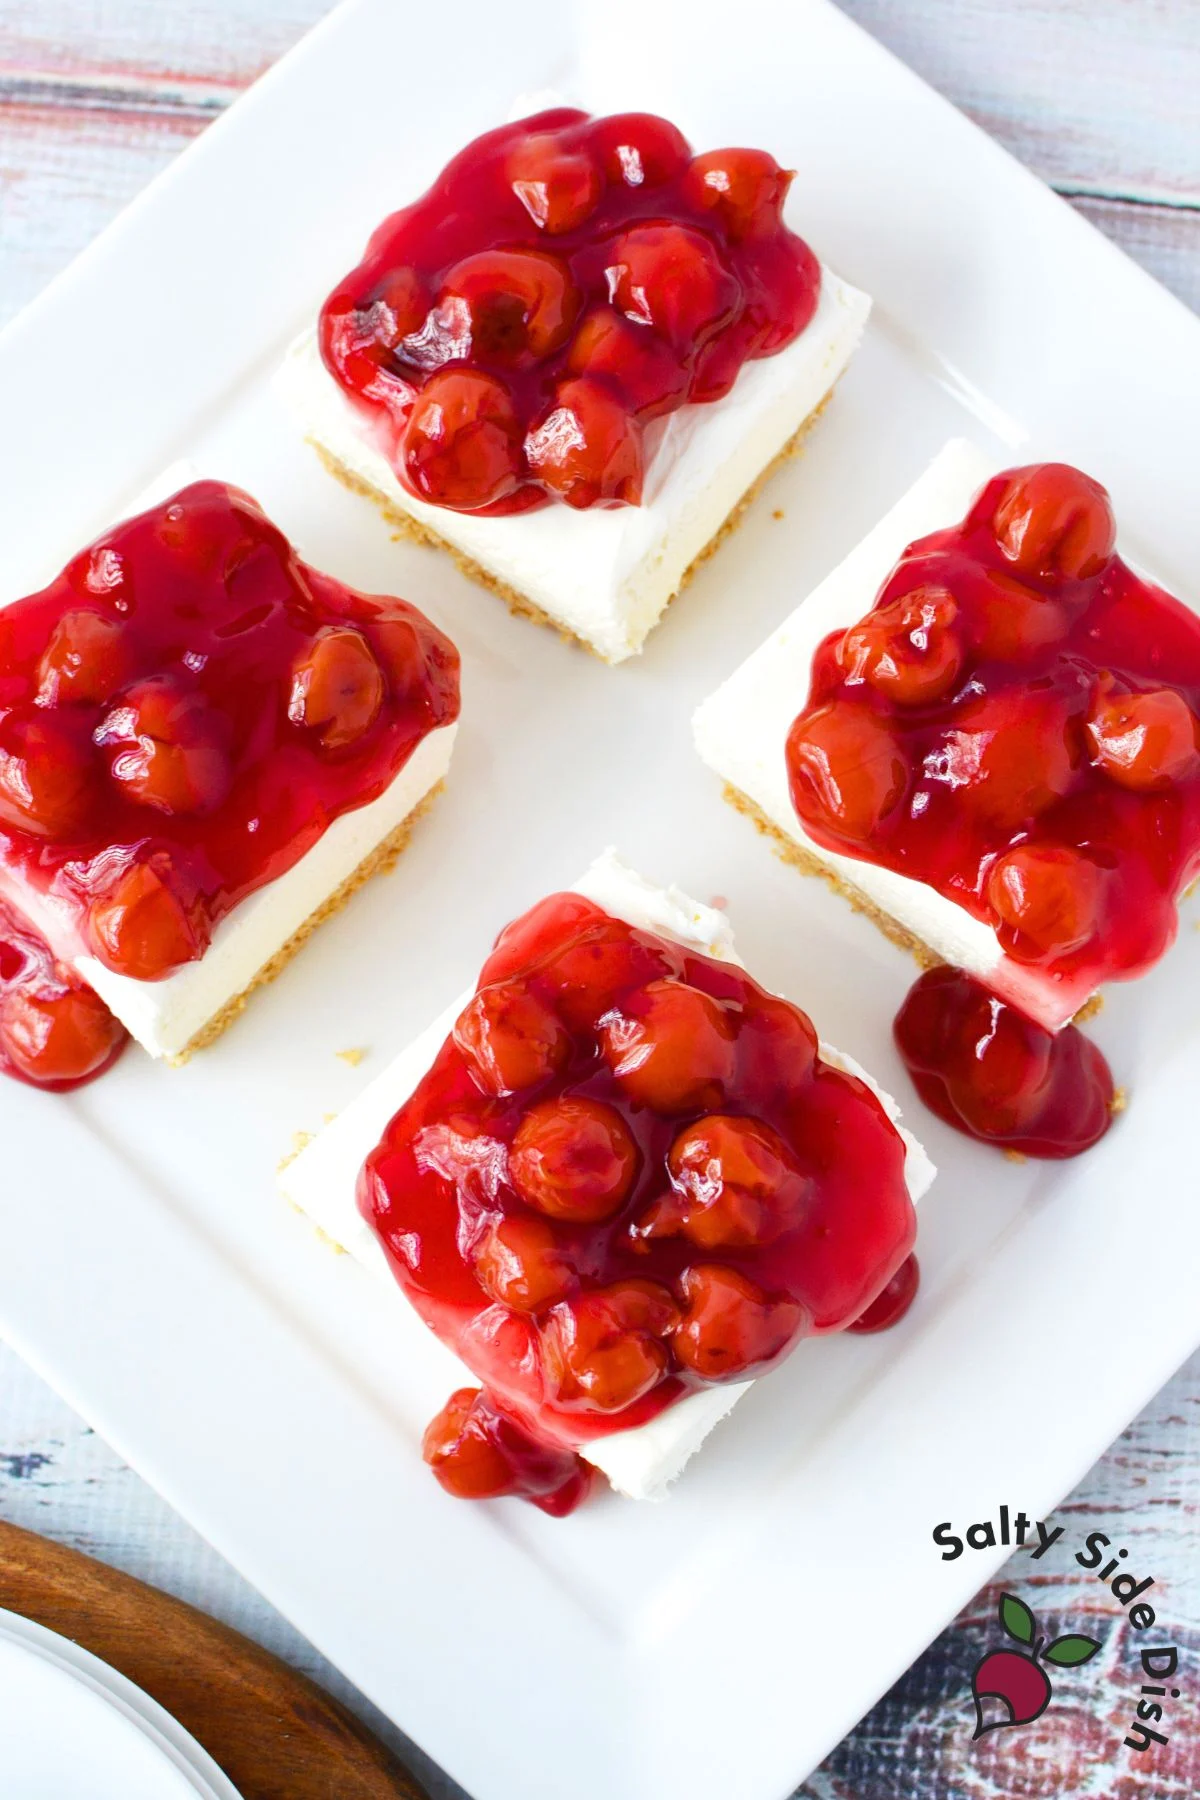
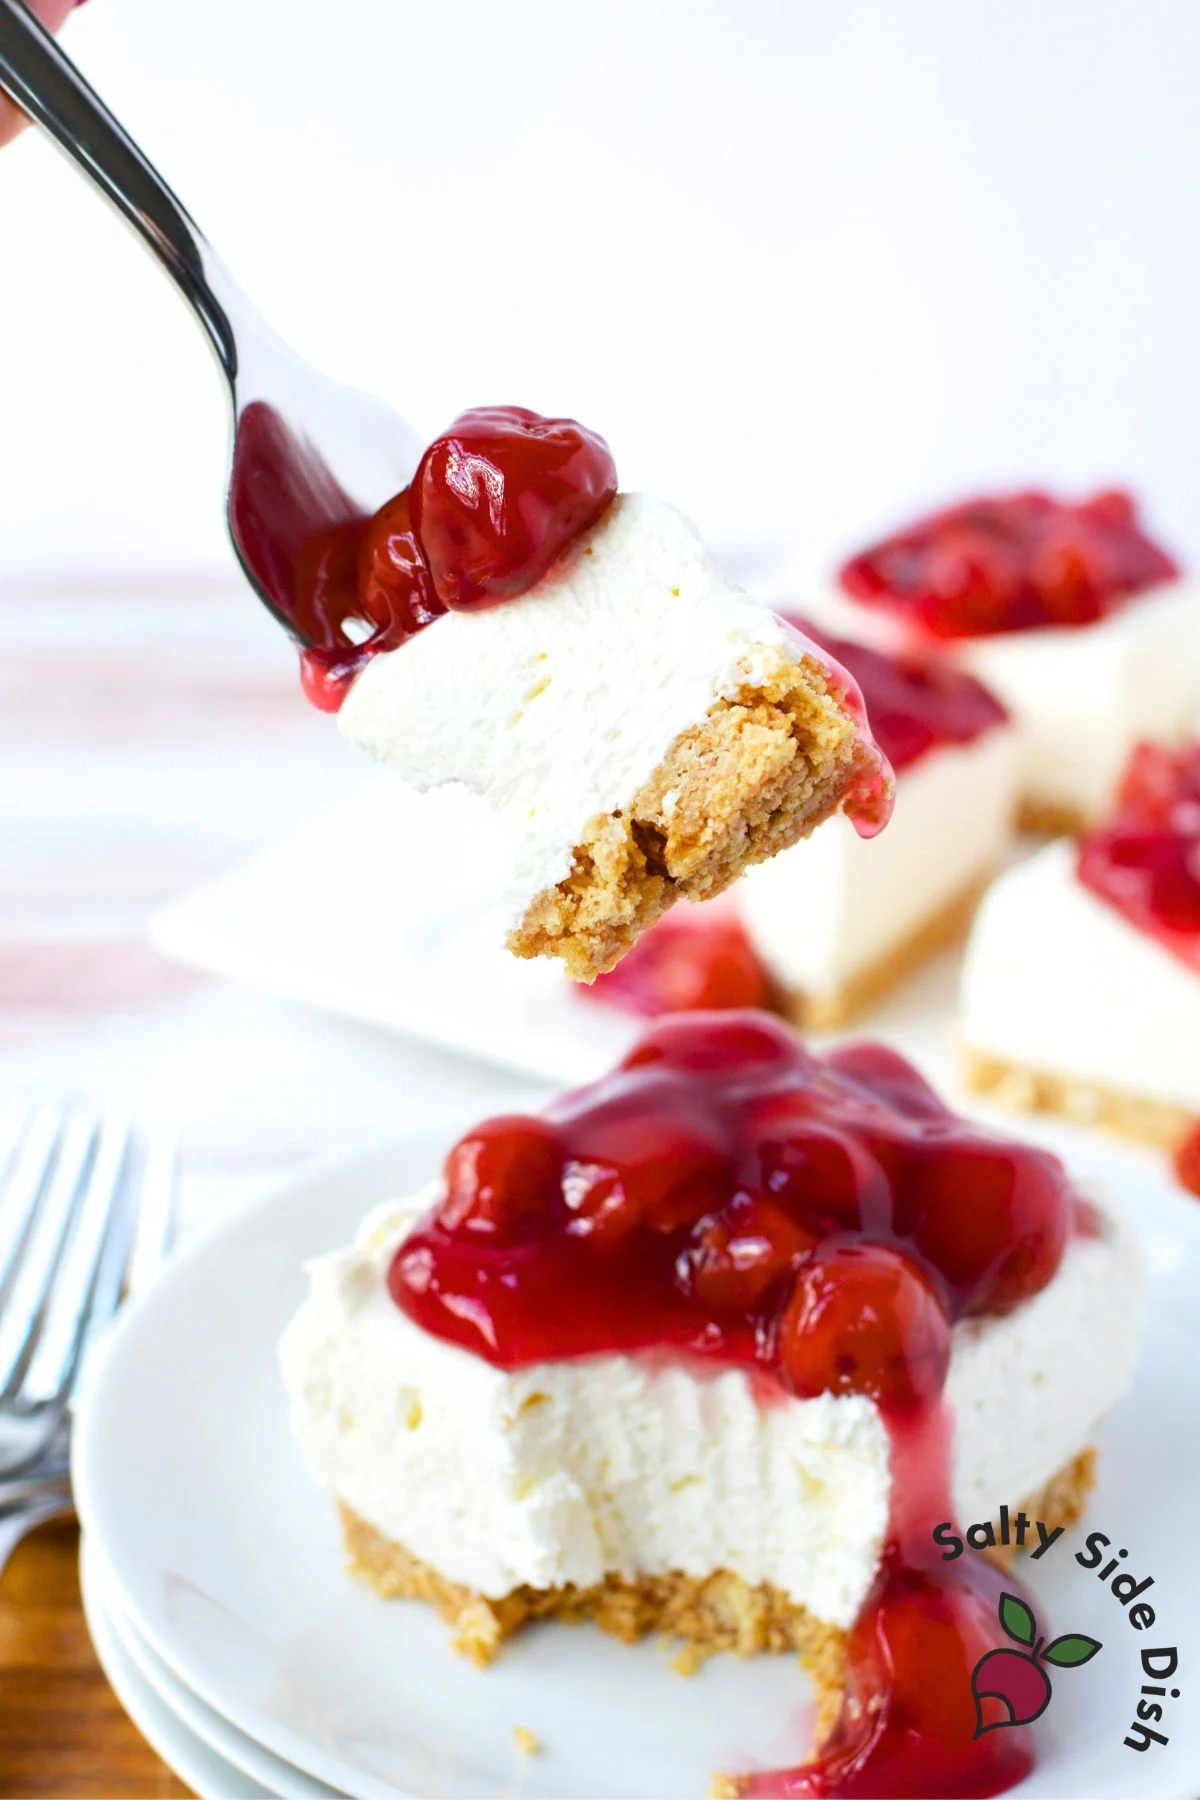
These no bake cherry cheesecake bars are made with two full blocks of cream cheese and Cool Whip for an extra thick, fluffy filling on a buttery homemade graham cracker crust. Made in an 8x8 pan, cut into 9 squares, and topped with cherry pie filling at serving time. No oven, no gelatin, no fuss — just a make-ahead no bake dessert that always gets asked about.
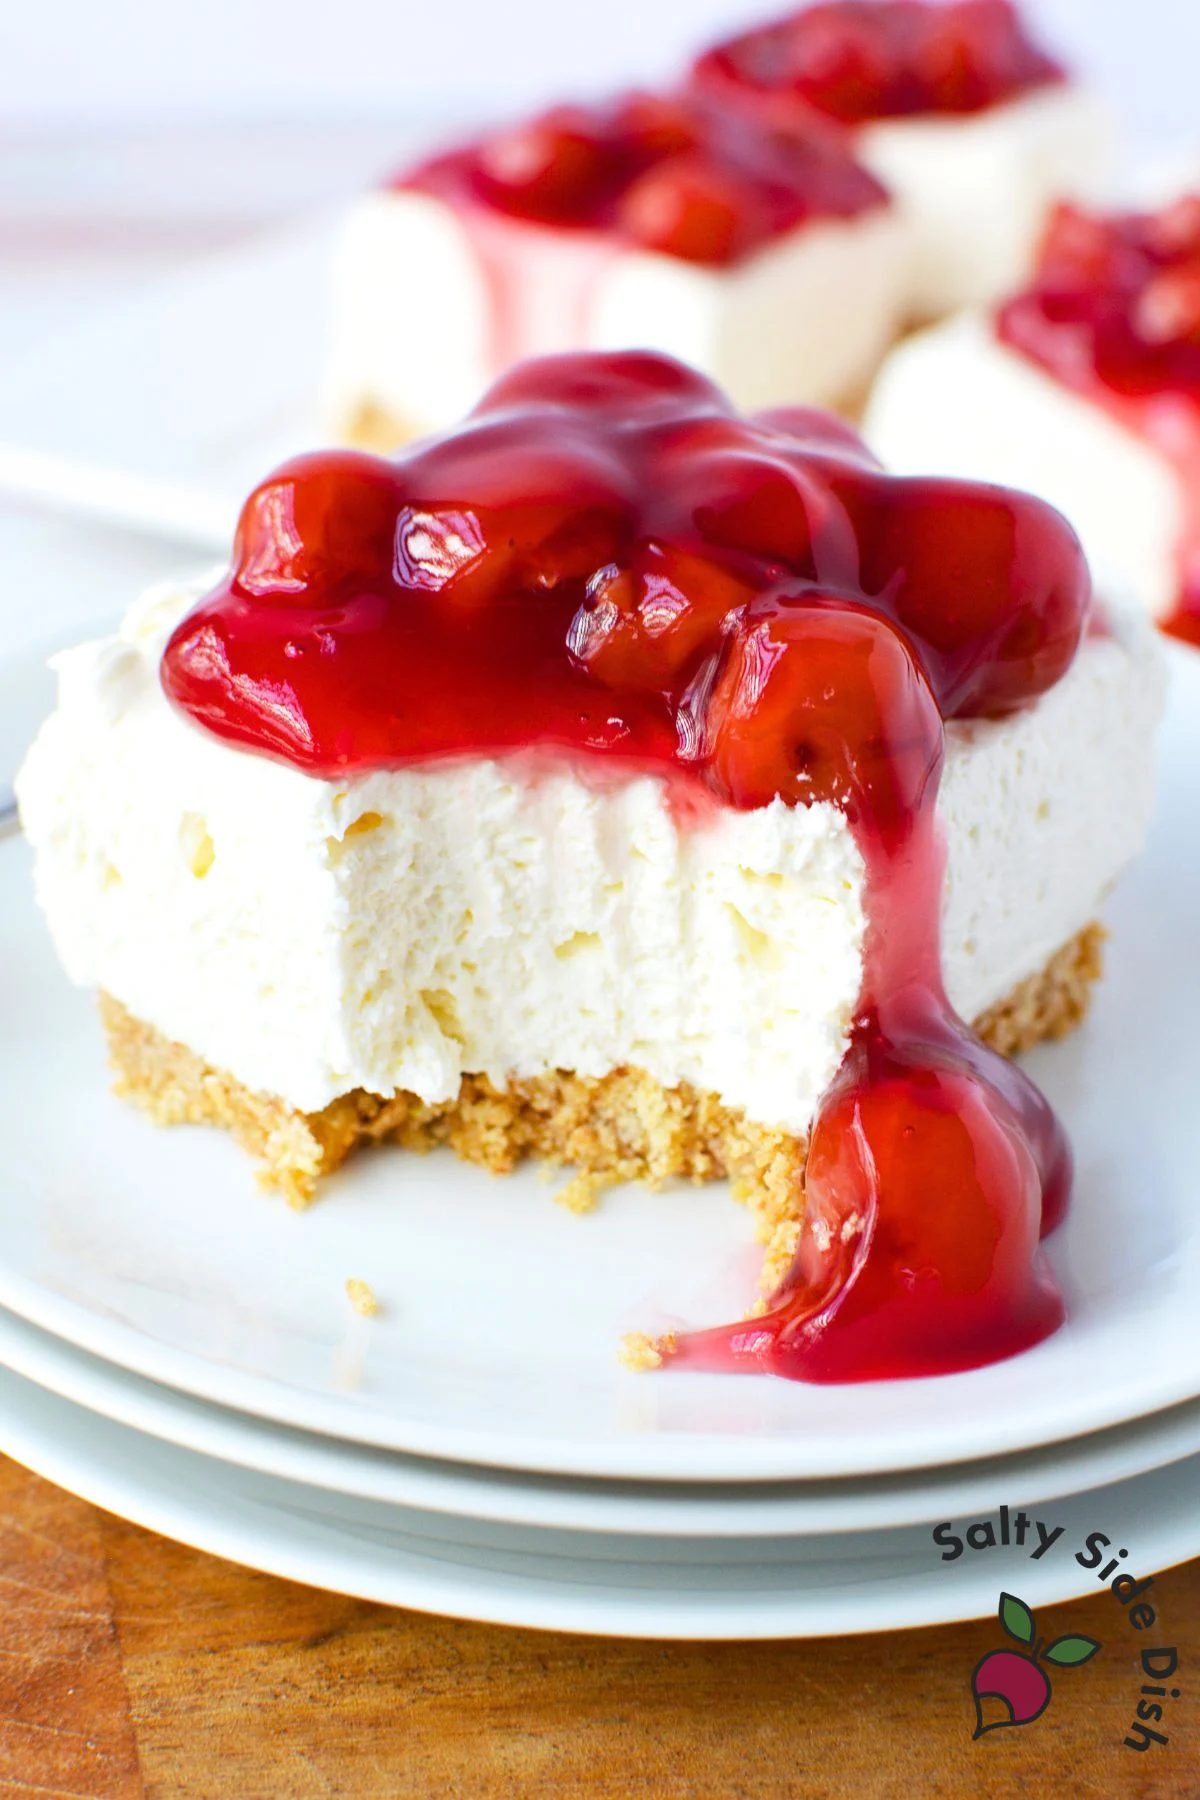
No bake cherry cheesecake bars are a classic recipe that stays popular, and once you try them, you’ll see why. Two blocks of cream cheese mixed with Cool Whip make a filling that’s thick, fluffy, and holds its shape when sliced.
The graham cracker crust is homemade. Everything sets in an 8×8 pan, and the cherry pie filling is added just before serving so each square looks perfectly delectable. Let’s get started so you can DIG IN!
No oven. No gelatin. No heavy cream to whip by hand. Just a handful of ingredients, a few minutes of prep, and a few hours in the fridge.
- If you love easy no bake desserts with cherry pie filling, you’ll also want to try my cherry cheesecake dip. It uses the same cream cheese and Cool Whip base in dip form. If you prefer something baked and warm, the cherry cream cheese dump cake hits all the same flavor notes with zero extra effort.
- If you’d rather have something warm from the oven, my cherry cheesecake dump cake with crumble topping uses the same cherry and cream cheese combination baked under a buttery crumble — no crust required.
Ingredients
For the crust:
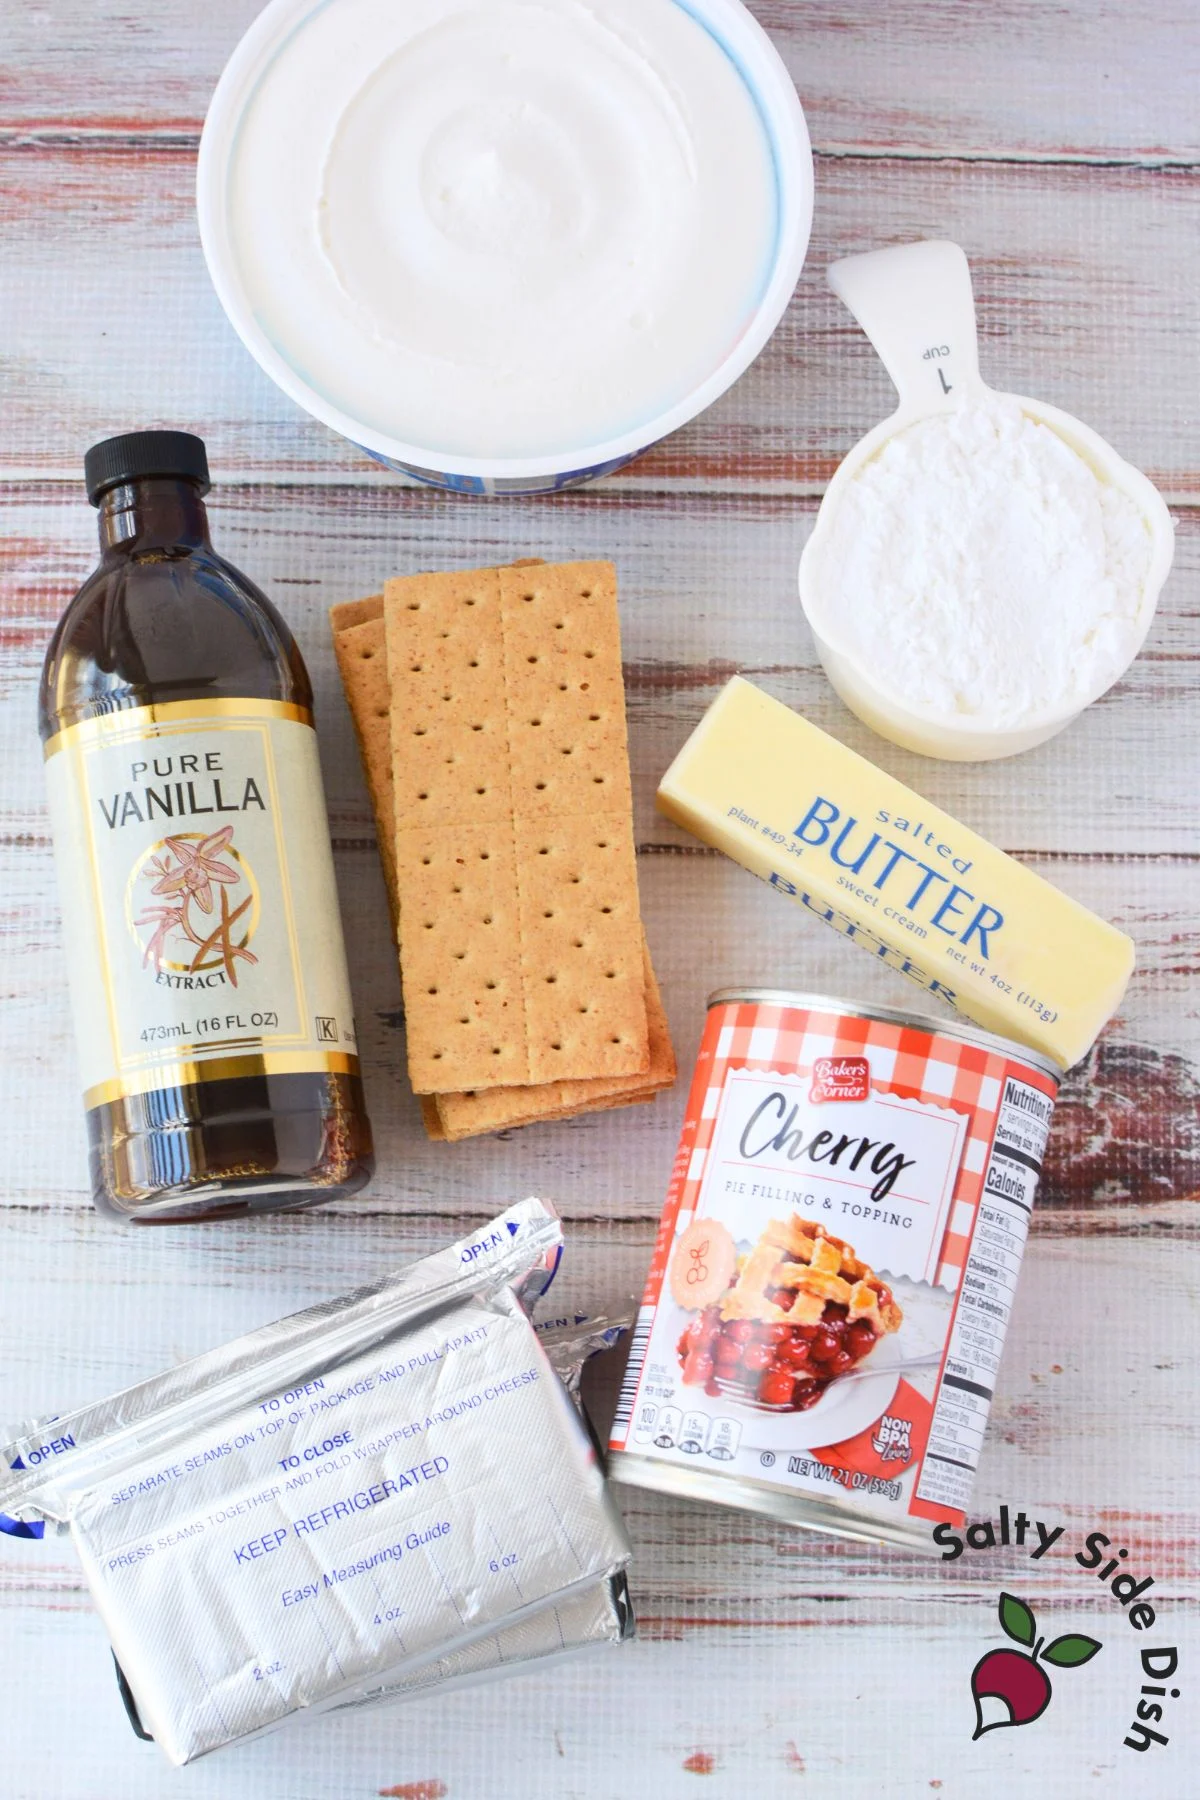
- 1 sleeve graham crackers (9 whole crackers), finely crushed
- 2 tablespoons granulated sugar
- 1 stick (½ cup) butter, melted
For the filling:
- 2 blocks (8 oz each) cream cheese, softened
- 1 cup powdered sugar
- 1 teaspoon vanilla extract
- 1 tub (8 oz) whipped topping (Cool Whip), thawed
For the topping:
- 1 can (21 oz) cherry pie filling
How to Make No Bake Cherry Cheesecake Bars
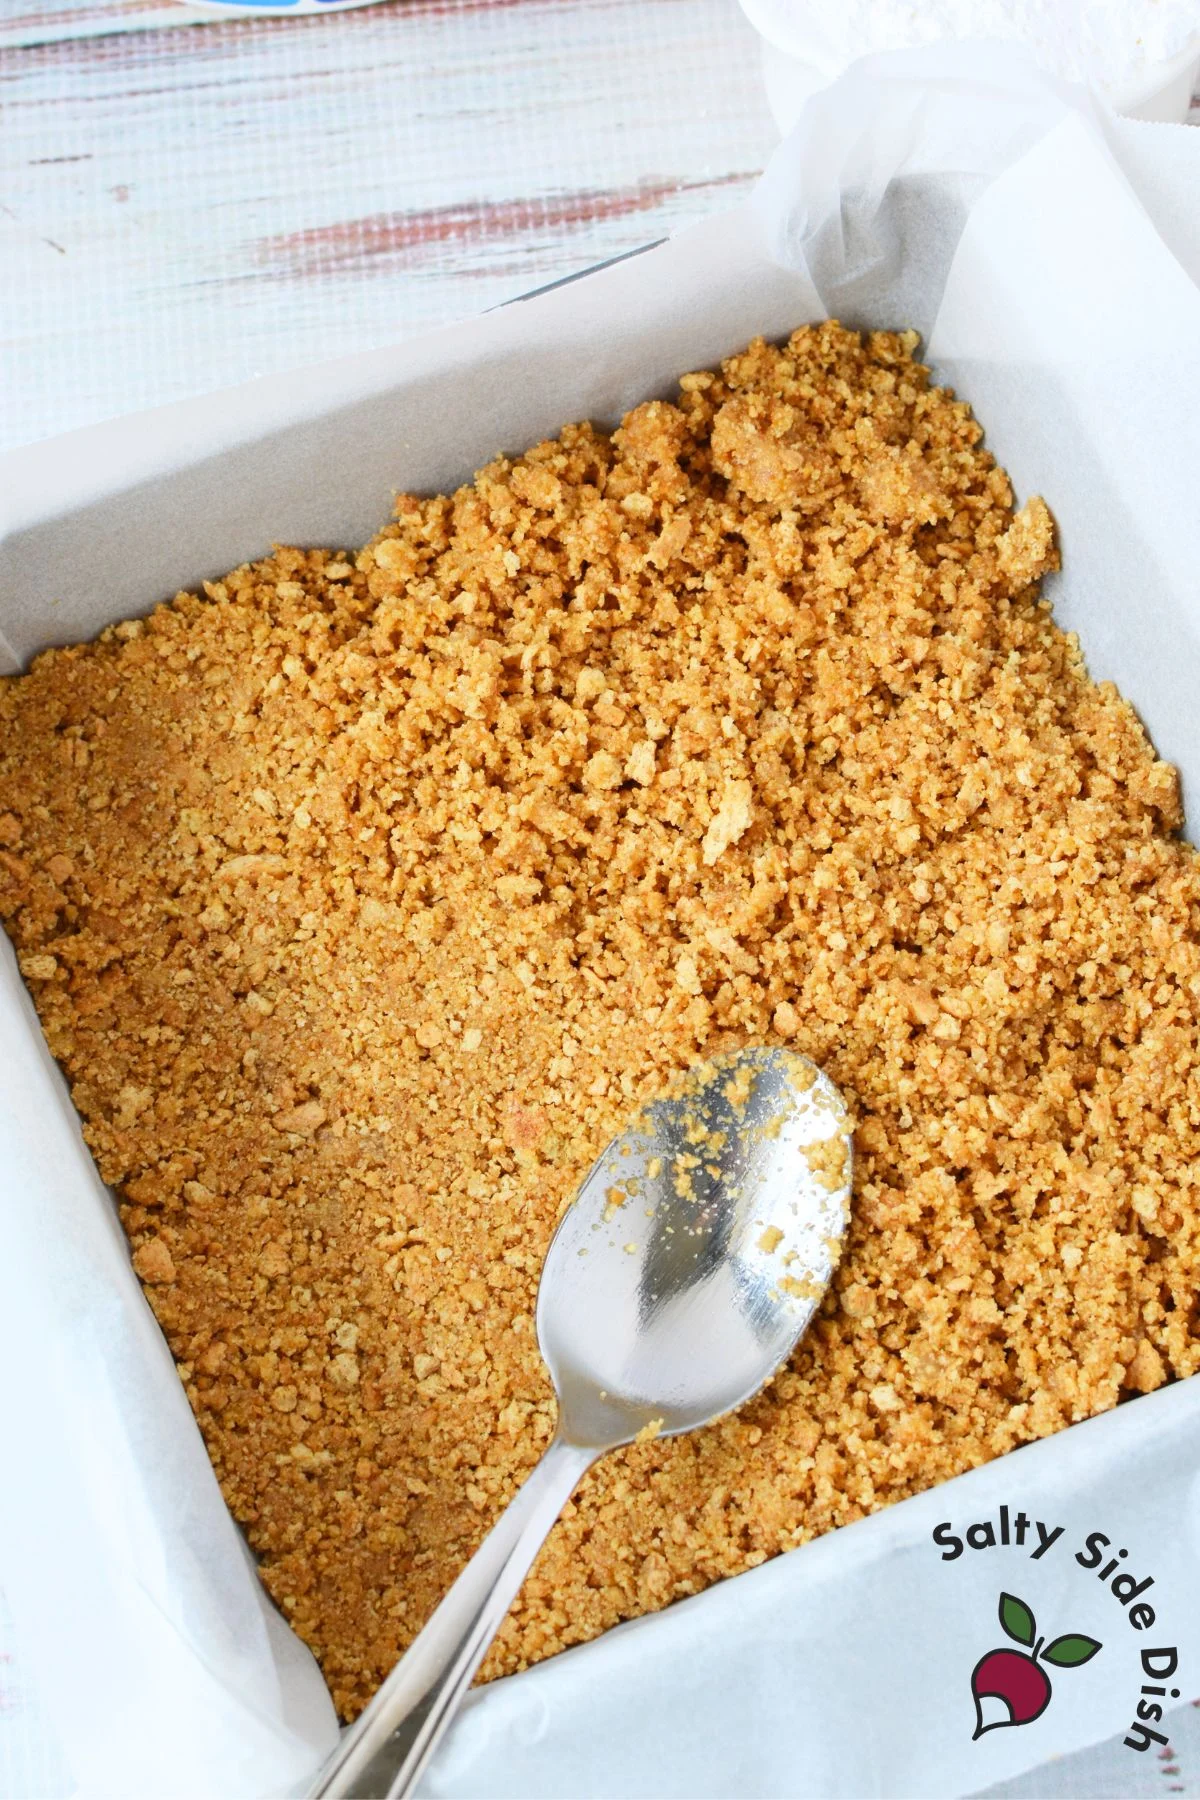
Step 1: Make the crust. Line an 8×8 baking dish with parchment paper and set aside. Combine the graham cracker crumbs, sugar, and melted butter, stirring until everything is evenly moistened. Spoon the mixture into the prepared pan and use the back of a spoon or bottom of a cup to press it into an even, firm layer. Refrigerate while you make the filling.
Step 2: Make the filling. Beat the softened cream cheese, powdered sugar, and vanilla together until completely smooth with no lumps. Add the Cool Whip and beat again until the filling is light, fluffy, and fully combined.
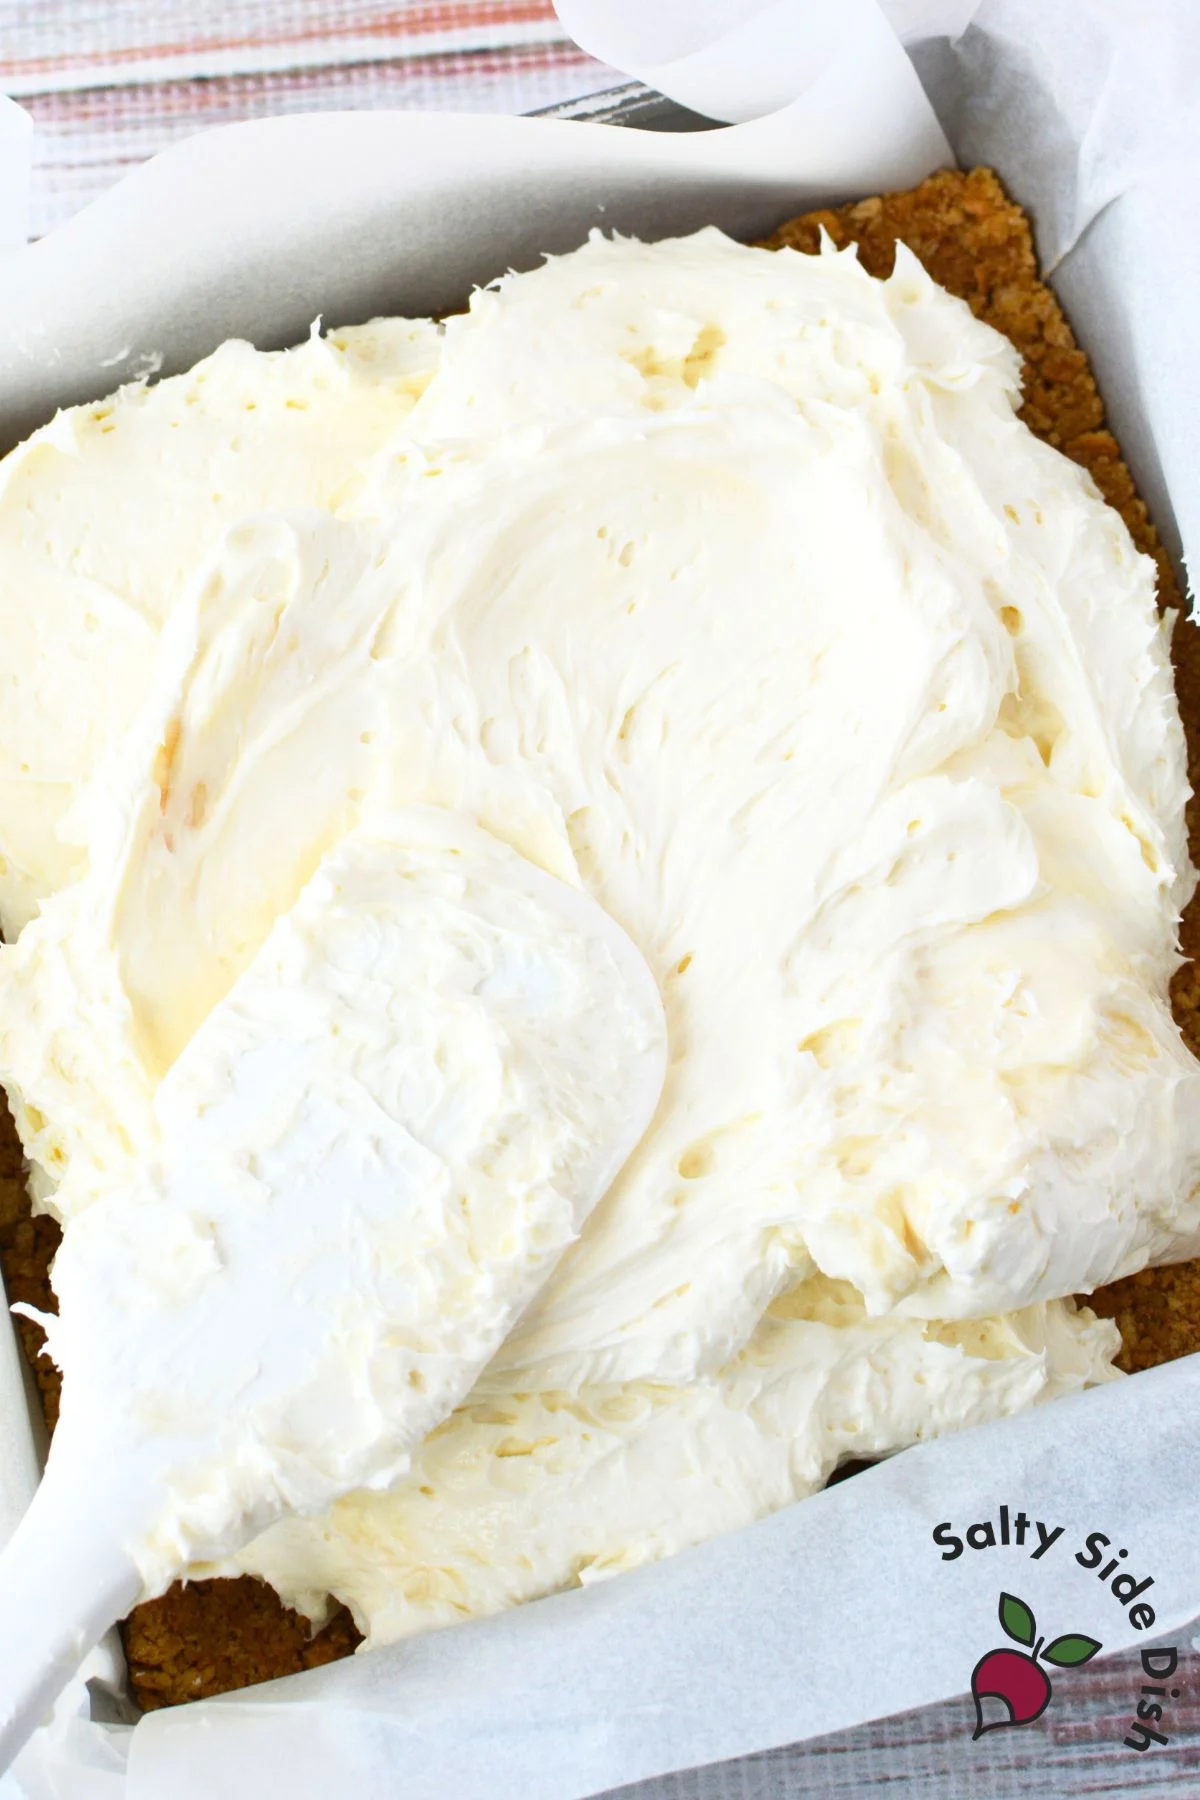
Step 3: Assemble. Spoon the filling over the chilled crust and spread it into an even layer. Cover and refrigerate for at least 4 hours, or overnight.
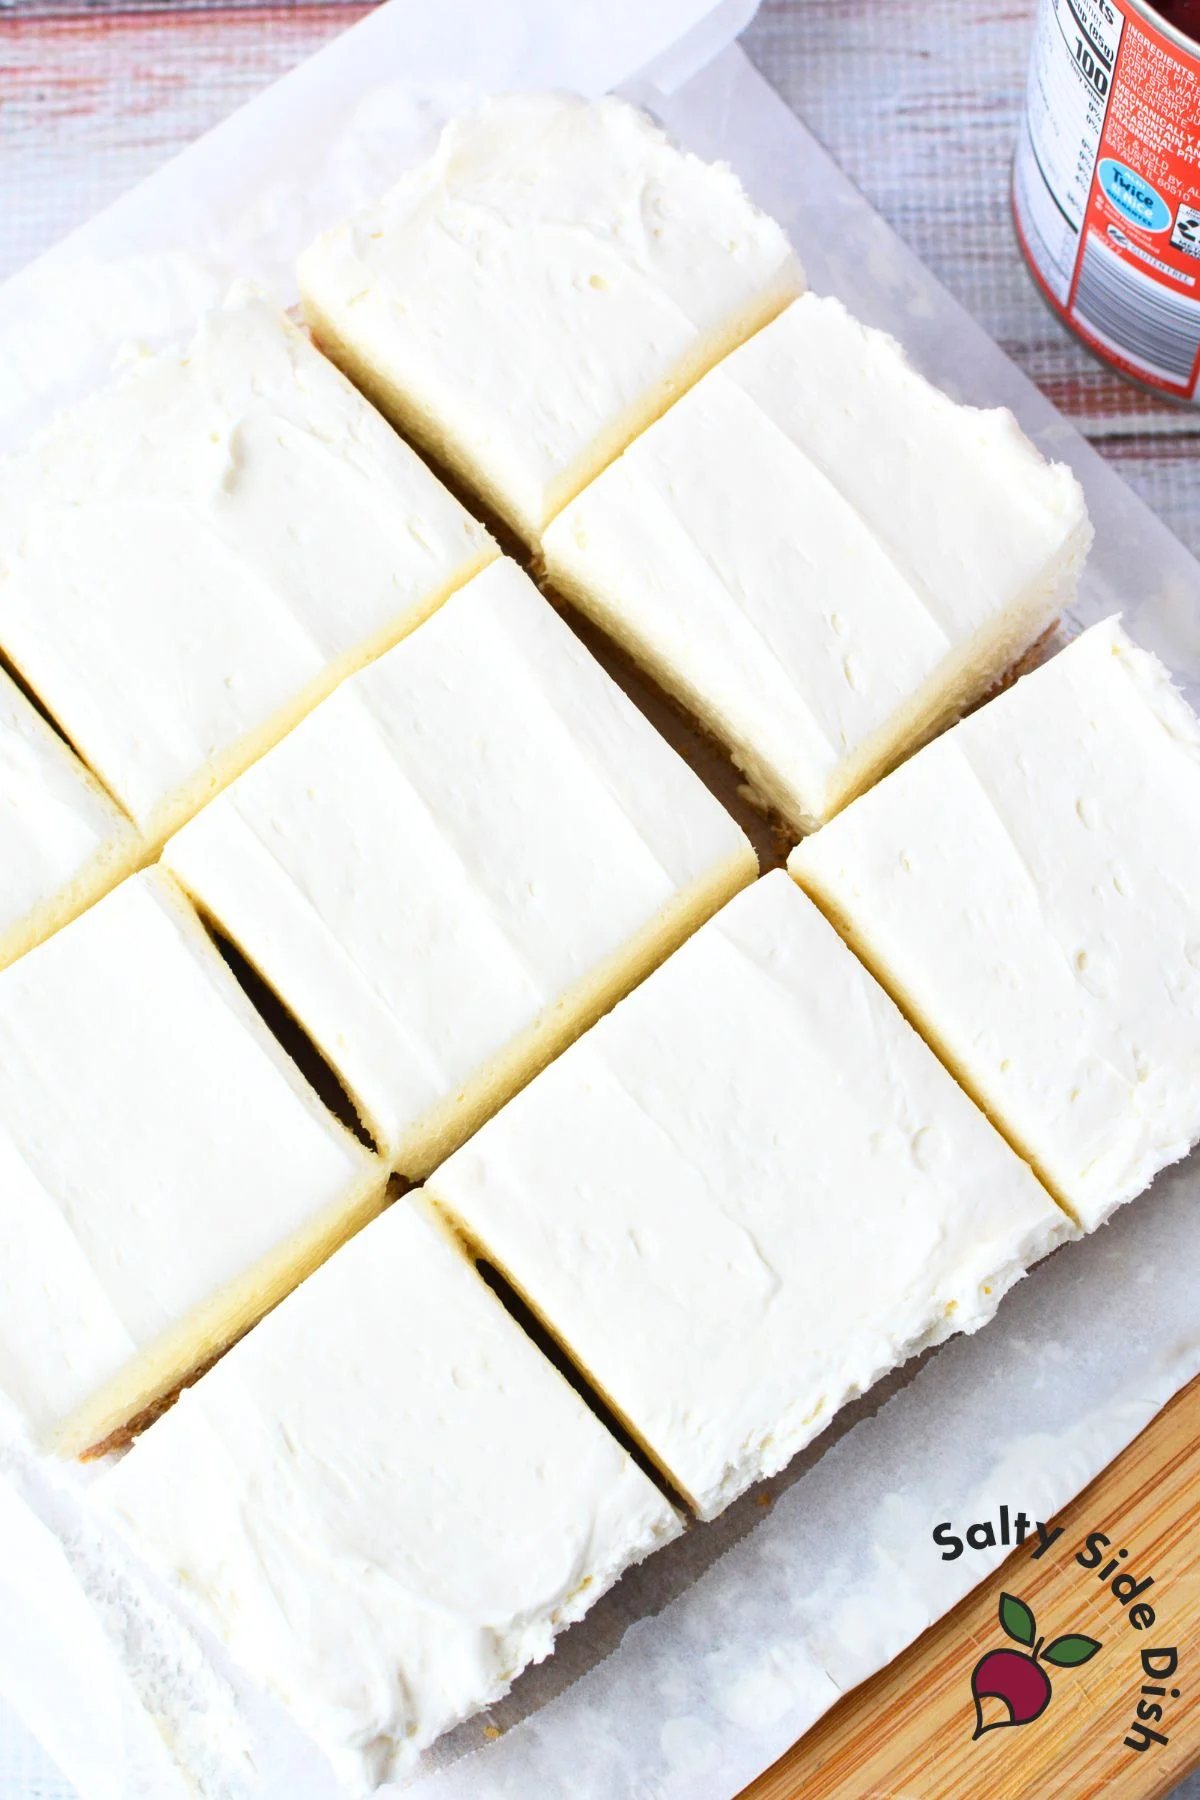
Step 4: Serve. When ready to serve, slice into 9 squares. Spoon the cherry pie filling over individual squares right before serving.
Tips for the Best Results
Make sure the cream cheese is fully softened. Cold cream cheese won’t mix smoothly, no matter how long you use the mixer. Take it out at least 30 minutes before you start. If you notice lumps in the filling, keep beating and they will smooth out.
Thaw the Cool Whip in the fridge overnight. Adding frozen or semi-frozen whipped topping to the cream cheese makes a lumpy, uneven filling. It needs to be fully thawed and soft.
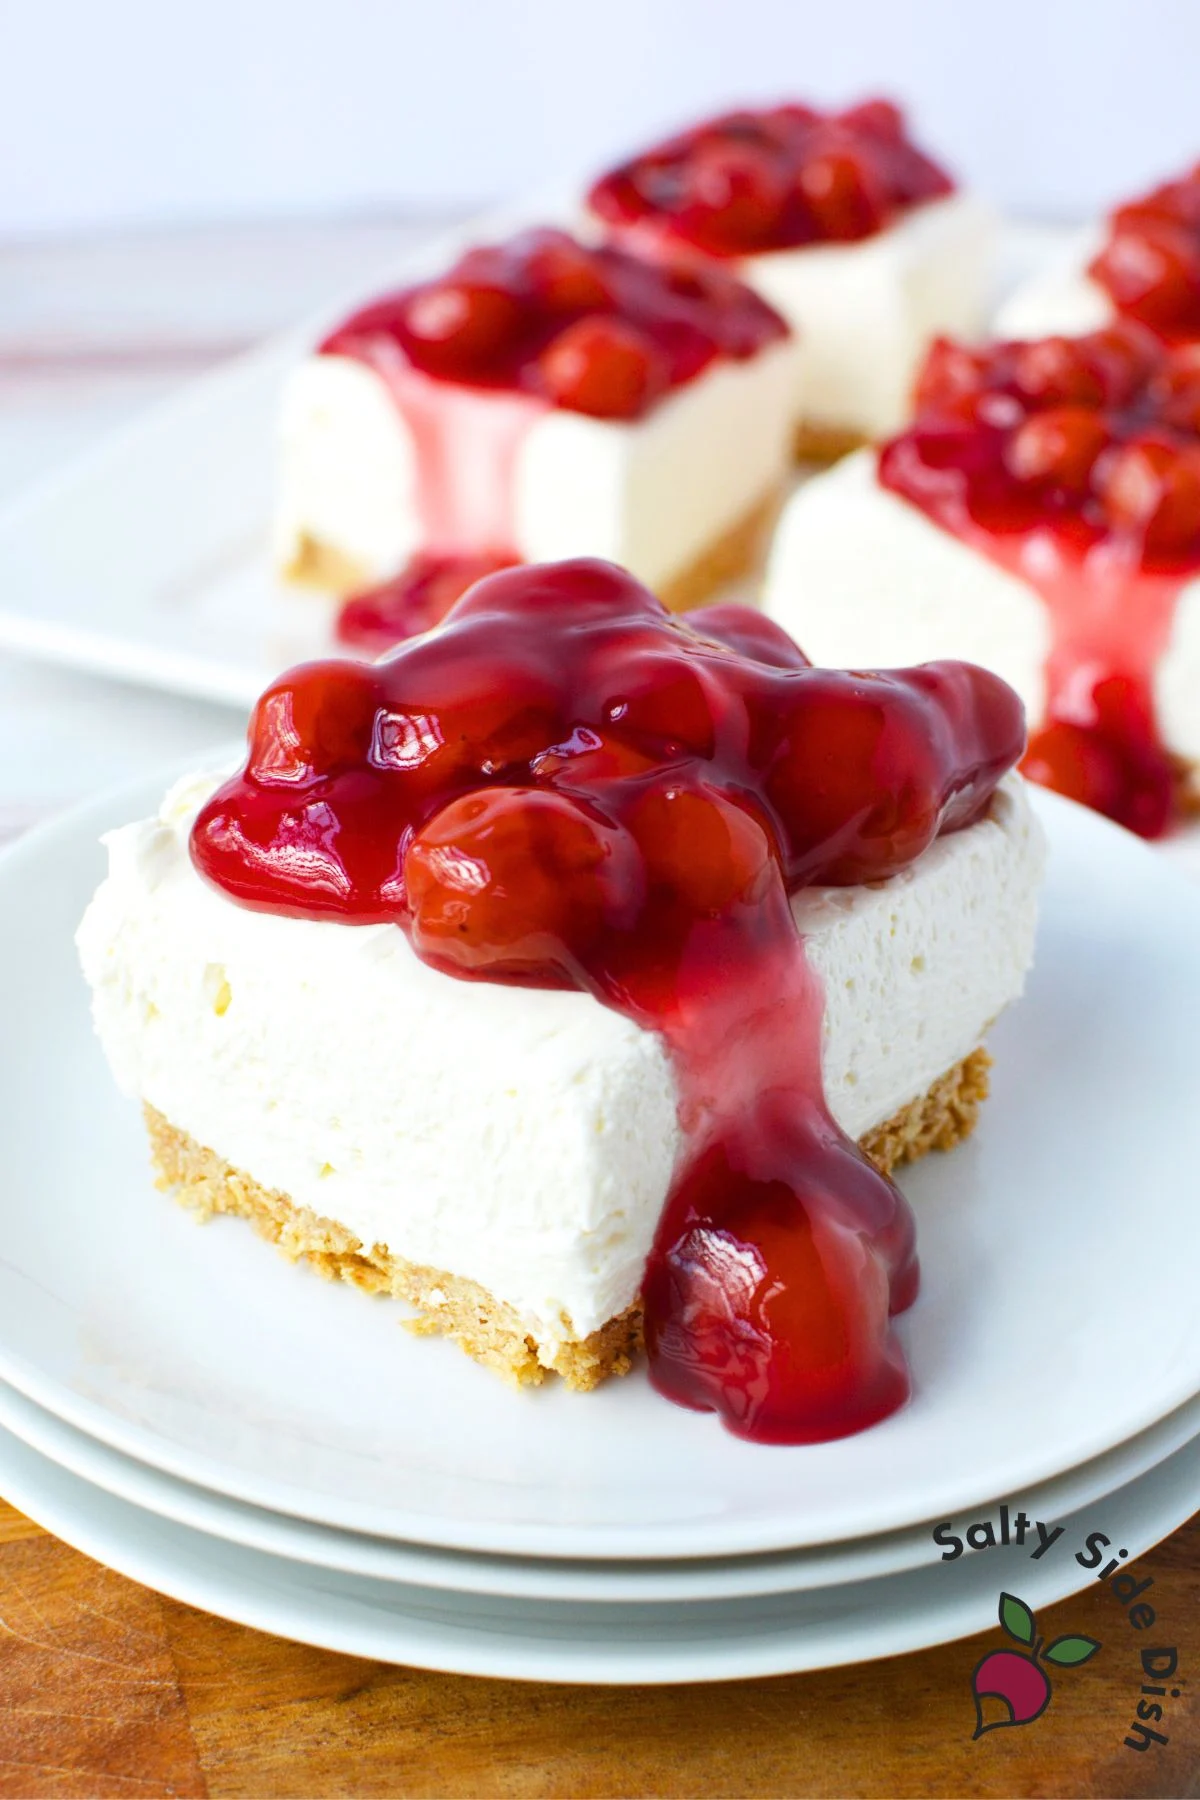
Press the crust firmly. Use the bottom of a measuring cup or a flat glass to compact the crust into the pan. A loosely packed crust crumbles when you cut it. A firmly pressed crust holds together cleanly.
Chill the bars for the full amount of time. Four hours is the minimum, but overnight is even better. The filling needs enough time to firm up so you can cut clean, square slices.
Add the topping right before serving, not earlier. This step makes the difference between a great presentation and a soggy dessert. Keep the cherry pie filling separate until you’re ready to serve.
Make Ahead and Storage
These cherry cheesecake bars are an ideal make-ahead dessert. Assemble the bars the night before, cover the pan tightly, and refrigerate until you’re ready to serve. The filling gets better overnight as everything sets.
Store leftovers covered in the refrigerator for up to 4 days. Keep the cherry pie filling separate in a covered container and spoon it over servings as needed.
These bars can be frozen. Wrap the pan tightly without the cherry topping and freeze for up to 2 months. Thaw overnight in the refrigerator before serving.
Variations
Double the batch. This recipe doubles perfectly into a 9×13 pan and makes about 18 squares. This is perfect for potlucks, cookouts, and holiday parties where you need to feed a crowd.
Swap the topping. The cream cheese and Cool Whip base works with any pie filling. Blueberry, strawberry, and peach are great options if you want something different.
Try a different crust. Crushed Nilla wafers or Golden Oreos work in place of graham crackers and give the bars a sweeter, more cookie-like base.
If you love the cherry and cream cheese combination, the banana split fluff salad uses cherry pie filling as a base and is another easy crowd-pleaser that comes together in minutes.
For a full no bake cherry dessert spread, add the cherry fluff salad to the table. It disappears just as fast. If you want to explore more ways to use that extra can, check out all my cherry pie filling recipes for ideas beyond dessert bars.
FAQ
When do I add the cherry topping to no bake cheesecake bars? Add the cherry pie filling at serving time, not before. Topping the bars ahead of time causes the liquid from the filling to seep into the cheesecake layer and can soften the crust. Slice the bars first, then spoon the topping over each square right before serving.
Why is my no bake cheesecake filling not setting up? The two most common reasons are cream cheese that wasn’t fully softened before mixing, or Cool Whip that was still partially frozen. Both cause uneven mixing and a filling that won’t firm up properly in the fridge. Make sure both are at the right temperature before you start.
How long do no bake cherry cheesecake bars last? Stored covered in the refrigerator, they keep well for up to 4 days. Keep the cherry pie filling stored separately and add it fresh to each serving.
What’s the difference between no bake cherry cheesecake bars and a regular cheesecake? No bake cheesecake bars skip the eggs, the oven, and the water bath. The texture is lighter and fluffier than a baked cheesecake — closer to a thick mousse or cream pie than a dense New York-style slice. They’re also significantly easier to make and much more forgiving.
Ingredients
For the crust:
For the filling:
For the topping:
Equipment
- 8 x 8 pan
Steps
- 1
Line an 8x8 baking dish with parchment paper and set aside. Combine the graham cracker crumbs, sugar, and melted butter and stir until everything is evenly moistened. Spoon the mixture into the prepared pan and use the back of a spoon to press it into an even, firm layer. Refrigerate while you make the filling.
- 2
Beat the softened cream cheese, powdered sugar, and vanilla together until completely smooth with no lumps. Add the Cool Whip and beat again until the filling is light, fluffy, and fully combined.
- 3
Spoon the filling over the chilled crust and spread it into an even layer with a spatula. Cover and refrigerate for at least 4 hours, or overnight. It needs to be firmed, so if you can let it sit up to 6 hours, that really helps.
- 4
When ready to serve, slice into 9 squares. Spoon the cherry pie filling over individual squares right before serving.
Filed under Dessert Recipes No Bake Desserts