Easy & Festive Deviled Brownies: The Perfect Easter Treat
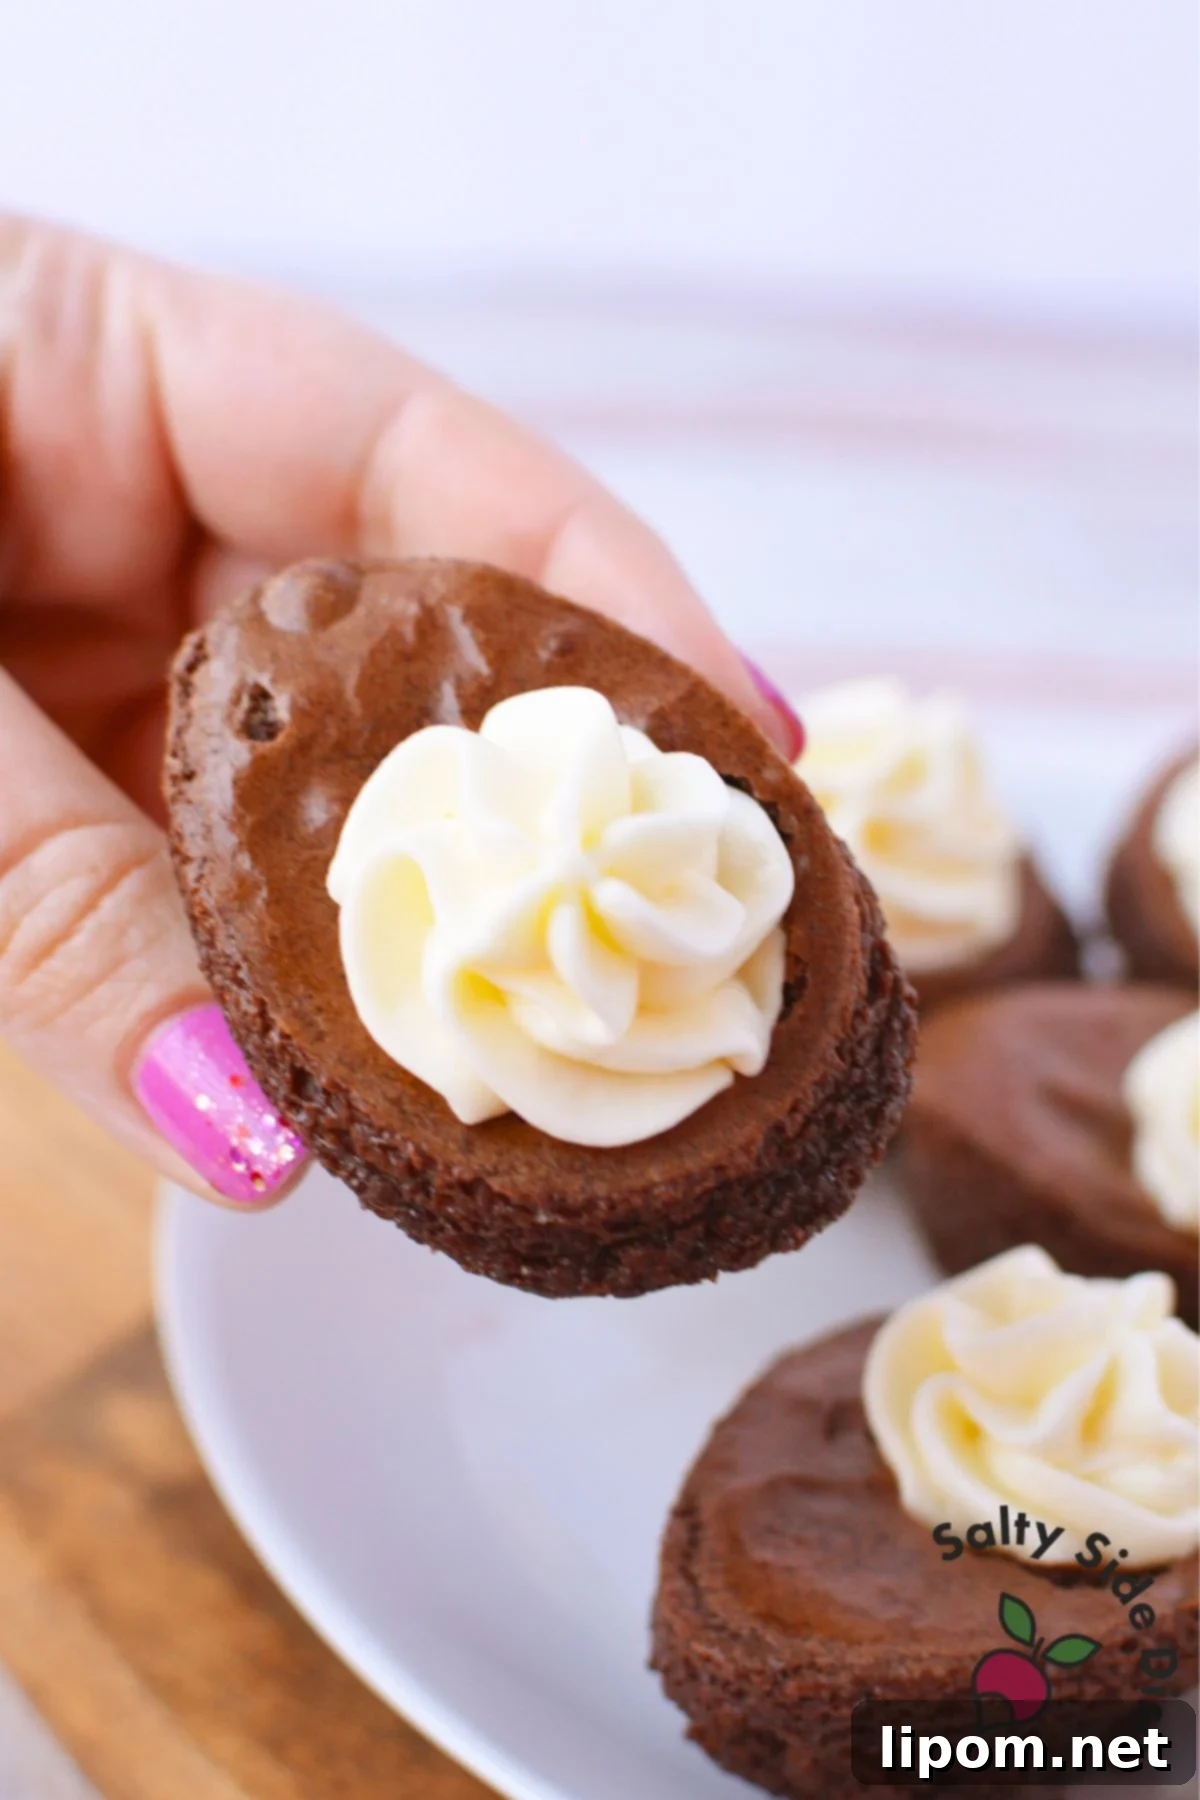
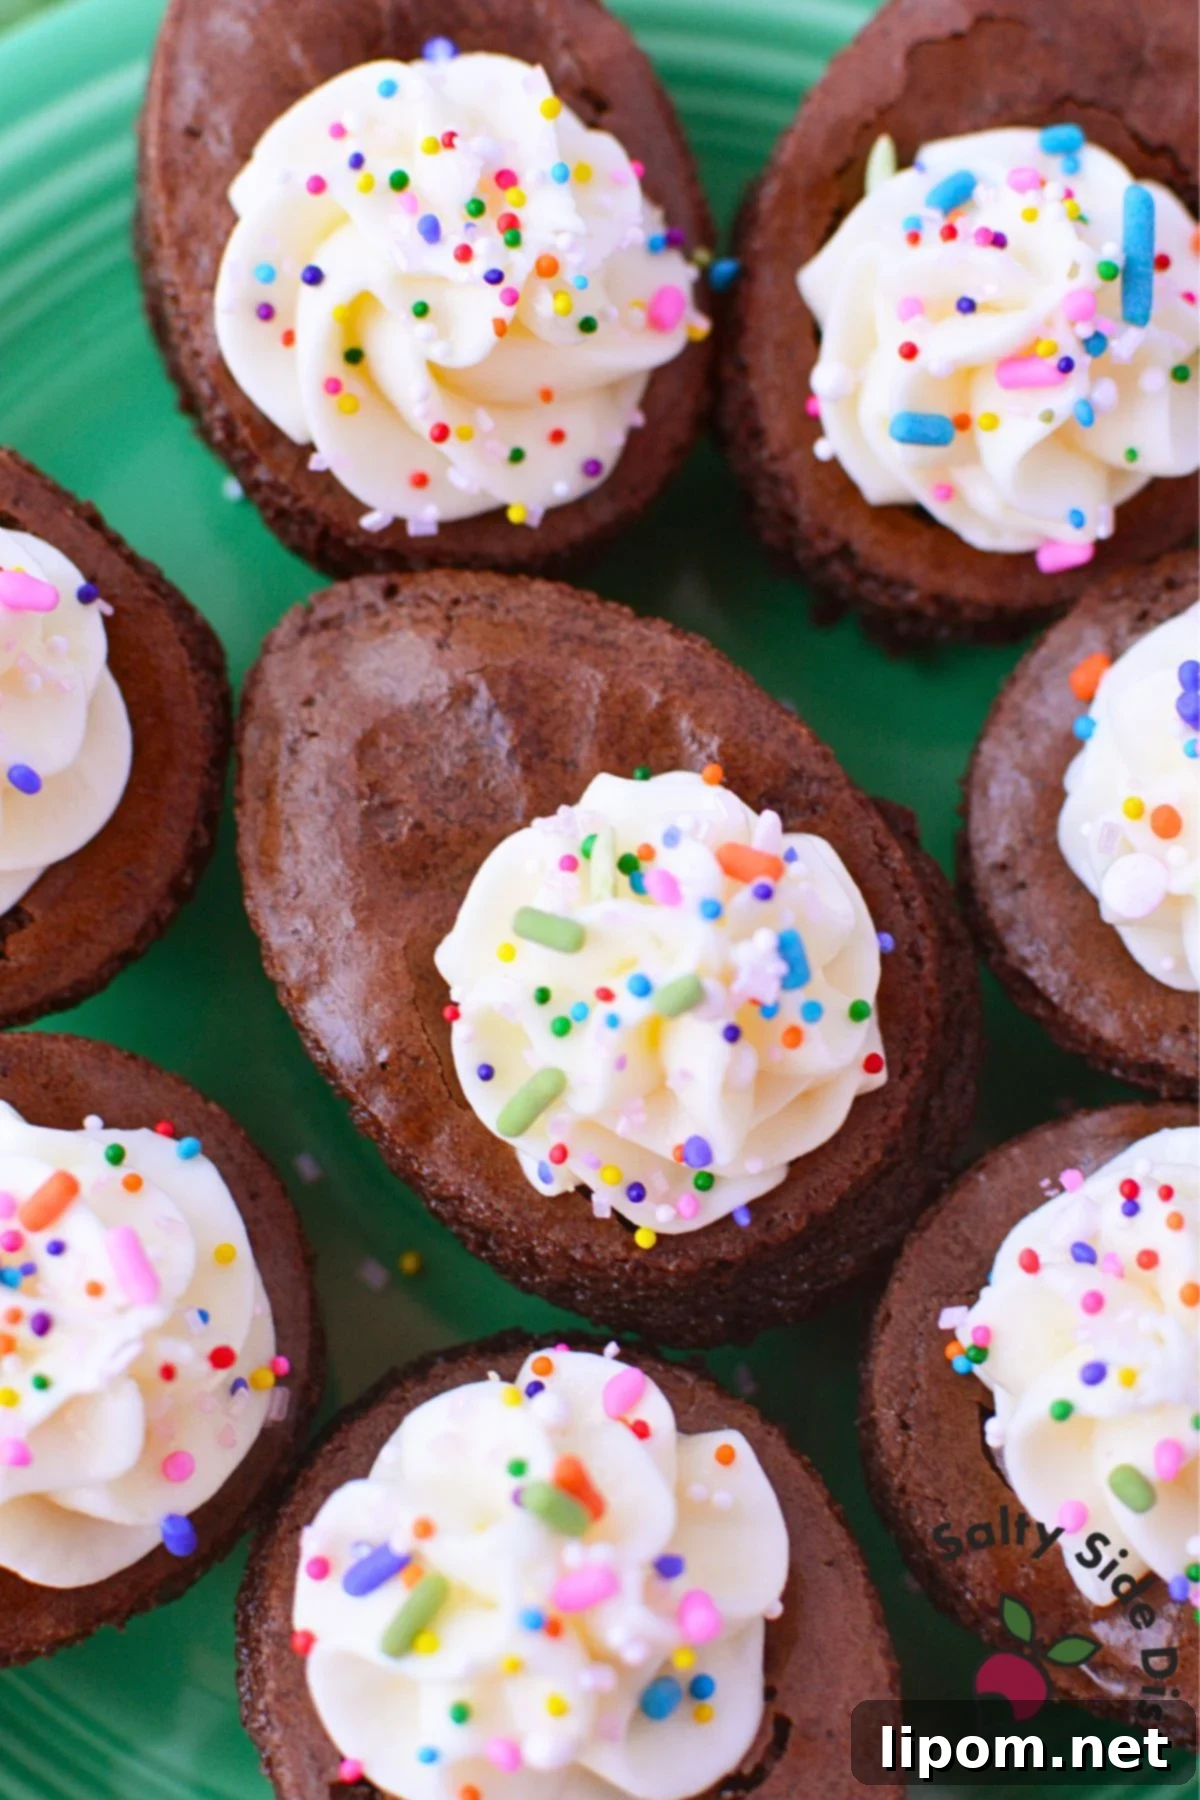
Looking for a show-stopping dessert to brighten up your Easter celebration? These adorable deviled brownies, shaped like Easter eggs, are the perfect combination of rich chocolate and tangy sweetness. Made with a simple brownie mix and topped with a creamy cream cheese marshmallow filling, these treats are incredibly easy to make and guaranteed to be a crowd-pleaser.
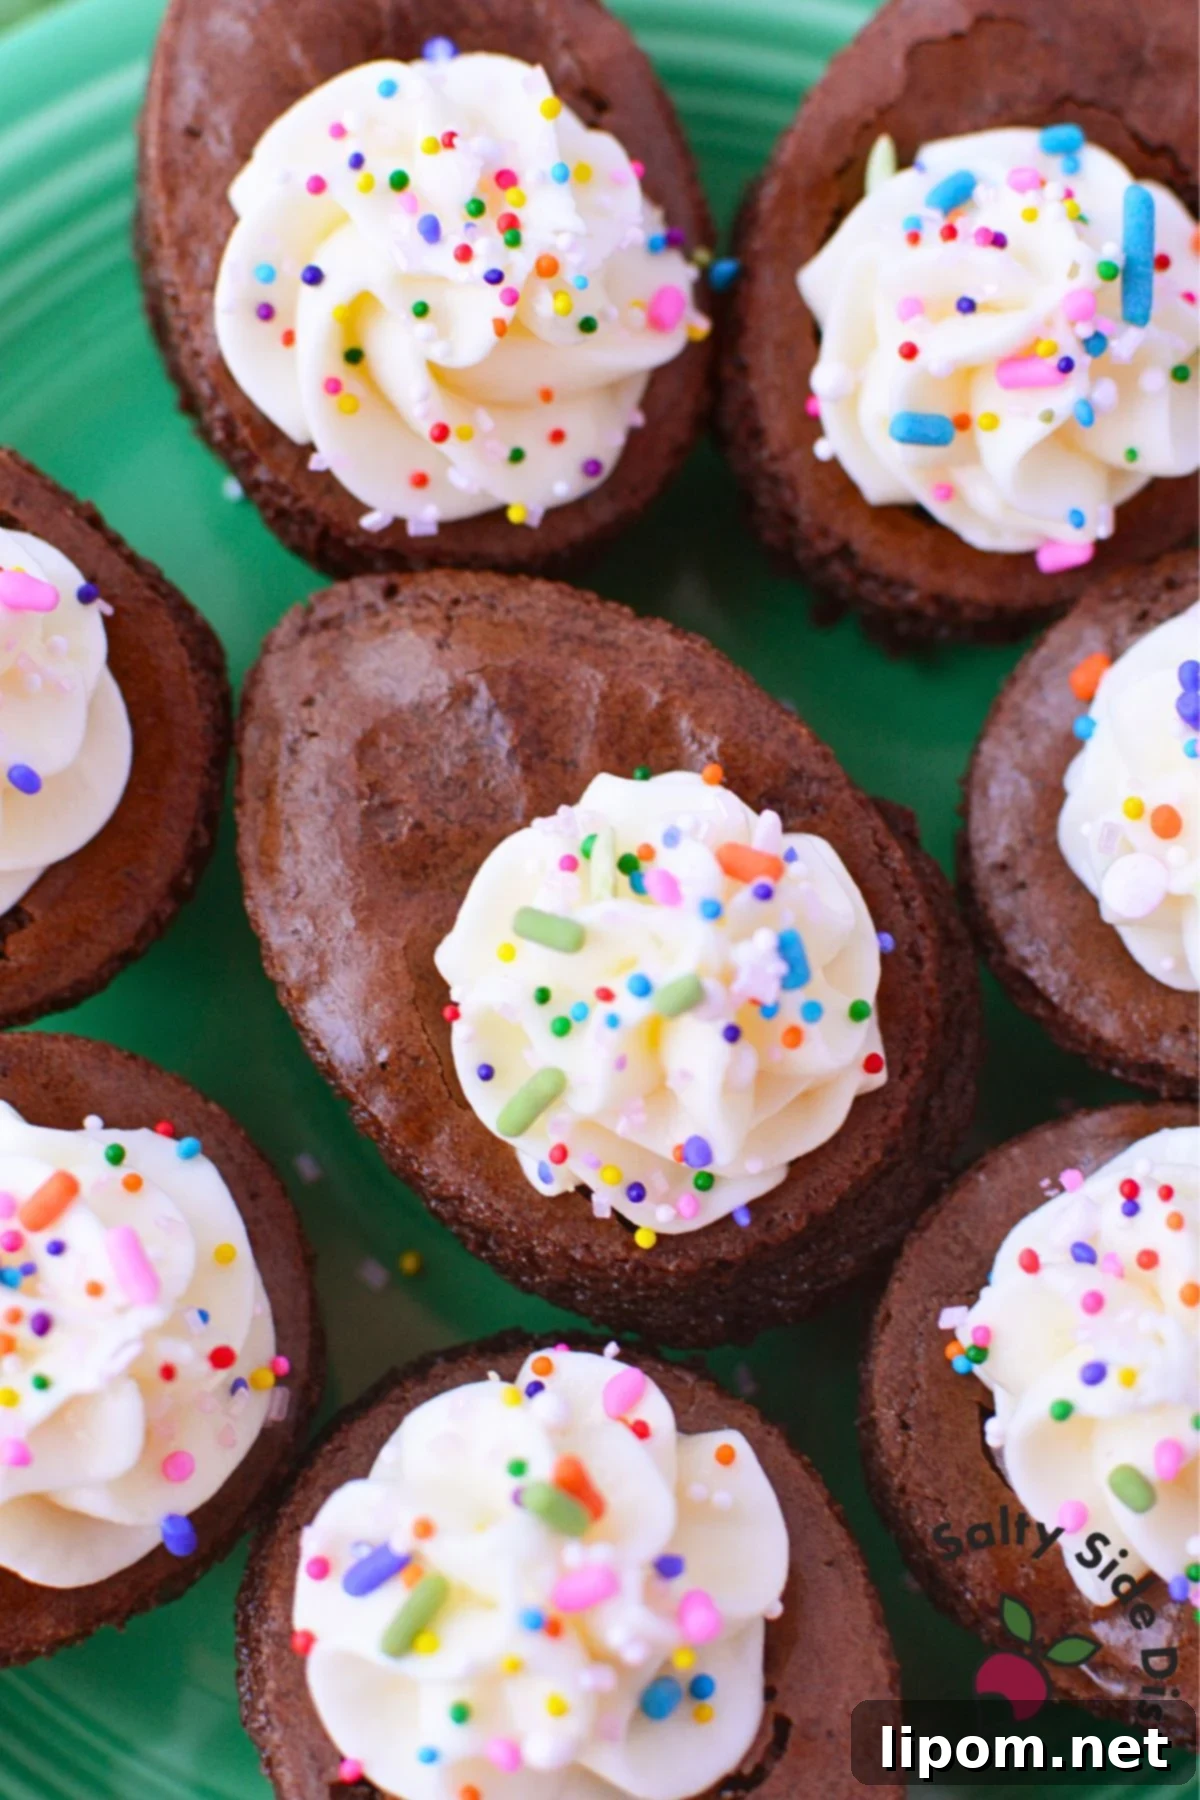
Move beyond the traditional decorated eggs and impress your guests with these delightful brownie eggs. The unique egg shape creates charming individual servings, while the luscious cream cheese filling perfectly complements the decadent chocolate flavor. Get ready to elevate your Easter dessert game!
What Makes These Deviled Brownies So Special?
These aren’t your average brownies! The term “deviled” refers to the delightful surprise of the tangy cream cheese marshmallow filling that creates a perfect balance of sweet and savory. The filling prevents the brownies from being overly sweet, making them irresistible to everyone.
Irresistible Easter Egg Brownies: Ingredients You’ll Need
Let’s gather the ingredients to create these delicious Easter egg brownies. The recipe is divided into two parts: the brownie base and the delectable deviled filling.
Brownie Base Ingredients:
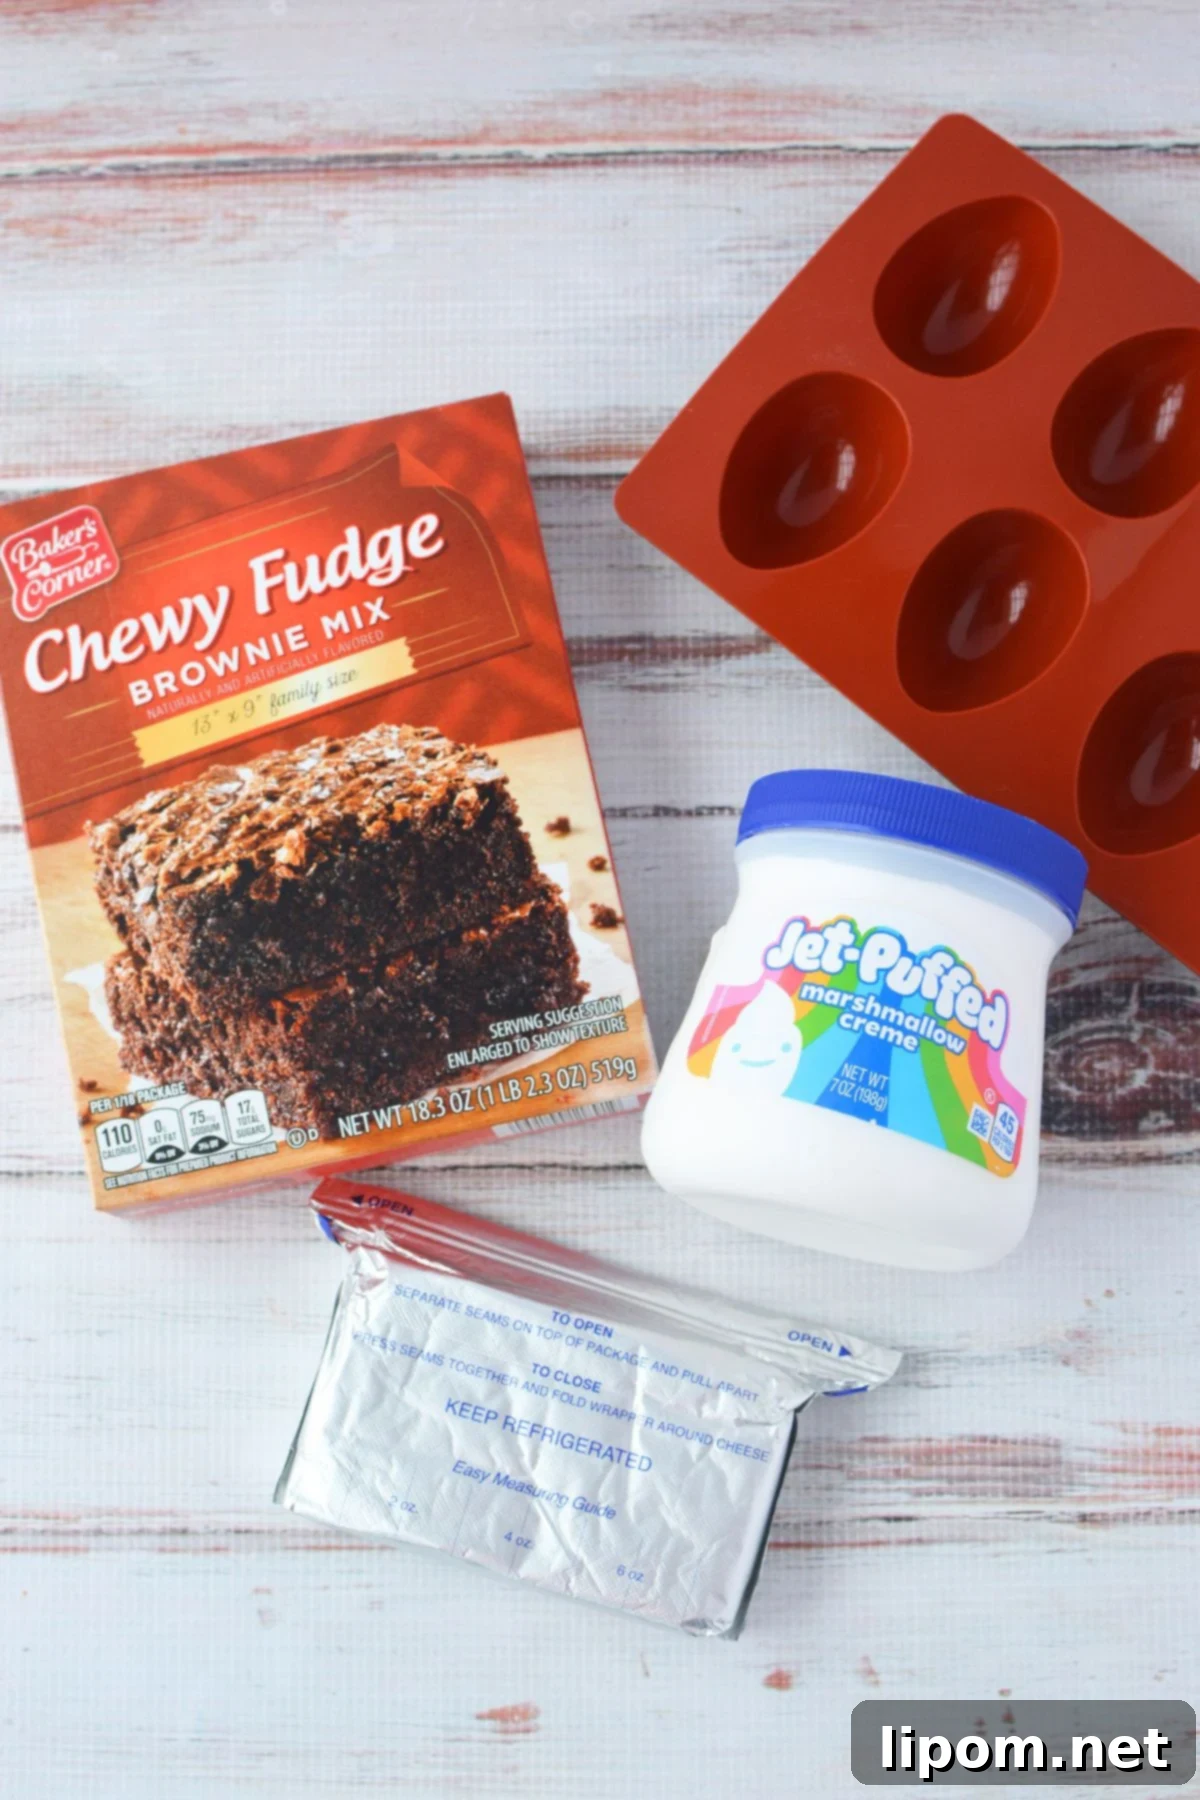
- 1 box (18.3 oz) brownie mix (plus ingredients listed on the package: usually water, oil, and eggs)
- Nonstick cooking spray
Deviled Filling Ingredients:
- 1 block (8 oz) cream cheese, softened to room temperature
- 1 jar (7 oz) marshmallow creme
- Colorful sprinkles (optional, but highly recommended for an Easter touch!)
Essential Equipment for Perfect Brownie Eggs
To achieve the adorable egg shape, you’ll need a few specialized tools. Don’t worry; they’re readily available and will make the process much easier!
- Egg-shaped silicone molds – Crucial for creating the perfect Easter egg shape. Consider purchasing two molds to bake all the batter from a standard brownie mix at once.
- 2-tablespoon portion scoop – Ensures uniform brownie sizes, so each egg is consistent and bakes evenly.
- 18-inch pastry bag fitted with a 1M piping tip – This combination allows you to create beautiful swirls of cream cheese filling on top of each brownie egg.
Step-by-Step Guide: How to Make Deviled Brownies
Follow these simple steps to create these delightful deviled brownies. Get ready to enjoy the baking process!
Step 1: Preparing the Brownie Eggs
- Preheat your oven to 350°F (175°C).
- Prepare the brownie batter according to the package directions. Be sure to mix thoroughly for a smooth and even consistency.
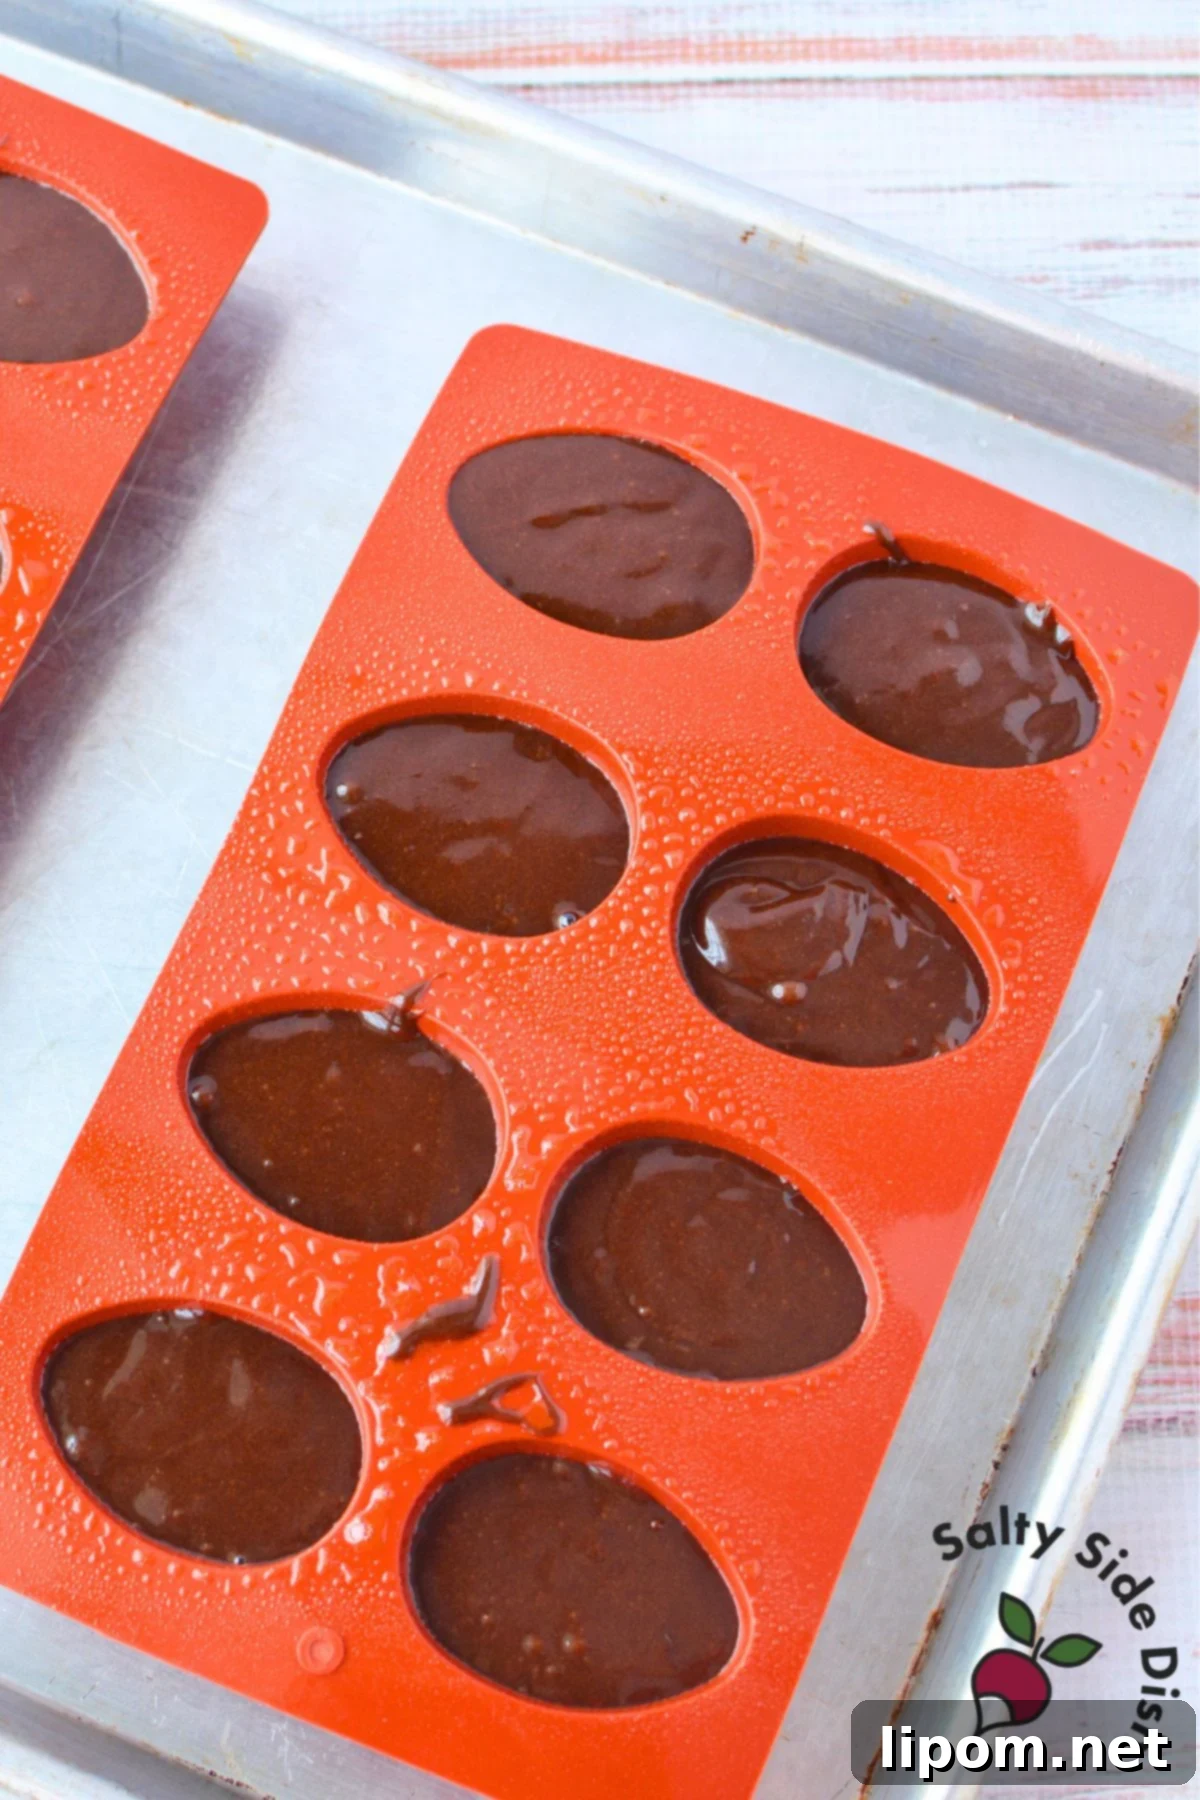
- Generously spray the egg molds with nonstick cooking spray. This is important to prevent the brownies from sticking and ensure easy removal.
- Using the 2-tablespoon portion scoop, fill each egg cavity with brownie batter. Try to fill evenly for consistent shapes.
Step 2: Baking to Perfection
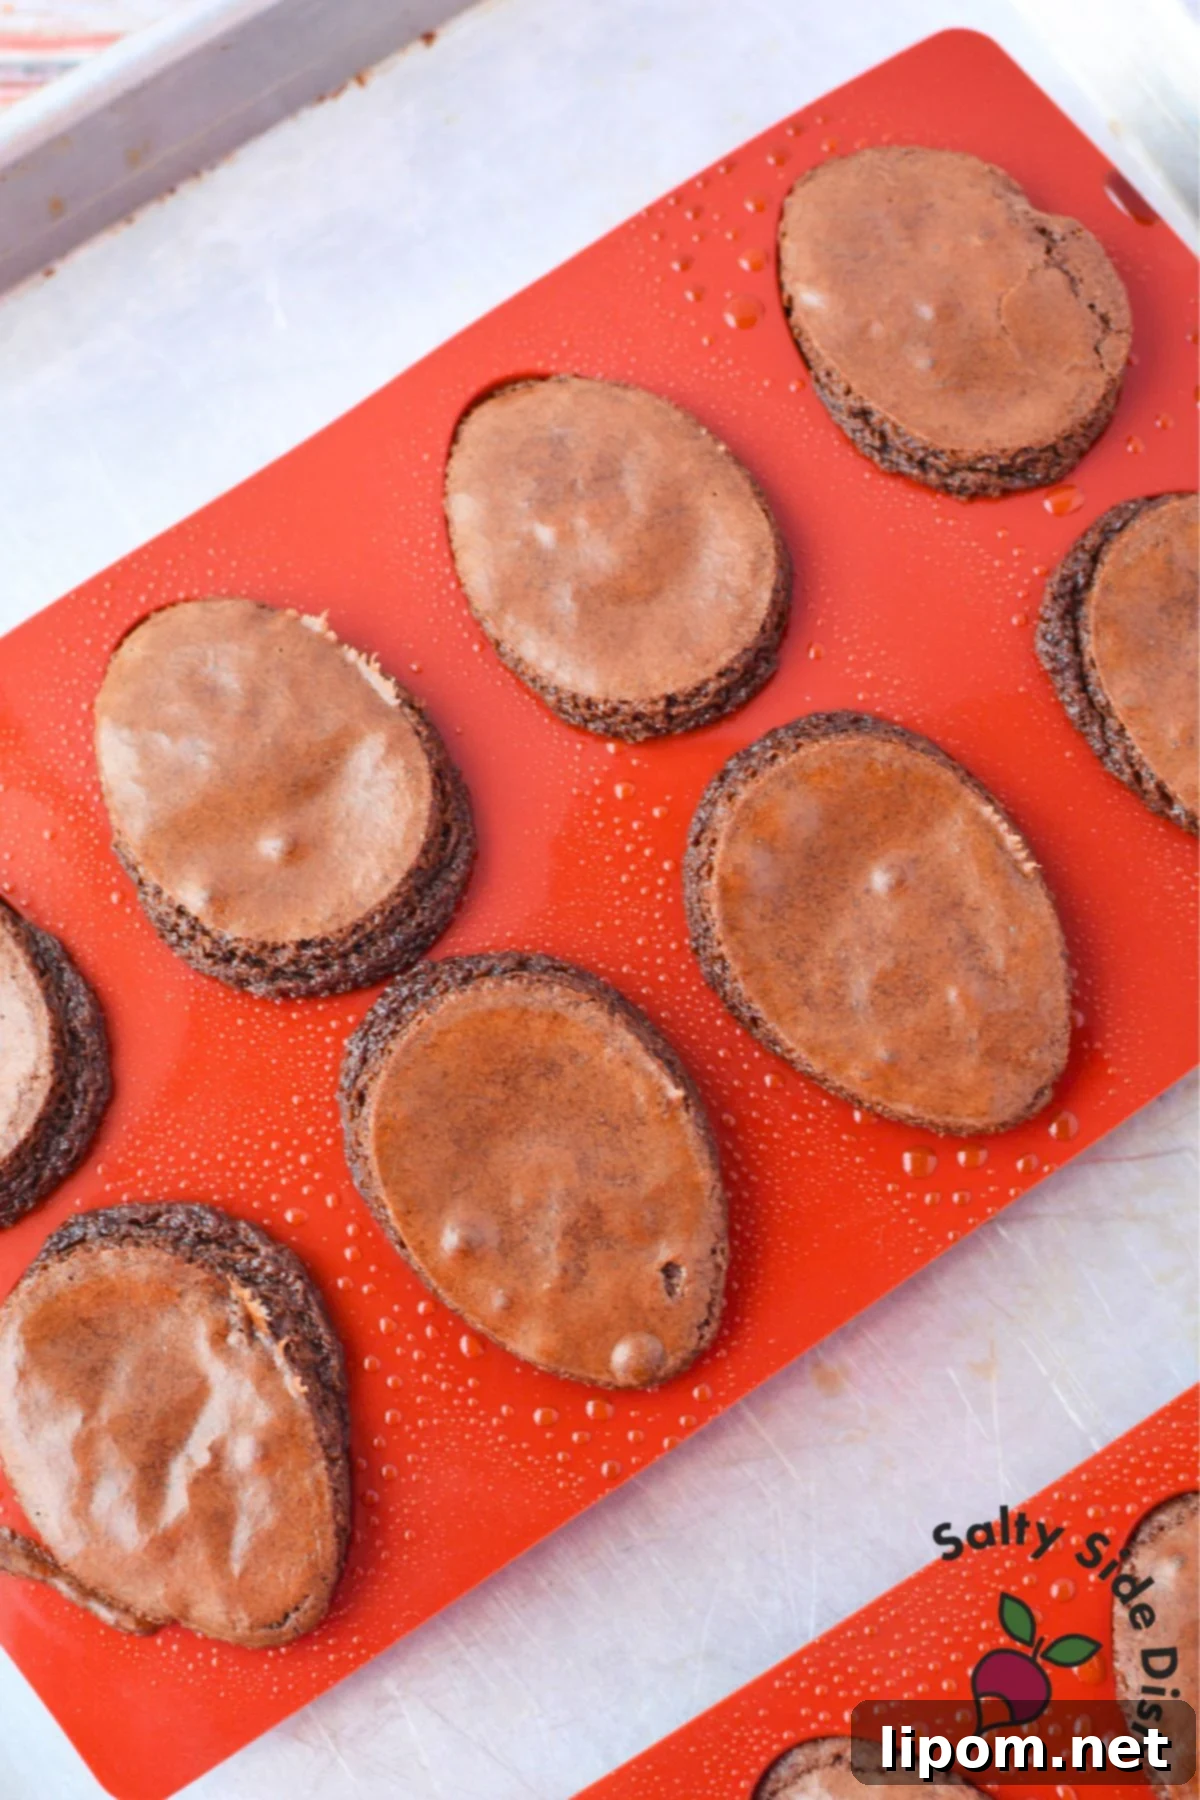
- Bake the brownie eggs for 24-26 minutes, or until a toothpick inserted into the center comes out clean. Check for doneness at the 24-minute mark and adjust the baking time accordingly.
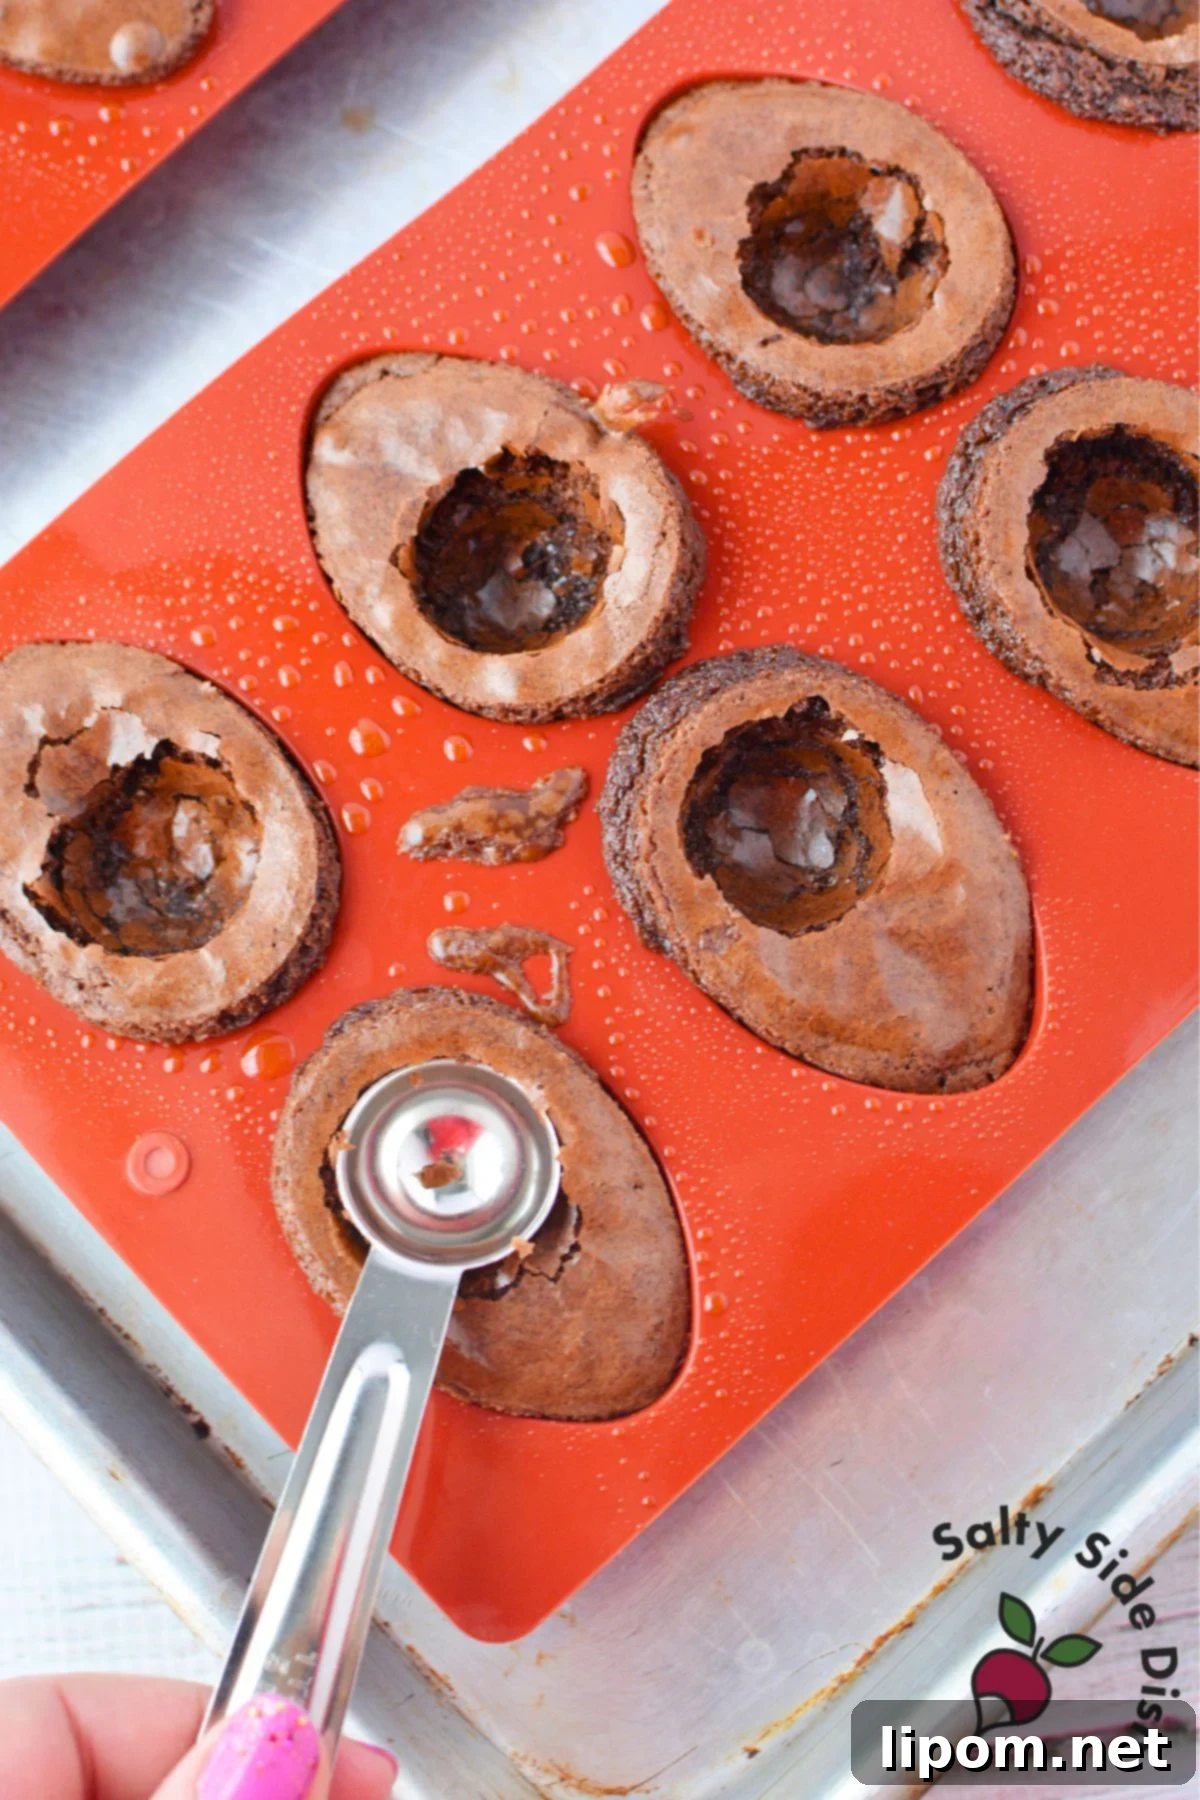
- Remove the brownies from the oven. While they are still HOT, use a 1/2 teaspoon to gently press it into the brownie to make a divot in the center. This creates a perfect well for the delicious cream cheese filling.
- Let the brownie eggs cool COMPLETELY before removing them from the pan. This is crucial – don’t rush this step! Allowing the brownies to cool completely helps them to set and prevents them from breaking when removed from the molds. This will likely take an hour or so.
Step 3: Removing and Shaping the Brownie Eggs
- Once they are cool, carefully remove the brownies from the silicone molds. Gently pull back the silicone and invert the mold, allowing the eggs to pop out. Be slow and gentle to avoid squishing the delicate egg shape.
- If needed, gently press the bottom of each brownie egg on a flat surface to flatten slightly, as they tend to be rounded after baking. Arrange the eggs on a serving platter for an appealing presentation.
Step 4: Creating the Delectable Deviled Filling
- In a large bowl, beat together the softened cream cheese and marshmallow cream until smooth. Make sure to scrape down the sides of the bowl at least once during mixing to ensure everything is well combined.
- Transfer the creamy filling mixture to an 18-inch pastry bag fitted with a 1M piping tip. This will make piping the filling onto the brownies easy and neat.
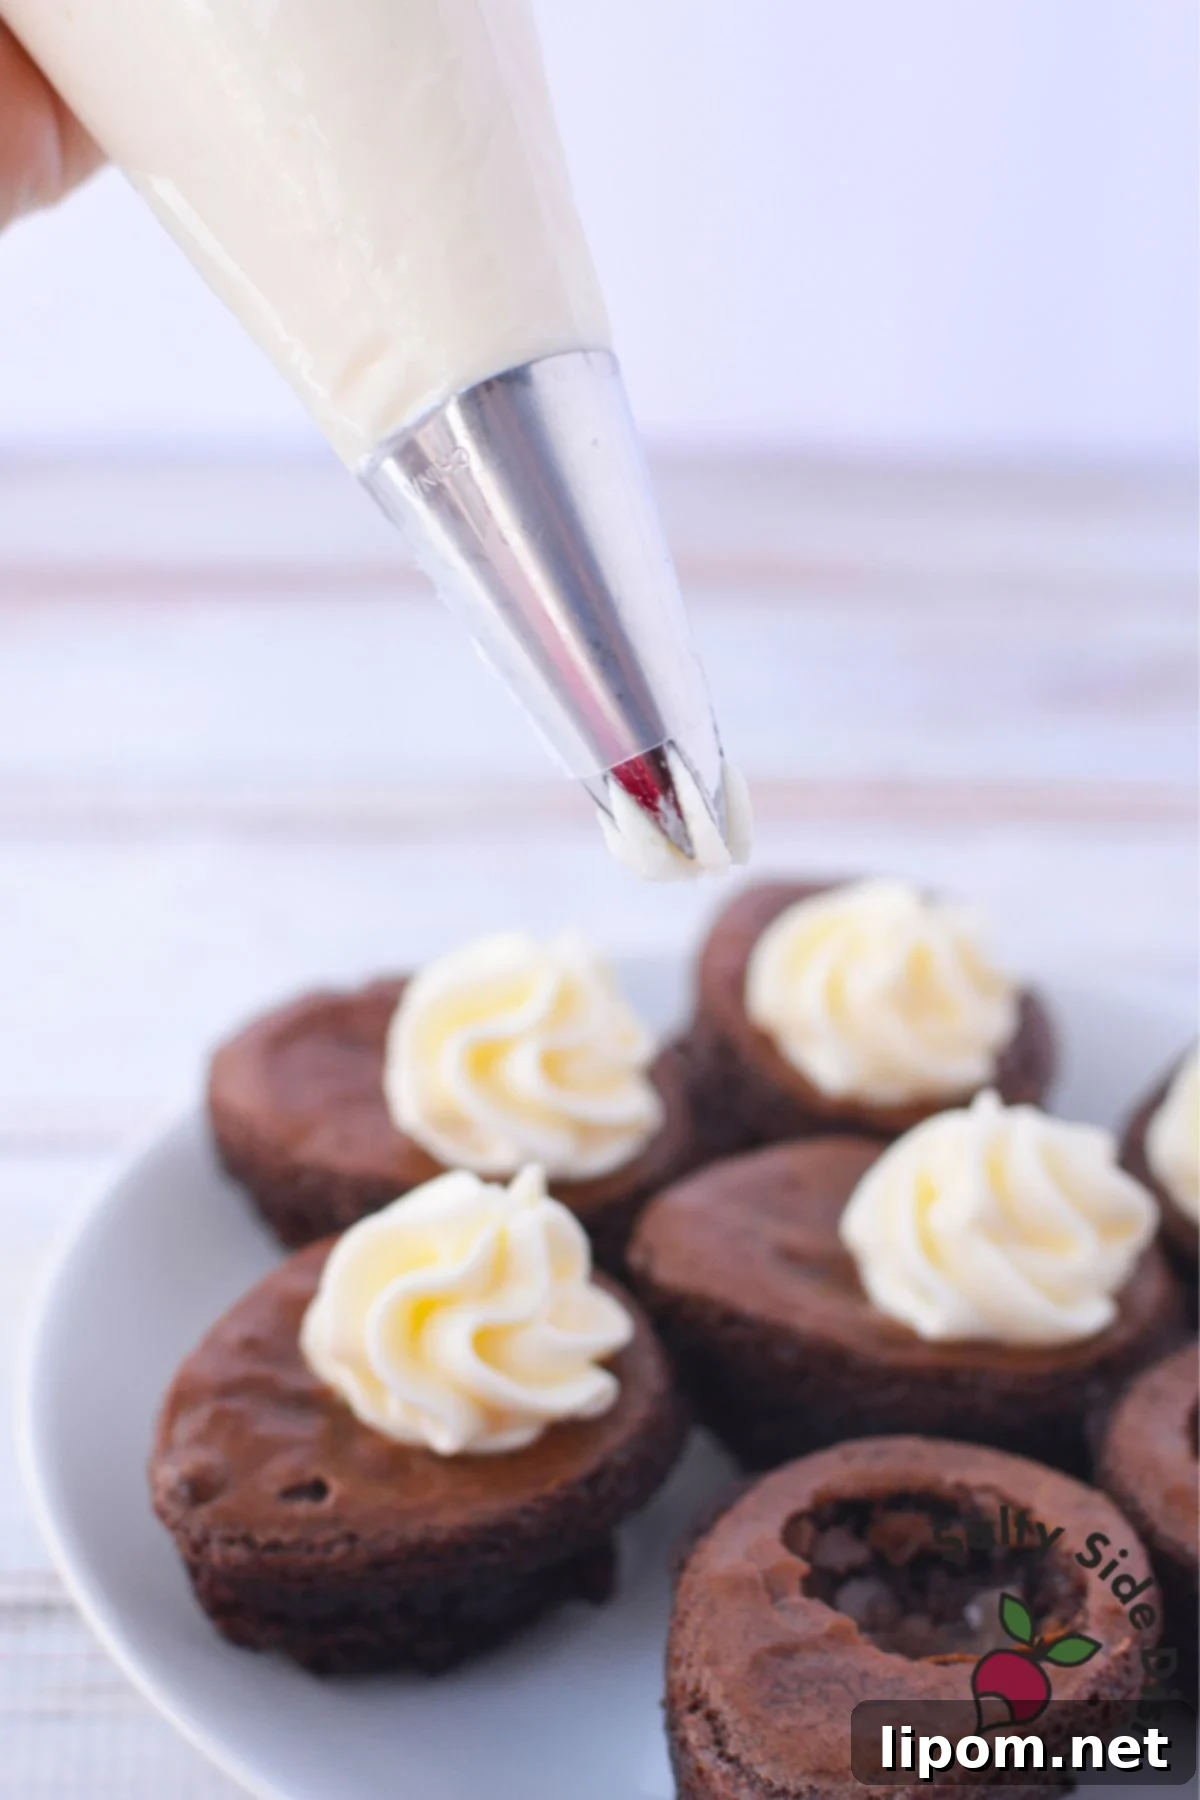
Step 5: Piping and Decorating Your Brownie Masterpieces
- Pipe a generous swirl of cream cheese filling onto the divot of each brownie egg. Get creative with your piping – create tall swirls, delicate rosettes, or any design you desire.
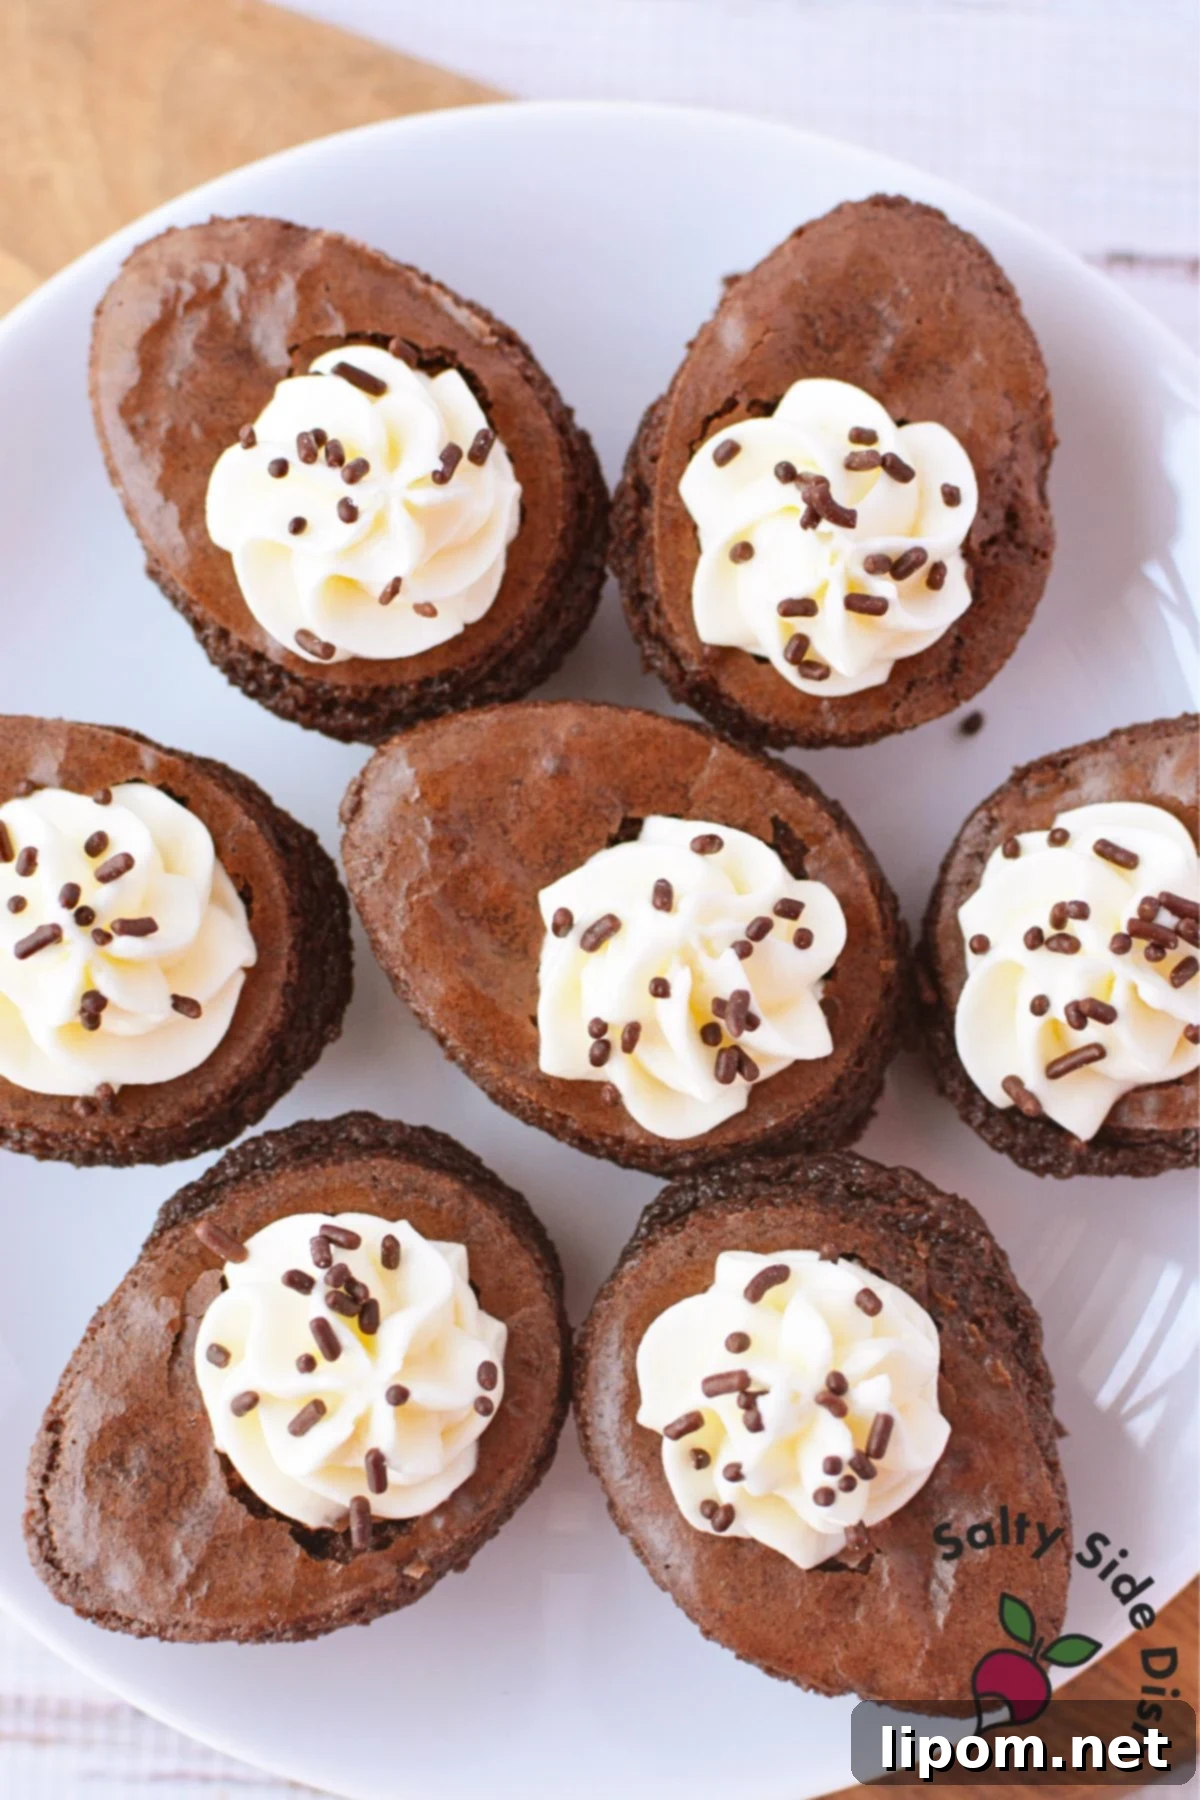
- Top with colorful Easter sprinkles, if desired. Only add sprinkles immediately before serving, as they may bleed into the frosting if added too early.
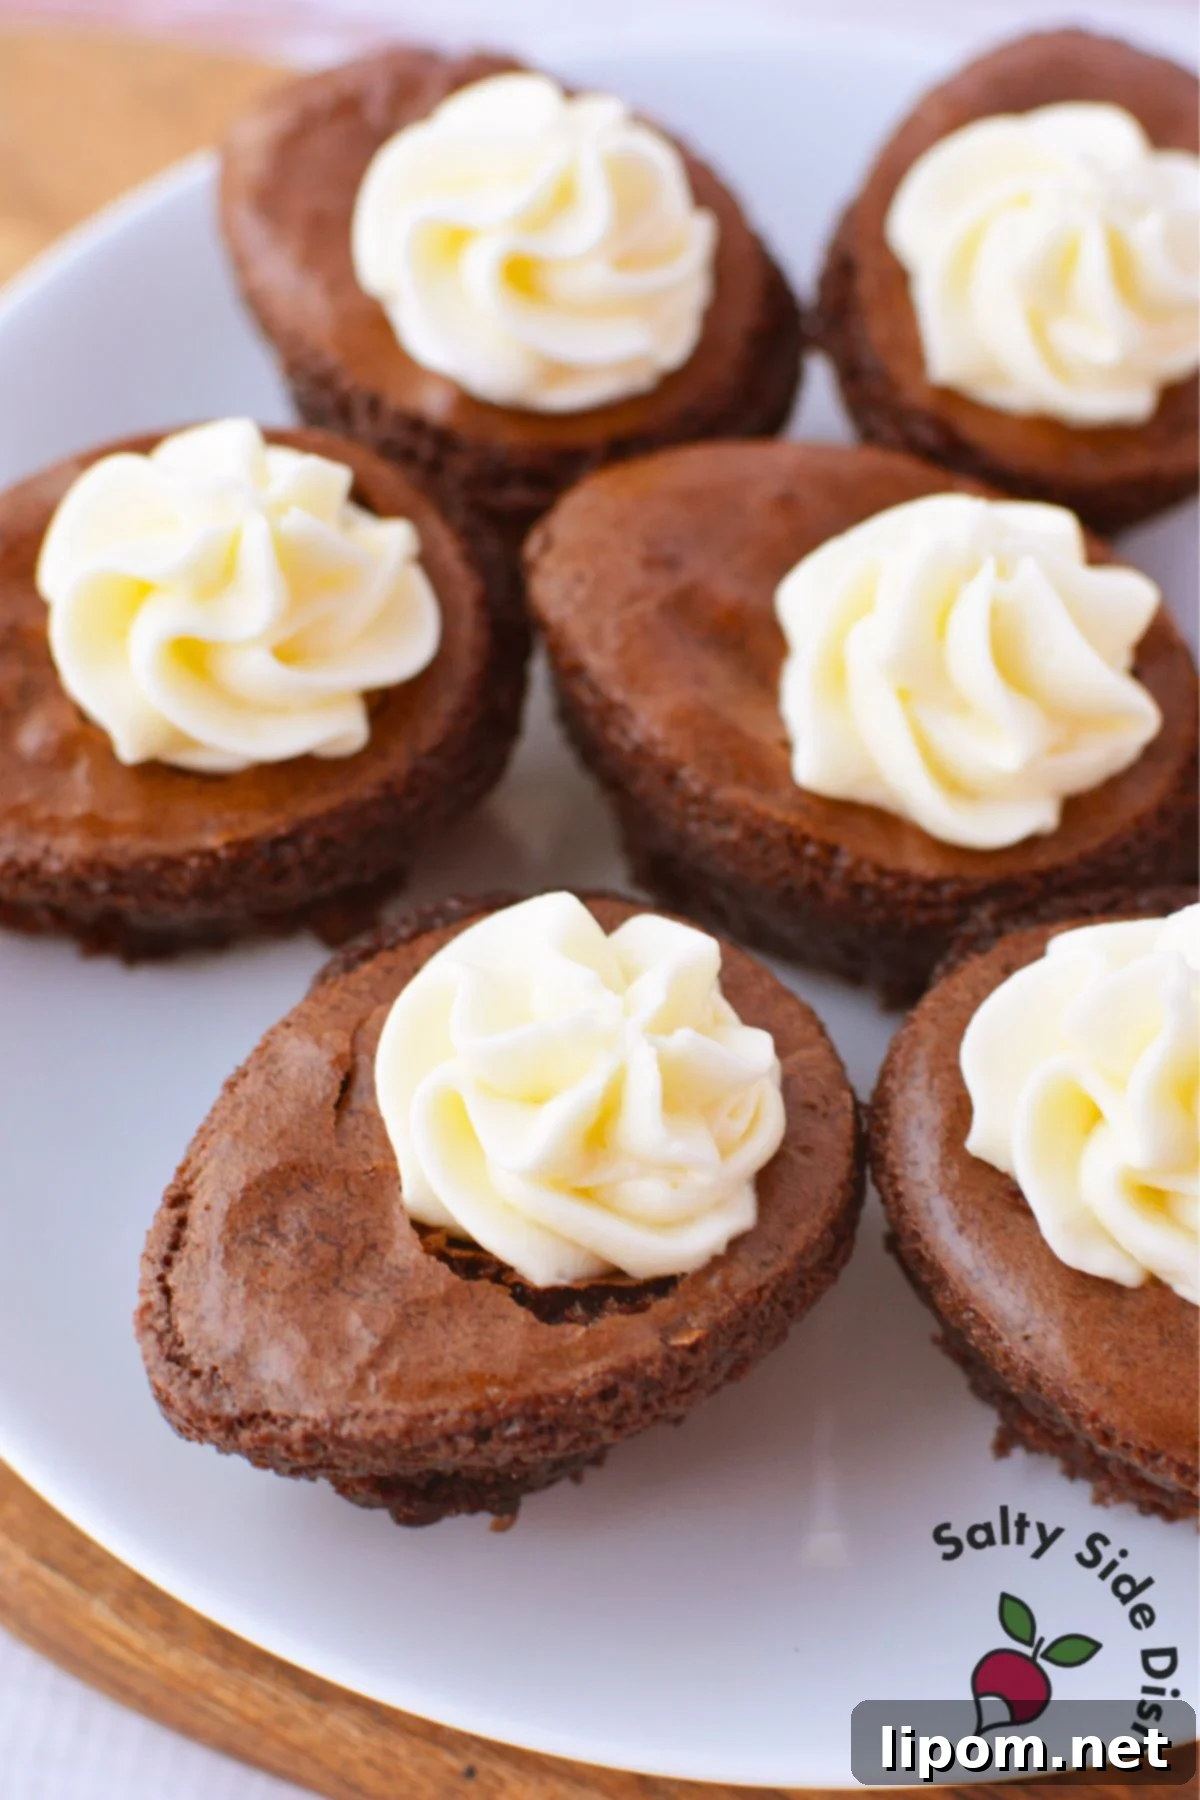
Step 6: Chilling and Serving for Ultimate Enjoyment
Store the deviled brownies covered in the refrigerator until ready to serve. The cream cheese filling needs to stay chilled to maintain its texture and freshness.
Storing Your Easter Brownie Creations
To maintain optimal flavor and texture, keep these Easter brownies in the fridge in a covered container for 3-4 days. Ensure the container is airtight to prevent the brownies from drying out.
Essential Tips for Perfect Easter Egg Brownies
Follow these pro tips to ensure your deviled brownies are a resounding success!
- Let the brownies cool completely before removing from the molds: This is the most critical step! Rushing the cooling process can result in broken and crumbly brownies. The brownies need ample time to set properly.
- One standard 18.3 oz brownie box makes about 24 eggs, which fills 2-3 molds, depending on the mold size. You might have a bit of extra batter. If so, bake the extra batter in a small pan for another treat!
- Make these a day ahead if needed. Preparing the brownies a day in advance can save you time on Easter Day. Just be sure to keep them refrigerated.
Creative Filling Variations for Your Brownie Eggs
While the cream cheese and marshmallow filling is a classic choice, don’t be afraid to experiment with different flavors! Here are some delicious variations to inspire you:
- Peanut Butter Delight: Add 2-3 tablespoons of peanut butter to the cream cheese filling for a rich and nutty twist.
- Cookie Butter Sensation: Swap the marshmallow cream for cookie butter for a spiced and caramelized flavor.
- Classic Buttercream: If you prefer a more traditional frosting, regular buttercream frosting works wonderfully (even store-bought buttercream for a quick and easy option!).
- Pastel Perfection: Tint the filling with food coloring for beautiful pastel Easter colors.
- Valentine’s Day Treat: Go for red or pink food coloring to transform these brownies into a sweet treat for Valentine’s Day.
These deviled brownies are the perfect Easter desserts for parties, family gatherings, and spring bake sales. If you make them, I’d love to hear how they turned out! Share your creations on social media and tag us!