
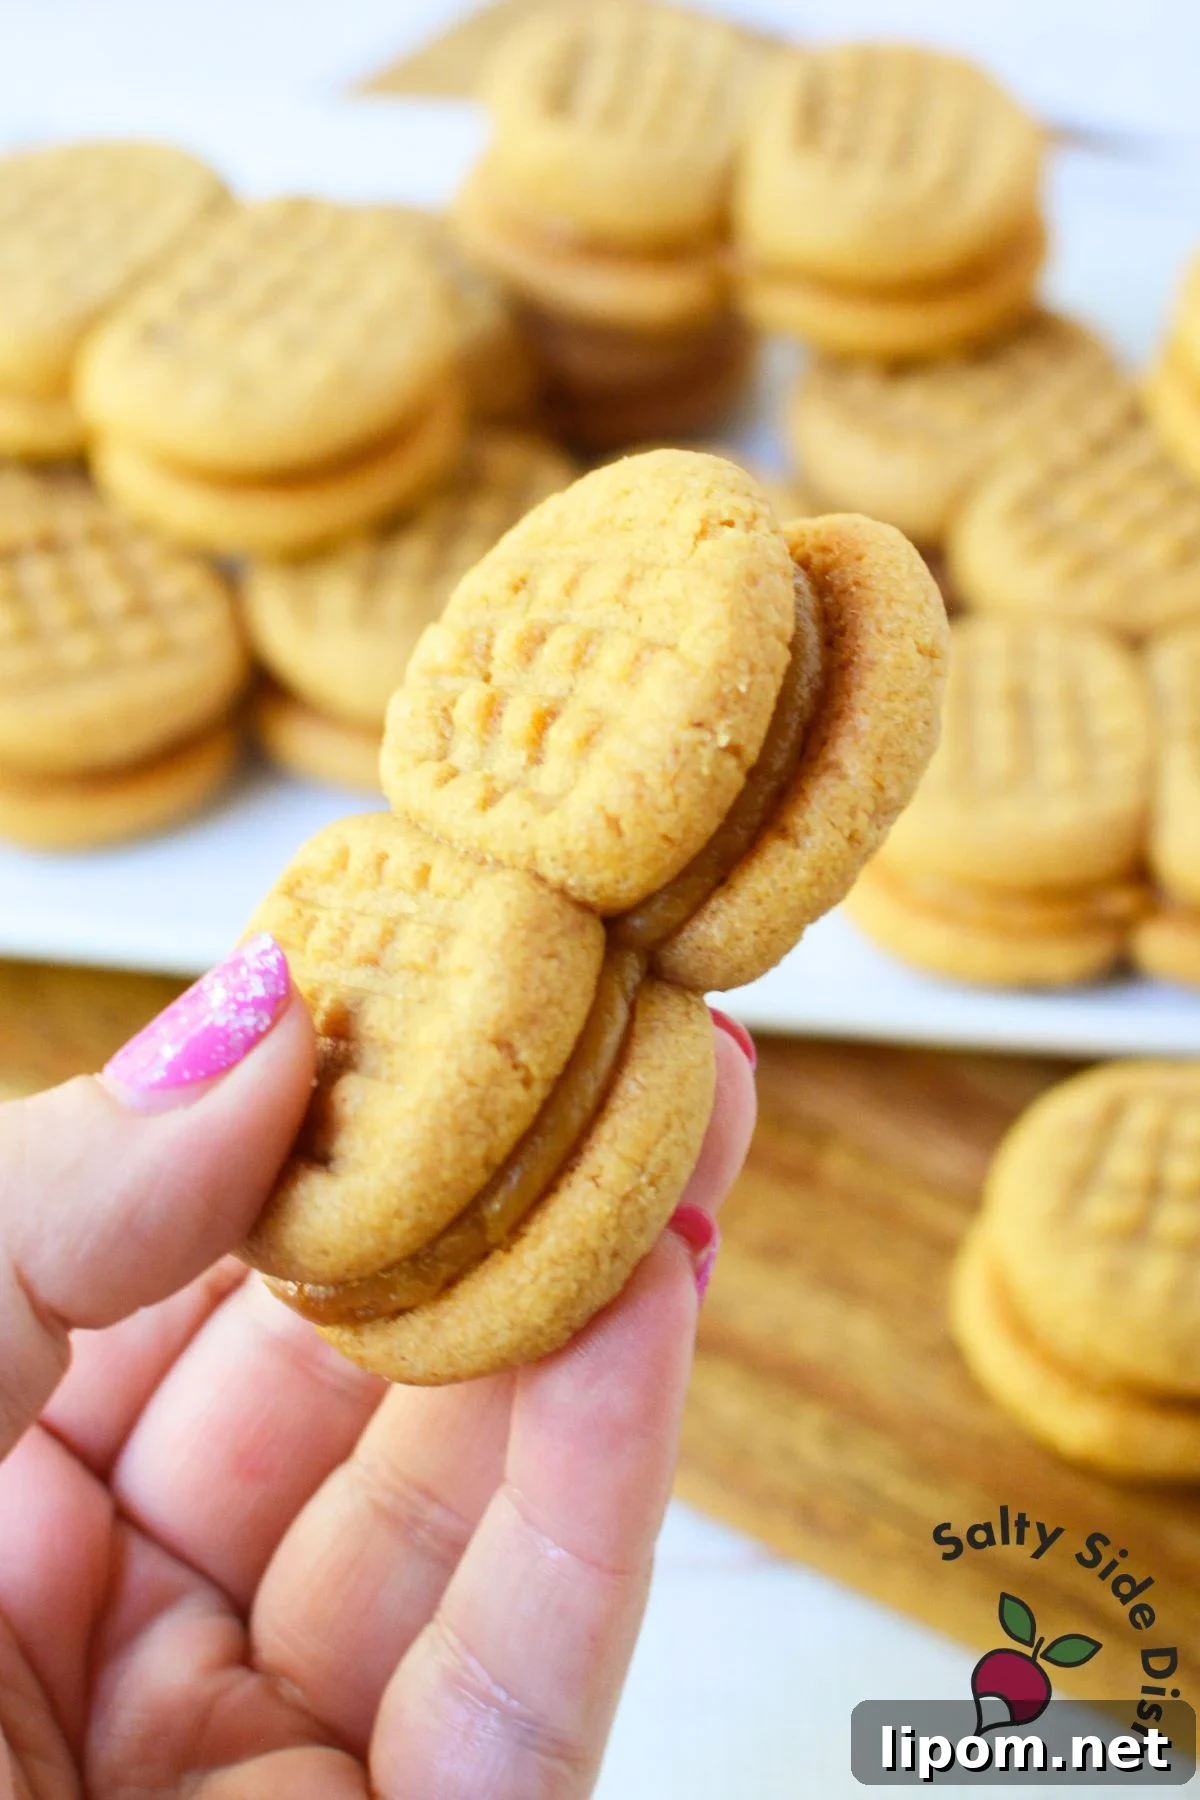
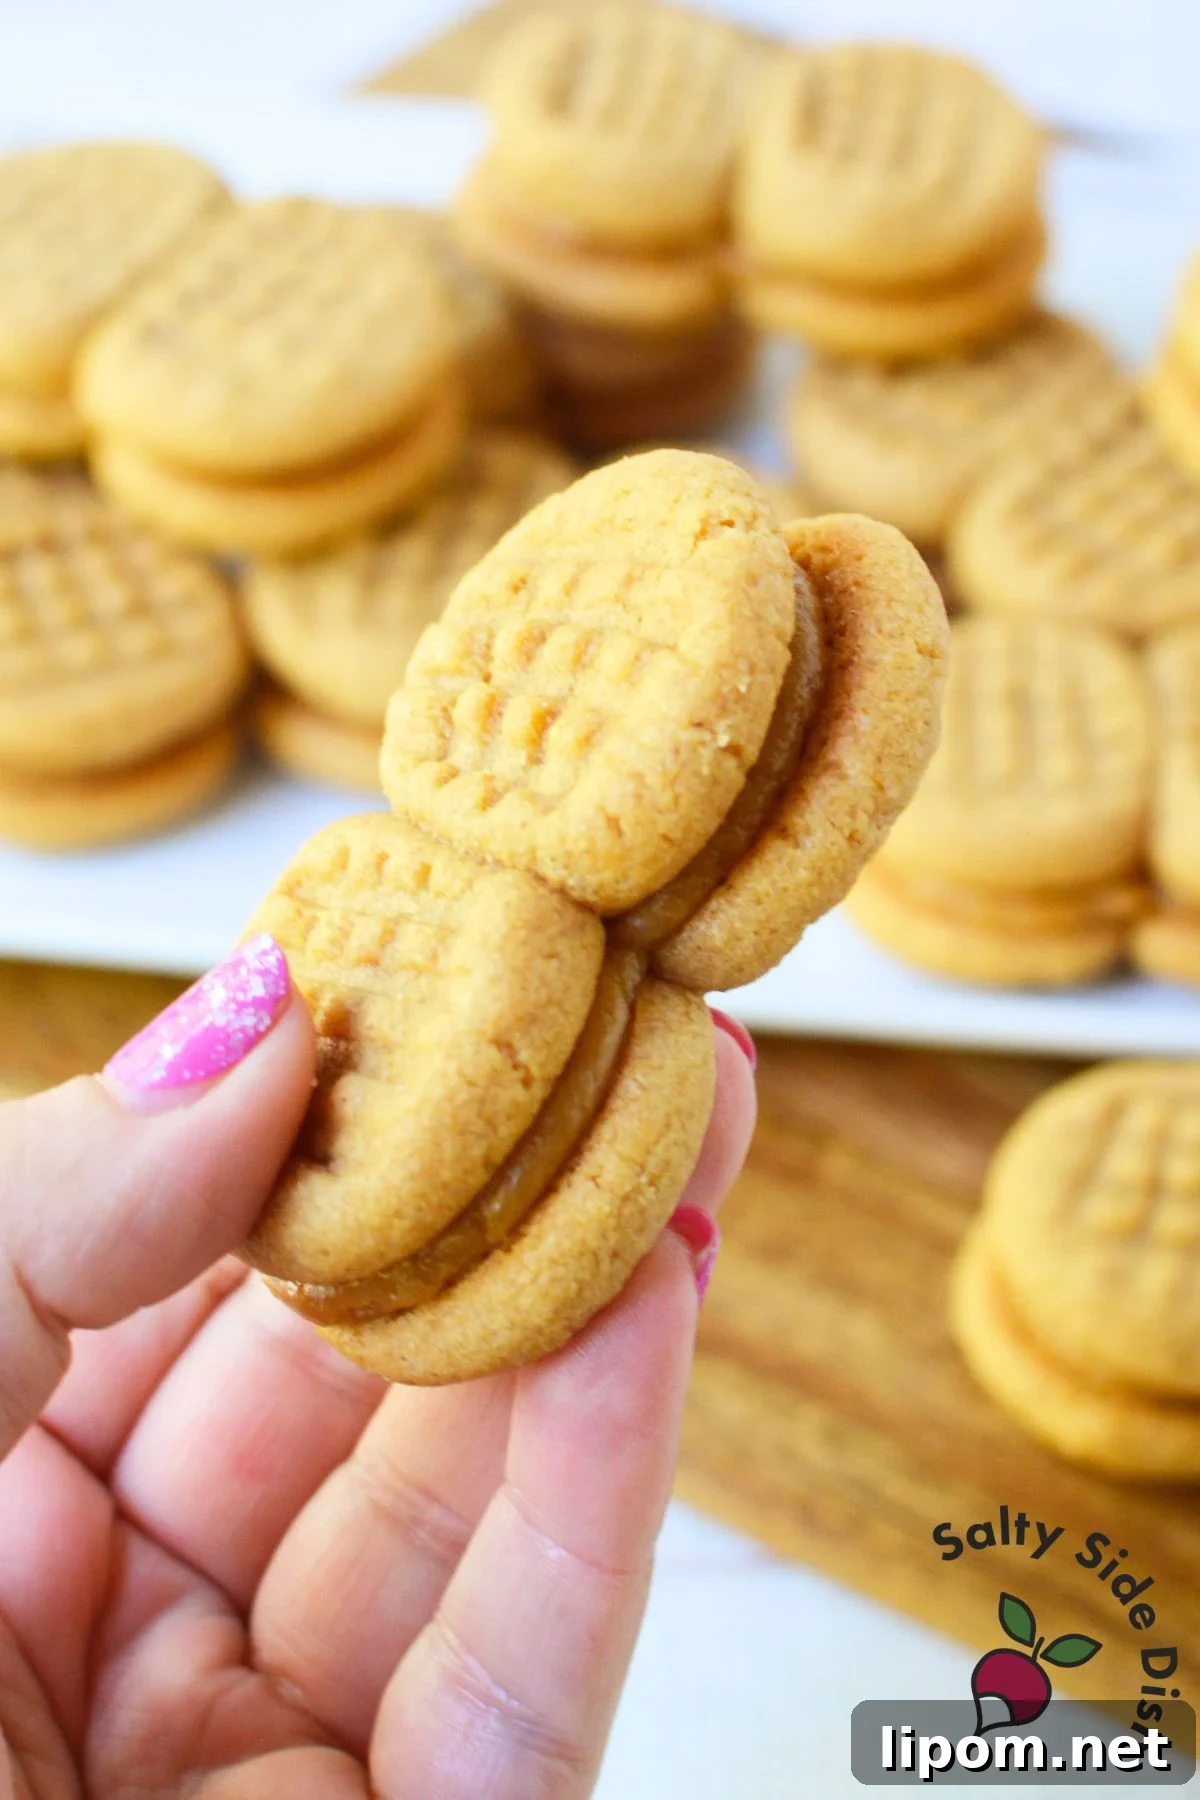
I have made countless peanut butter cookies over the years, including my peanut butter haystack cookies, but these homemade Nutter Butter cookies are the ones people ask for again and again. They capture the nostalgic flavor of the classic cookie while offering a richer, fresher, homemade taste.
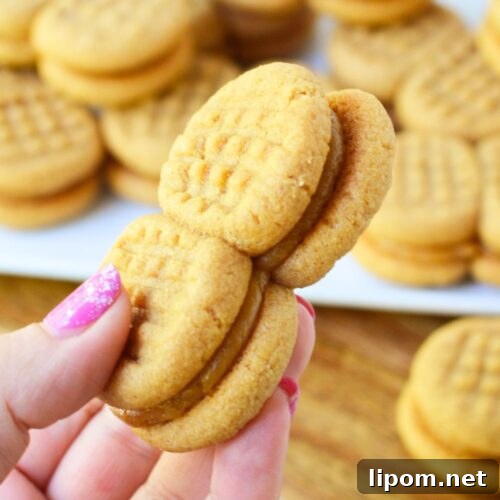
These cookies are soft and tender with an unmistakable peanut butter depth. Two peanut butter cookies are sandwiched together with a creamy peanut butter filling to produce a satisfying bite: slightly crisp on the edges, soft in the middle, and perfectly nutty. Compared to the store-bought version, the homemade sandwiches are more flavorful and have a homemade texture that people love.
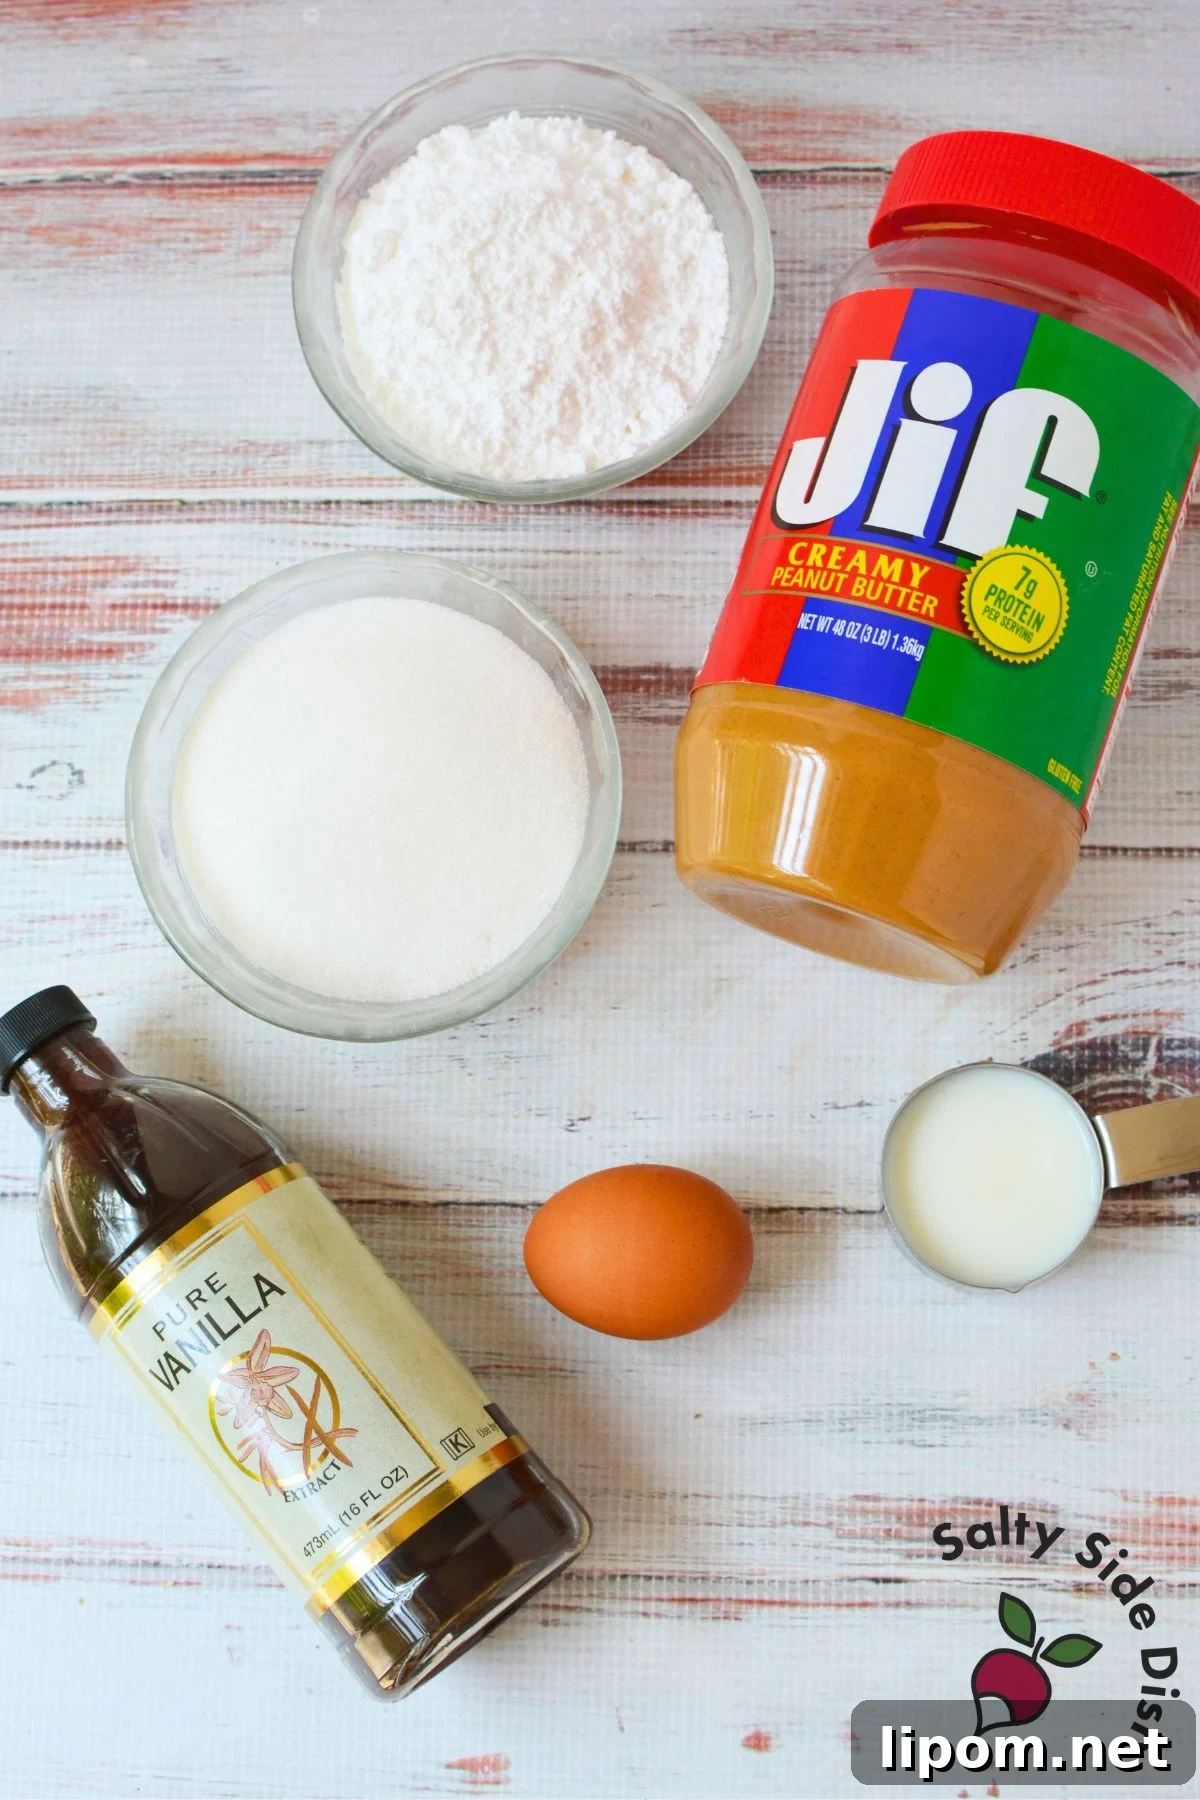
Cookie Ingredients
- 1 cup creamy peanut butter
- 1 cup granulated sugar
- 1 egg
Filling Ingredients
- 1/2 cup creamy peanut butter
- 1 cup powdered sugar
- 1 teaspoon vanilla
- 4 to 6 tablespoons milk
How to make Copycat Nutter Butter Cookies
Preheat the oven to 350°F (175°C) and line a baking sheet with parchment paper. Having the sheet prepared in advance makes the process quick and clean.
In a medium bowl, stir together 1 cup creamy peanut butter, 1 cup granulated sugar, and 1 egg until fully combined and smooth. The dough will be slightly sticky but easy to portion. Use a tablespoon portion scoop or a tablespoon measure to form balls of dough. For each cookie, divide the dough portion in half and roll into two smaller, equal-sized balls. Place the paired balls next to each other on the prepared baking sheet.
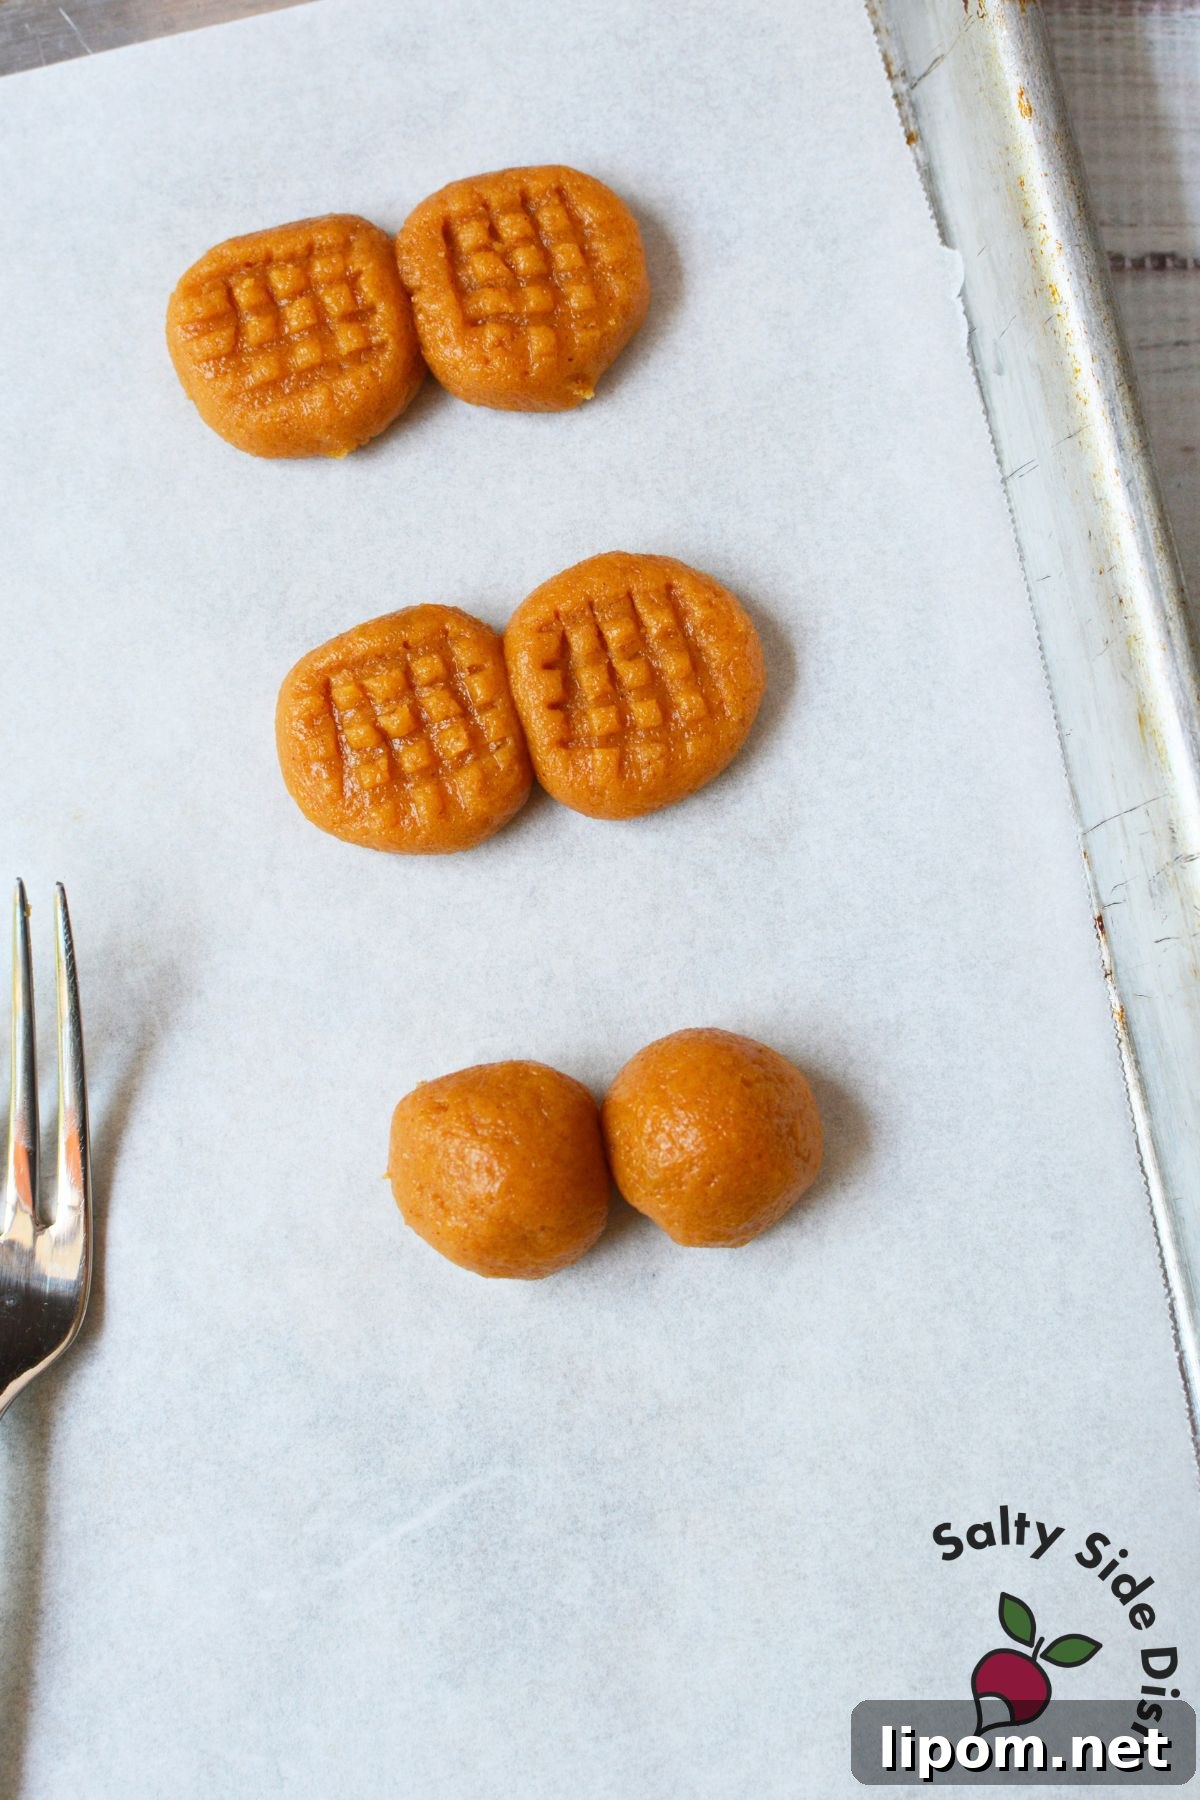
Using the tines of a fork, press down on each pair of balls in one direction and then again at a 90-degree angle to create the classic crosshatch pattern. This helps the cookies bake evenly and gives them the familiar appearance. Bake the cookies for 8 to 10 minutes, or until the bottoms are lightly golden. Watch closely—these cookies bake quickly and you want them set but still soft in the center.
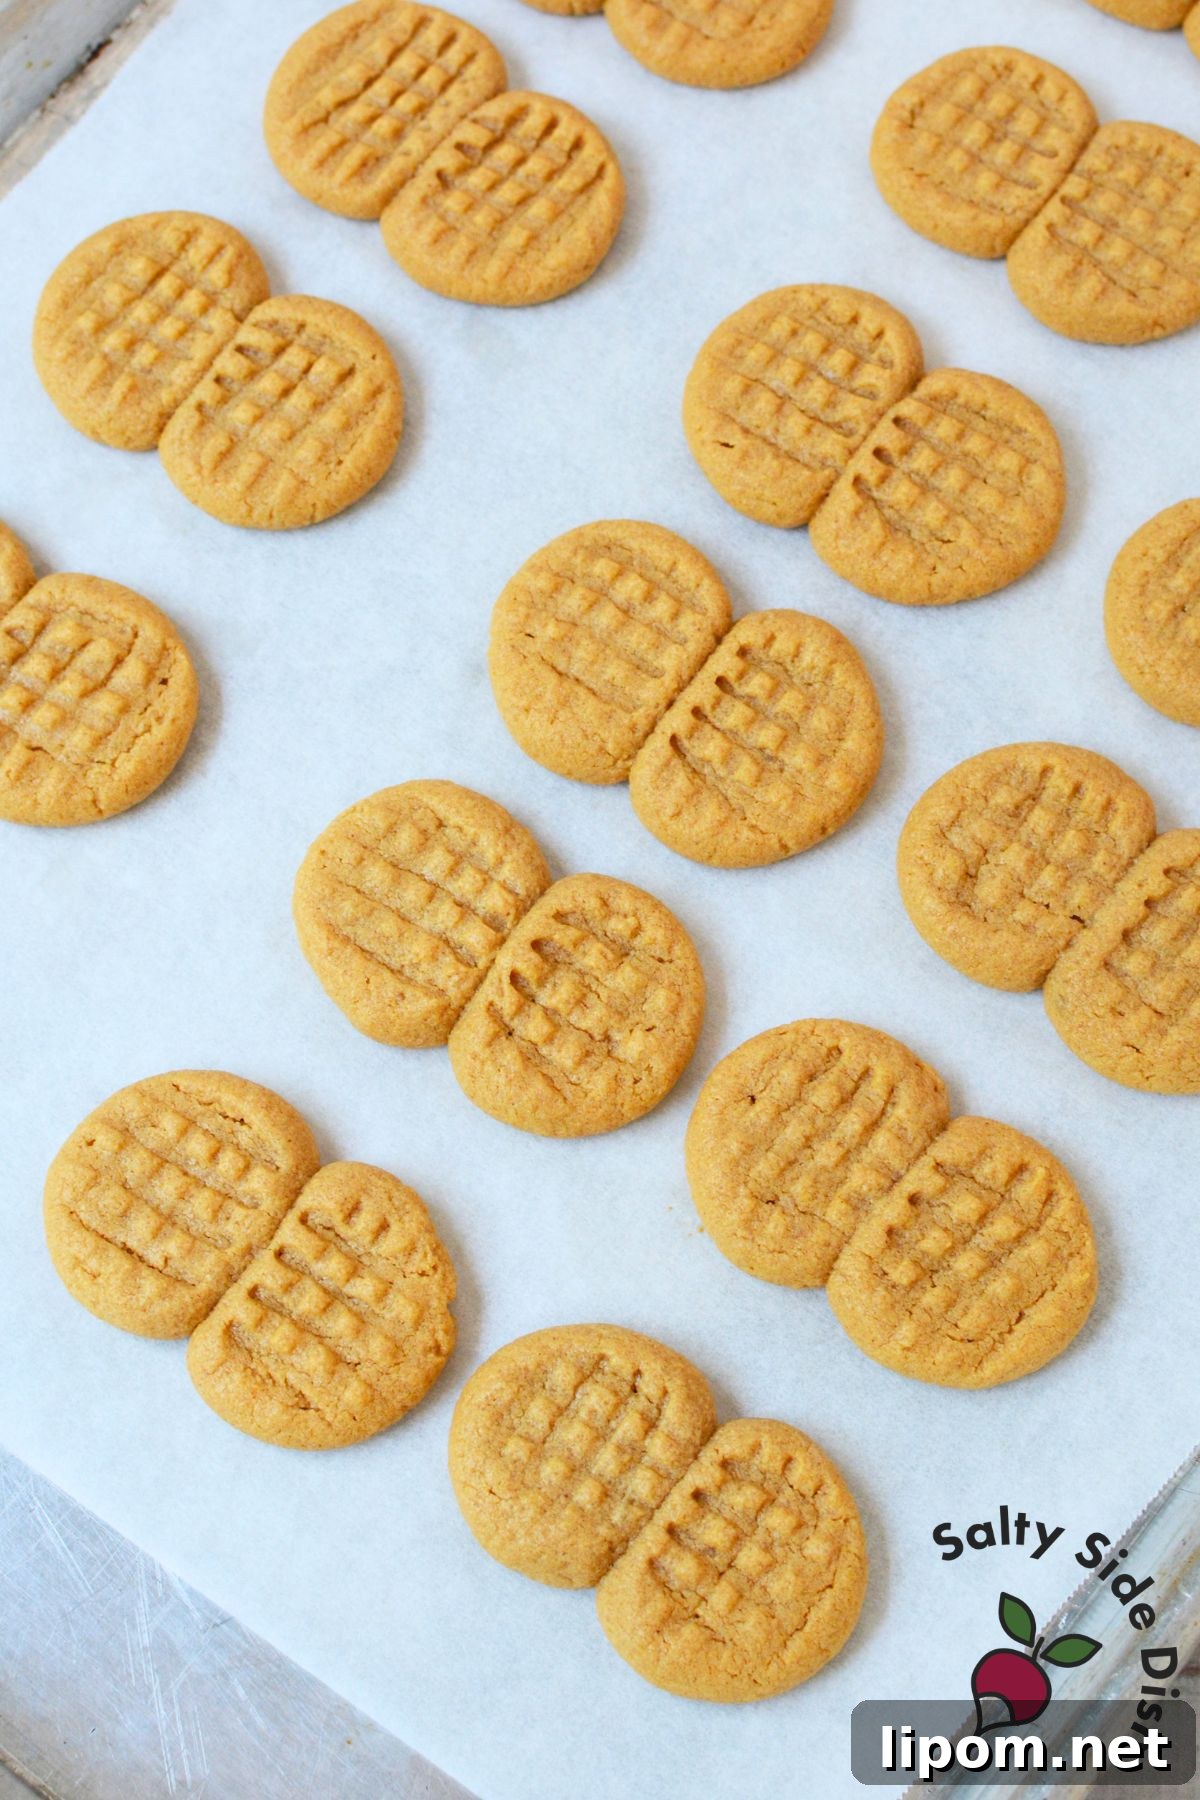
After baking, remove the cookies from the oven and let them cool completely before assembling. If you need to transfer them while still warm, handle them with care: the two balls that form each cookie can separate when warm. I recommend leaving them on the baking sheet to cool if possible. Once cooled, the cookies hold together well and are easy to fill and sandwich.
How to make Peanut Butter Filling
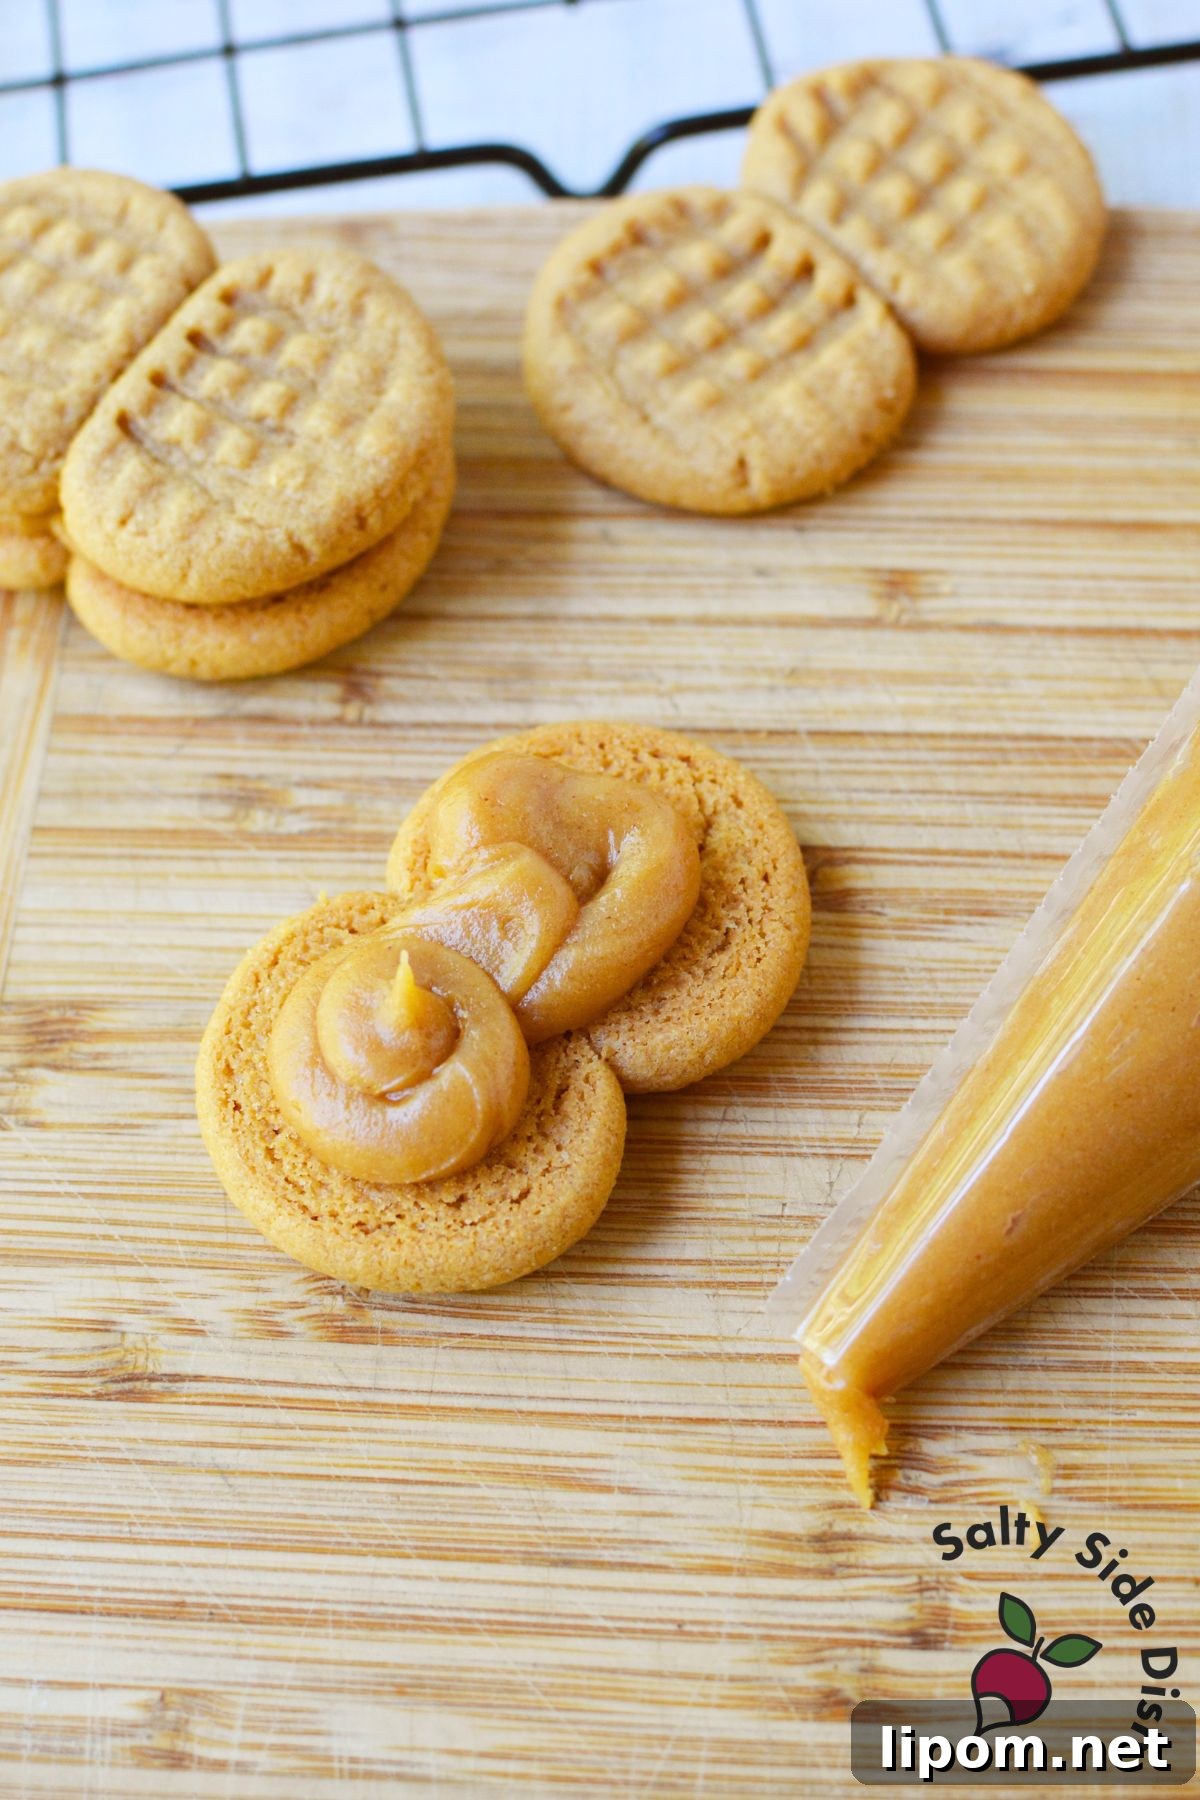
In a mixing bowl, combine 1/2 cup creamy peanut butter with 1 cup powdered sugar and 1 teaspoon vanilla. Add 4 tablespoons of milk and beat until smooth. The mixture should be thick enough to hold its shape but soft enough to pipe. If it seems too stiff, add the remaining tablespoons of milk a little at a time until you reach an easy-to-pipe consistency.
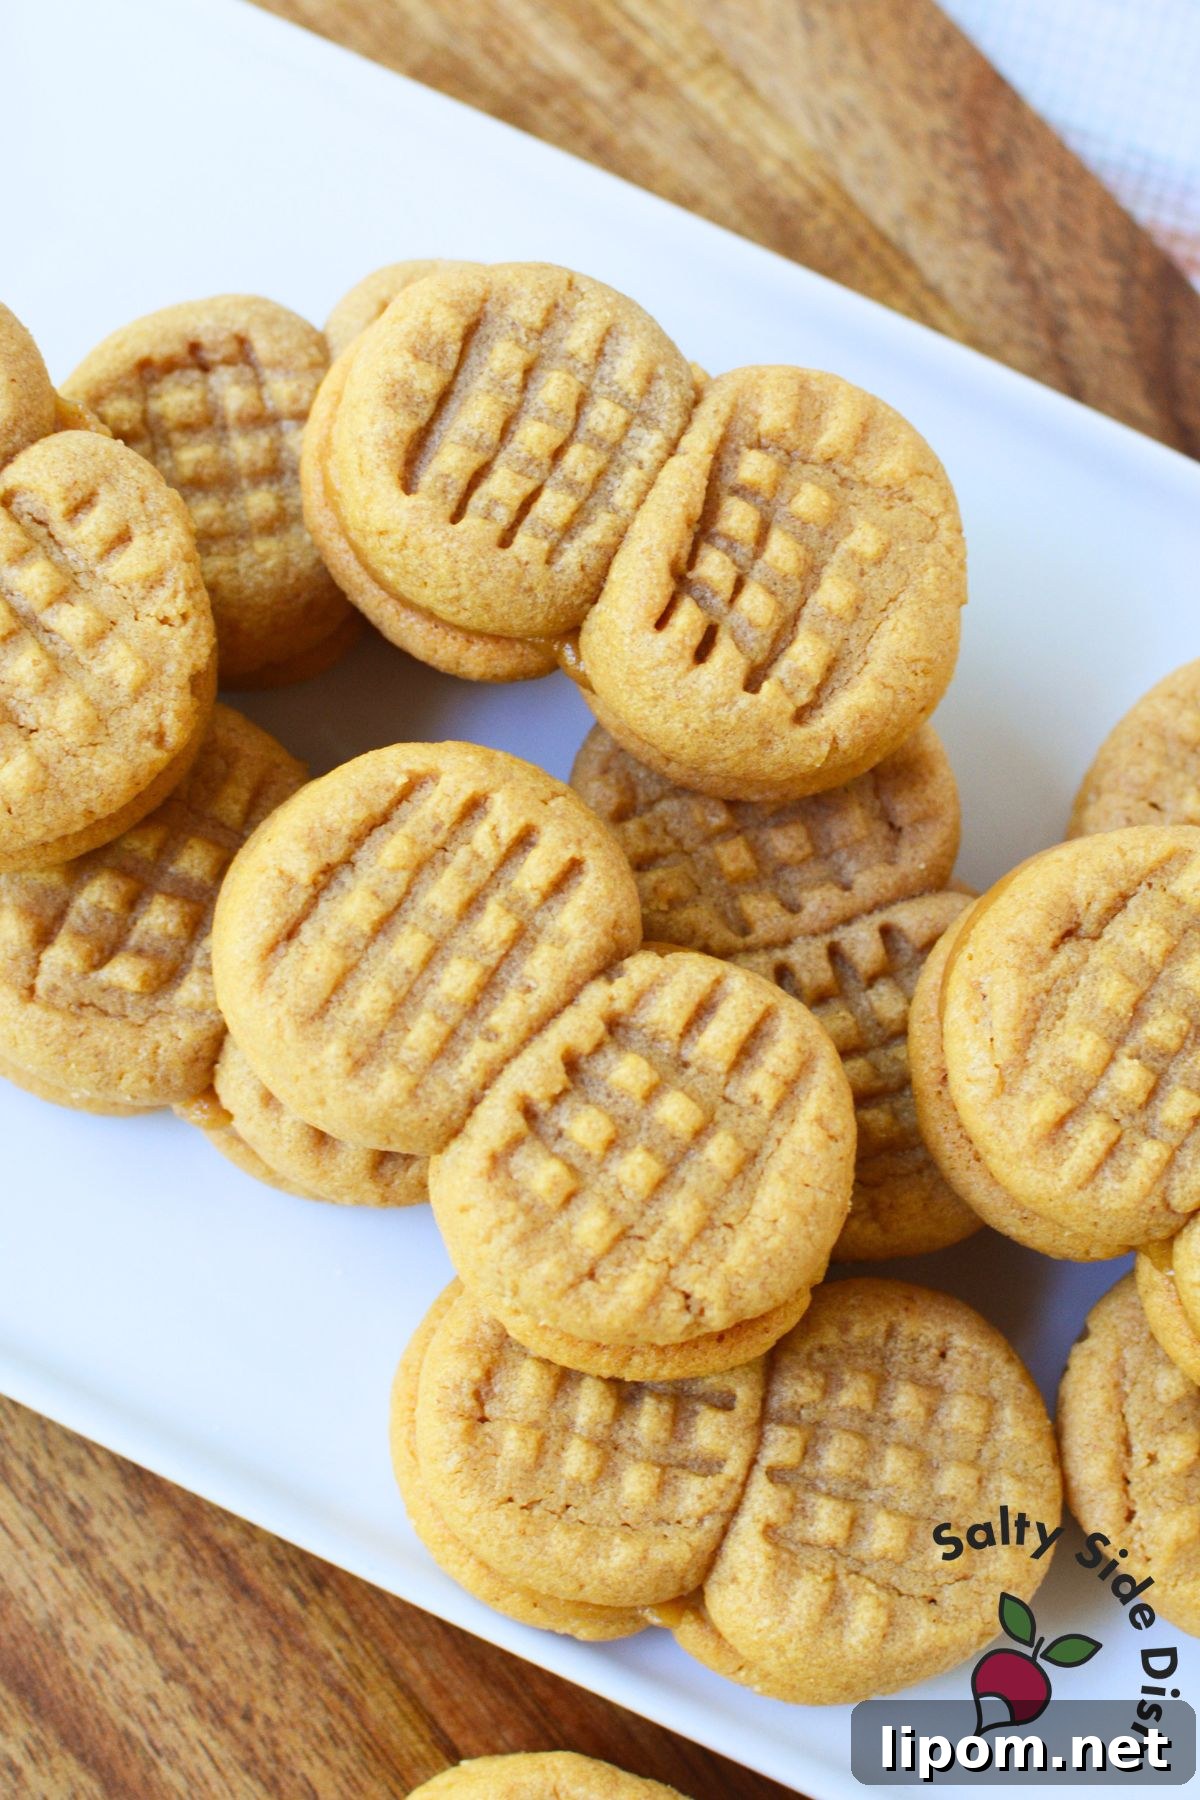
Transfer the filling to a piping bag fitted with a 1/2 inch tip, or use a small spoon if you prefer. Place one cookie upside down on a flat surface, pipe or spoon a dollop of filling into the center, then top with a second cookie, pressing gently to form a sandwich. Repeat until all cookies are assembled.
Tips, Storage, and Variations
For the best texture, use a natural or commercial creamy peanut butter you enjoy—the flavor of the peanut butter shines through in both the cookie and the filling. If you like a sweeter filling, add a little extra powdered sugar, or for a tangier filling, add a pinch of salt or a drop more vanilla.
Storage: Store assembled cookies in an airtight container at room temperature for 2 to 3 days. For longer storage, refrigerate for up to two weeks; bring to room temperature before serving to soften the filling. You can also freeze unfilled cookies for up to one month and fill them after thawing for the freshest texture.
Variations: Try swapping half the granulated sugar in the dough for brown sugar for a slightly deeper flavor, or add a pinch of cinnamon for warmth. For a chocolate-peanut butter twist, dip the assembled cookies halfway into melted chocolate and let them set on parchment.
More Peanut Butter Recipes You’ll Love
If you’re a peanut butter fan, explore other no-bake treats, icebox cakes, and easy candies to expand your repertoire and satisfy every peanut butter craving.
- Peanut Butter Haystack Cookies — a no-bake cookie with peanut butter, butterscotch chips and crunchy noodles.
- Peanut Butter Icebox Cake — layers of peanut butter sandwich cookies and pudding that soften into a rich, sliceable dessert.
- Crockpot Peanut Clusters — an easy slow cooker candy made with peanuts and chocolate.
- Easy Peanut Butter Fudge — a creamy fudge for those who can’t get enough peanut butter.
Homemade Nutter Butter Cookies
Equipment
-
Parchment paper
-
Cookie sheet
-
Piping bag or small spoon for filling
Ingredients
Cookies
- 1 cup creamy peanut butter
- 1 cup granulated sugar
- 1 egg
Peanut Butter Filling
- 1/2 cup creamy peanut butter
- 1 cup powdered sugar
- 1 teaspoon vanilla
- 4 to 6 tablespoons milk
Instructions
-
Preheat oven to 350°F (175°C) and line a baking sheet with parchment paper. Set aside.
-
Mix together the peanut butter, granulated sugar, and egg until combined. Use a tablespoon or a small scoop to portion the dough, then divide each portion in half and roll into two small balls. Place the paired balls next to each other on the prepared baking sheet and press with a fork in both directions to create a crosshatch pattern.
-
Bake for 8 to 10 minutes or until the bottoms are lightly golden. Remove from the oven and let cool completely before adding the filling. If you must move the cookies while warm, handle gently; the halves may separate when hot, but they hold together once cooled.
Make the Filling
-
In a mixing bowl, combine peanut butter, powdered sugar, vanilla, and 4 tablespoons milk. Beat until smooth, adding more milk a little at a time if needed to reach a pipeable consistency.
-
Fill a piping bag with a 1/2 inch tip or use a small spoon. Place one cookie upside down and pipe or spoon filling into the center. Top with another cookie and press gently to form a sandwich. Repeat with remaining cookies.
Nutritional Disclaimer: The nutritional data provided is auto-calculated and intended for convenience. For precise values, calculate using the exact ingredients you use with your preferred nutrition calculator.
Sharing of this recipe is encouraged and appreciated. Copying of the full recipe to any social media is prohibited.
Did You Make This Recipe?
Try the recipe, leave a comment below, and if you enjoyed it save or bookmark the page for future reference.