Colorful Easter Deviled Eggs: A Festive Appetizer Recipe
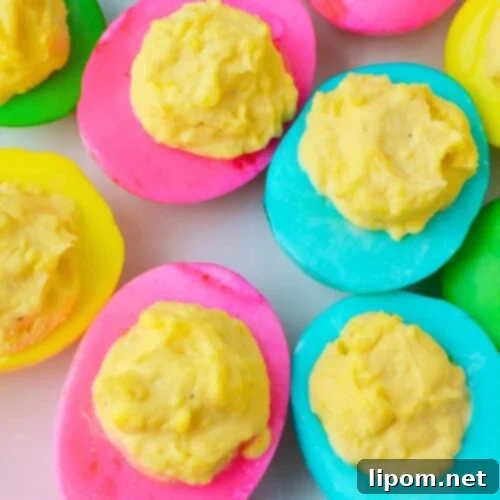
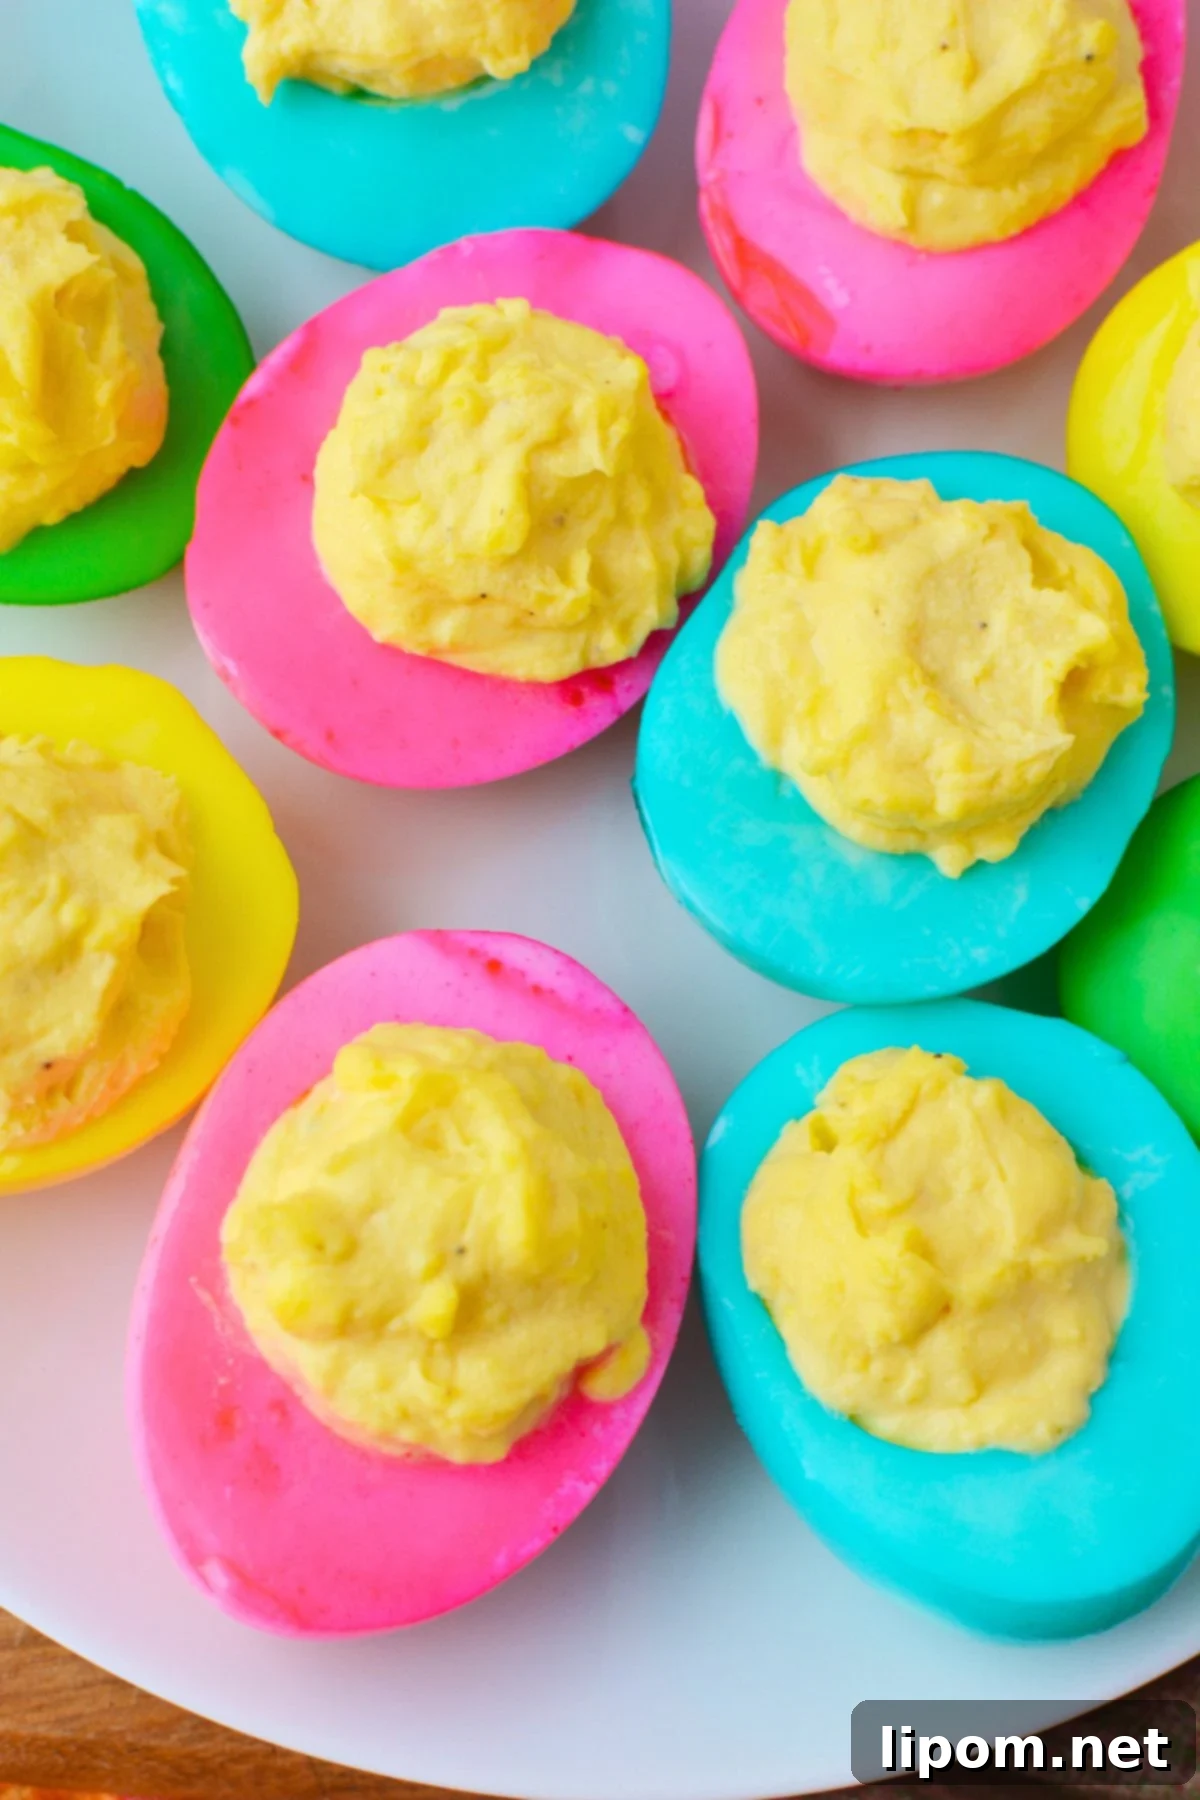
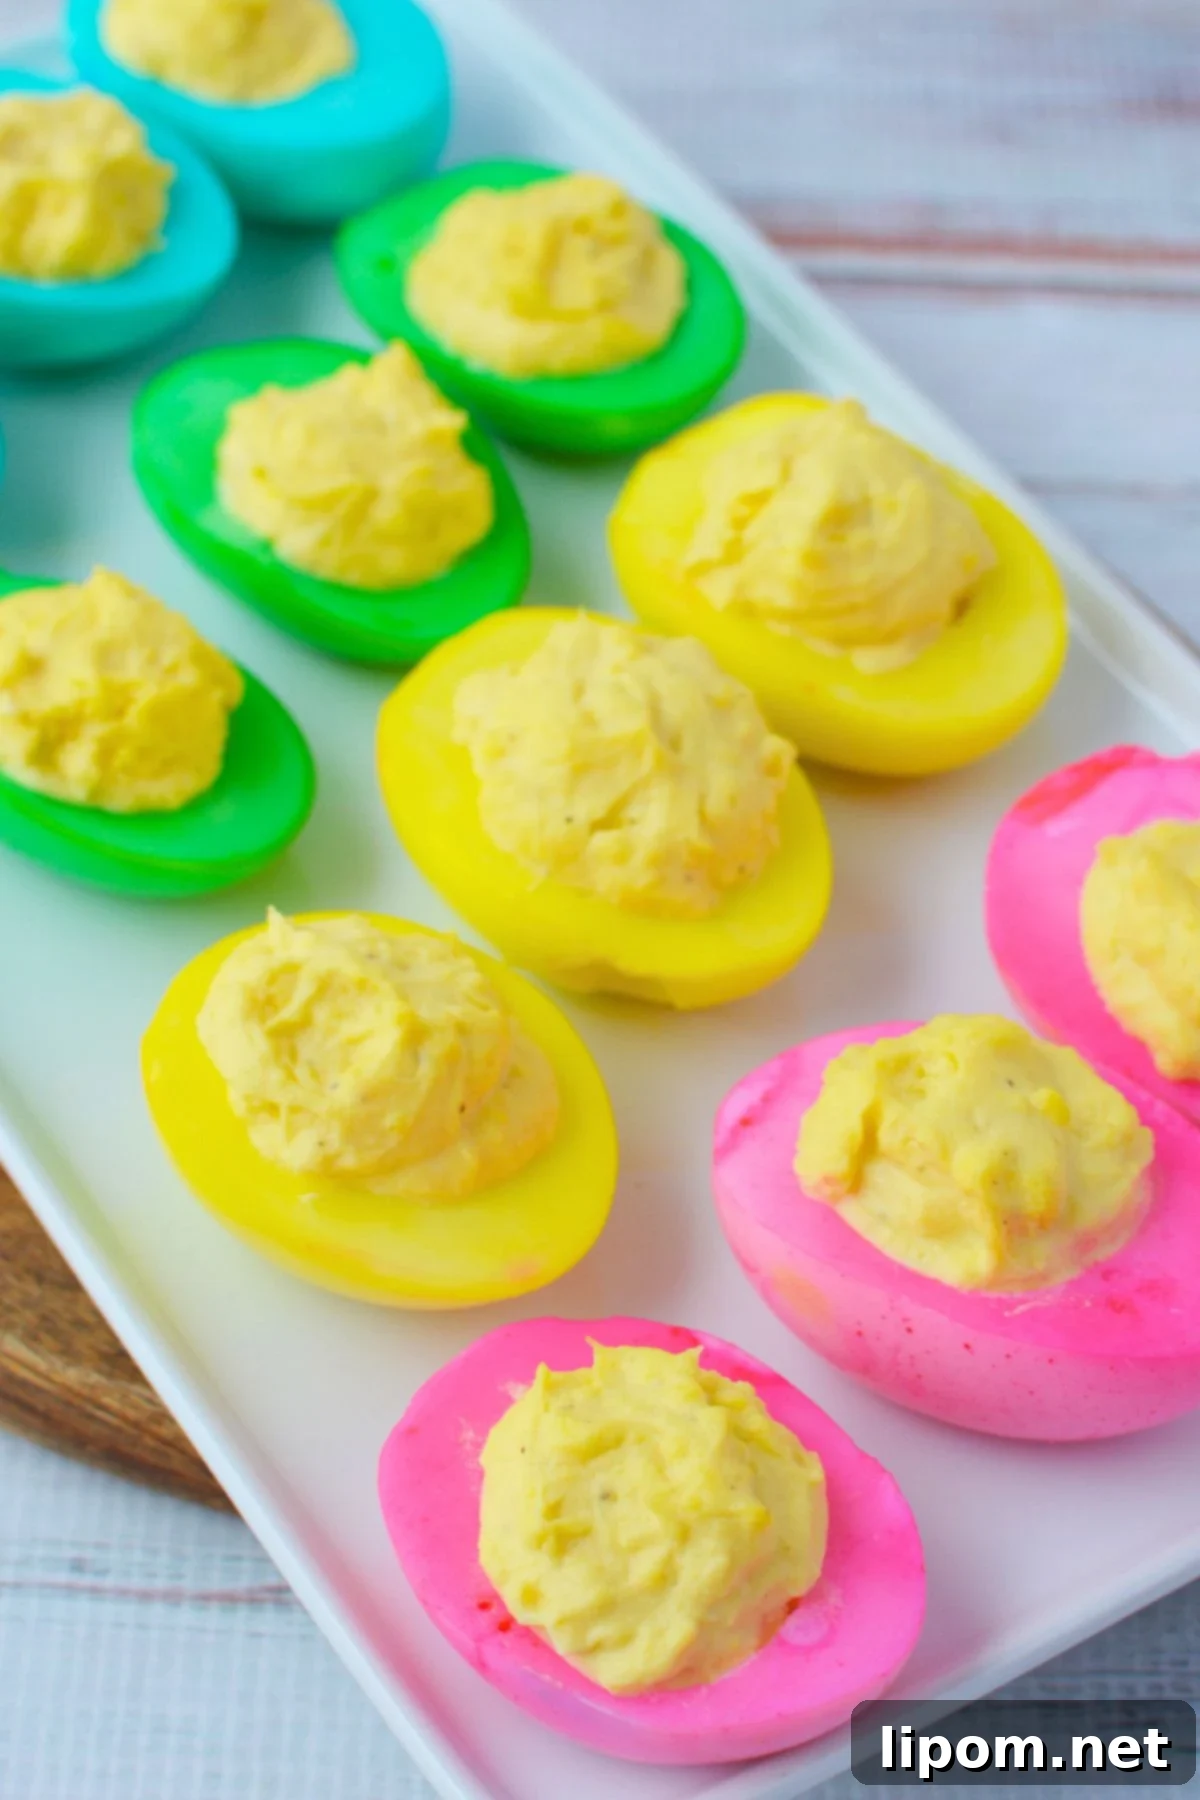
Looking for an Easter appetizer that’s both easy and eye-catching? These colored deviled eggs are the perfect solution! Transform classic deviled eggs into a vibrant, festive dish with bright, dyed egg whites. Ideal for Easter brunch, spring parties, or any holiday gathering, these eggs are sure to impress.
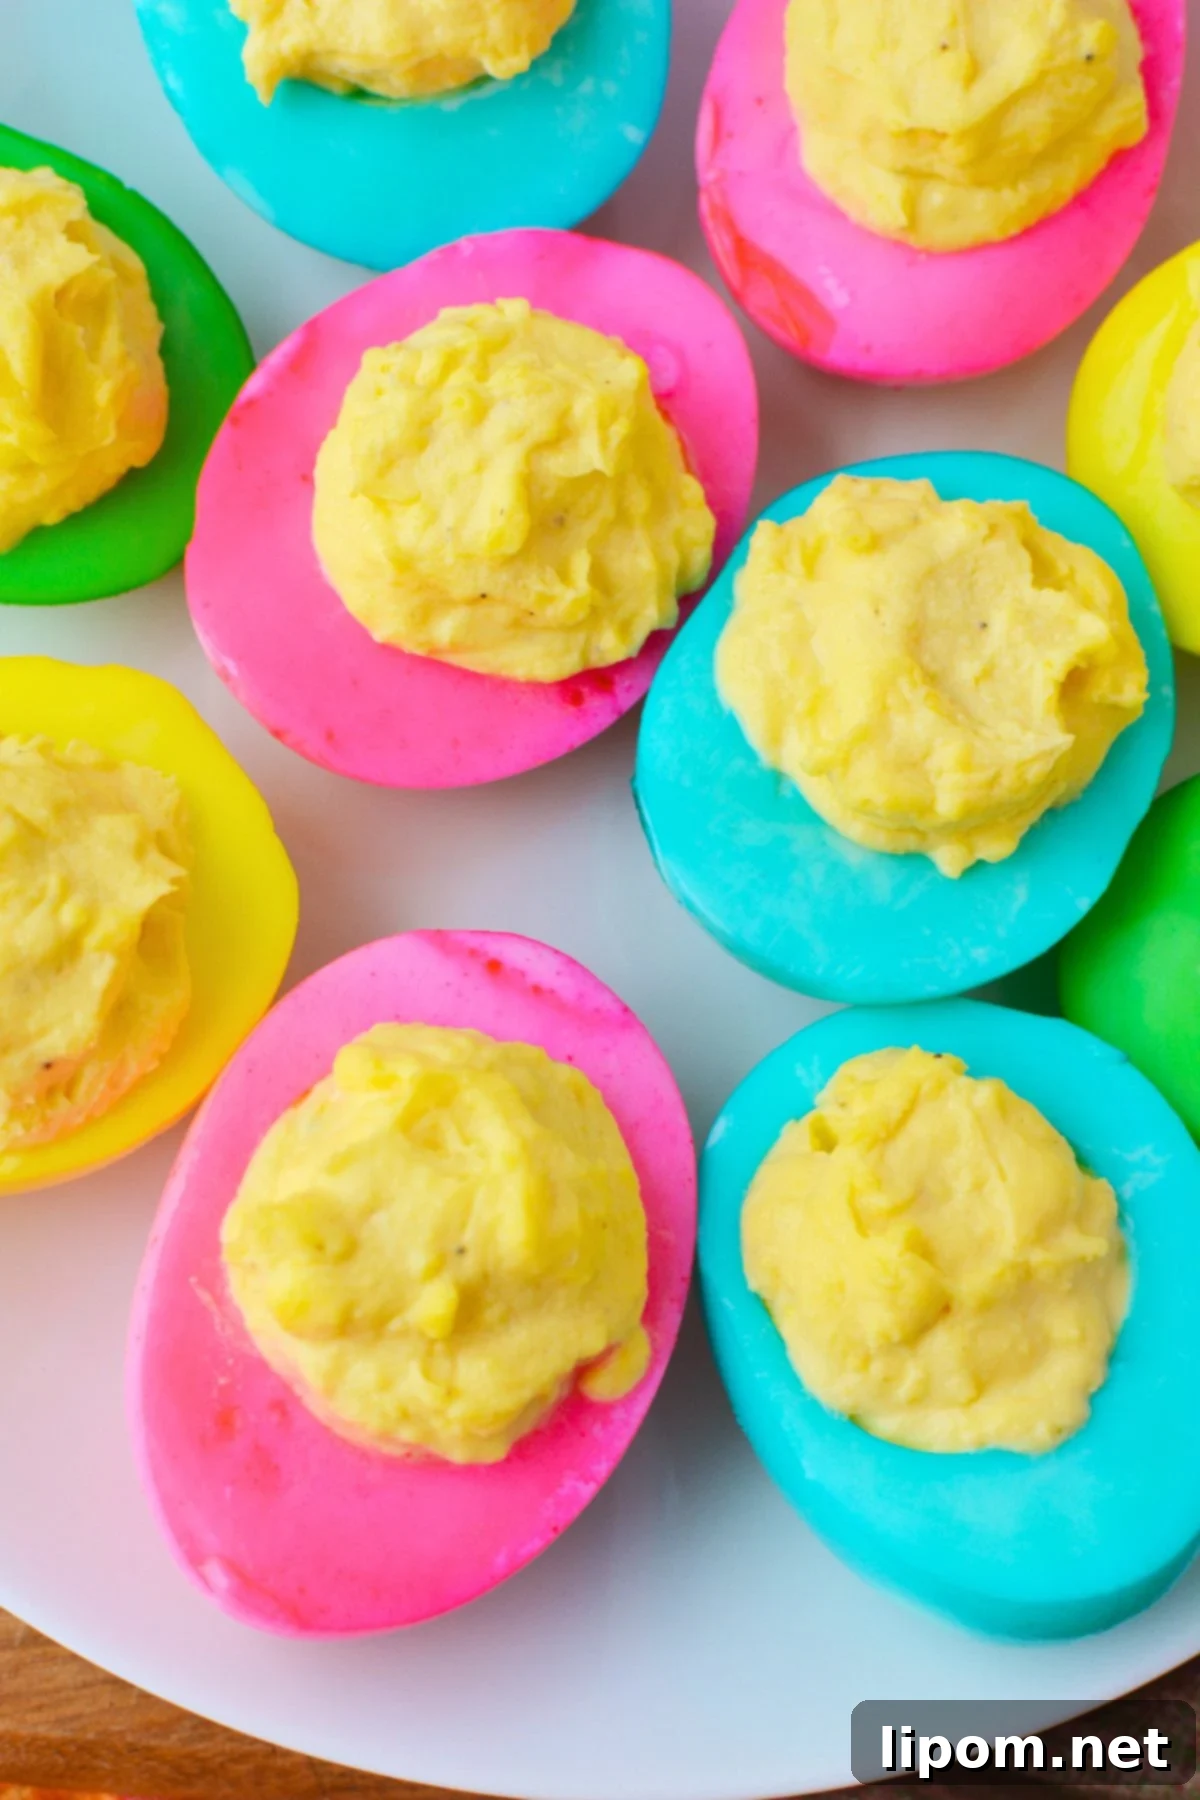
The secret to achieving consistent, vibrant colors is using gel food coloring. Even if the coloring isn’t perfectly smooth, the egg whites absorb the color evenly, resulting in a polished look without any extra effort. This method is quick, simple, and guarantees stunning results every time.
Planning a complete Easter feast? These colorful deviled eggs pair beautifully with traditional Easter dishes such as Italian Easter bread with a baked egg. For a fun egg-themed activity, consider making Kool-Aid Easter eggs.
Why This Colored Deviled Egg Method Works
As someone who has made countless batches of deviled eggs, I can confidently say that adding color doesn’t complicate the process at all. The egg whites dye evenly in just about 10 minutes. Because the eggs are cut before coloring, the yolks stay bright yellow and pristine, maintaining the classic deviled egg look.
Want lighter pastel shades? Simply shorten the soaking time. For deeper, more intense colors, aim for the 10-minute mark. While it might be tempting to soak them longer, avoid exceeding this time, as the colors could become too dark and lose that delightful Easter aesthetic. Achieving the perfect balance is key to a visually appealing and delicious appetizer.
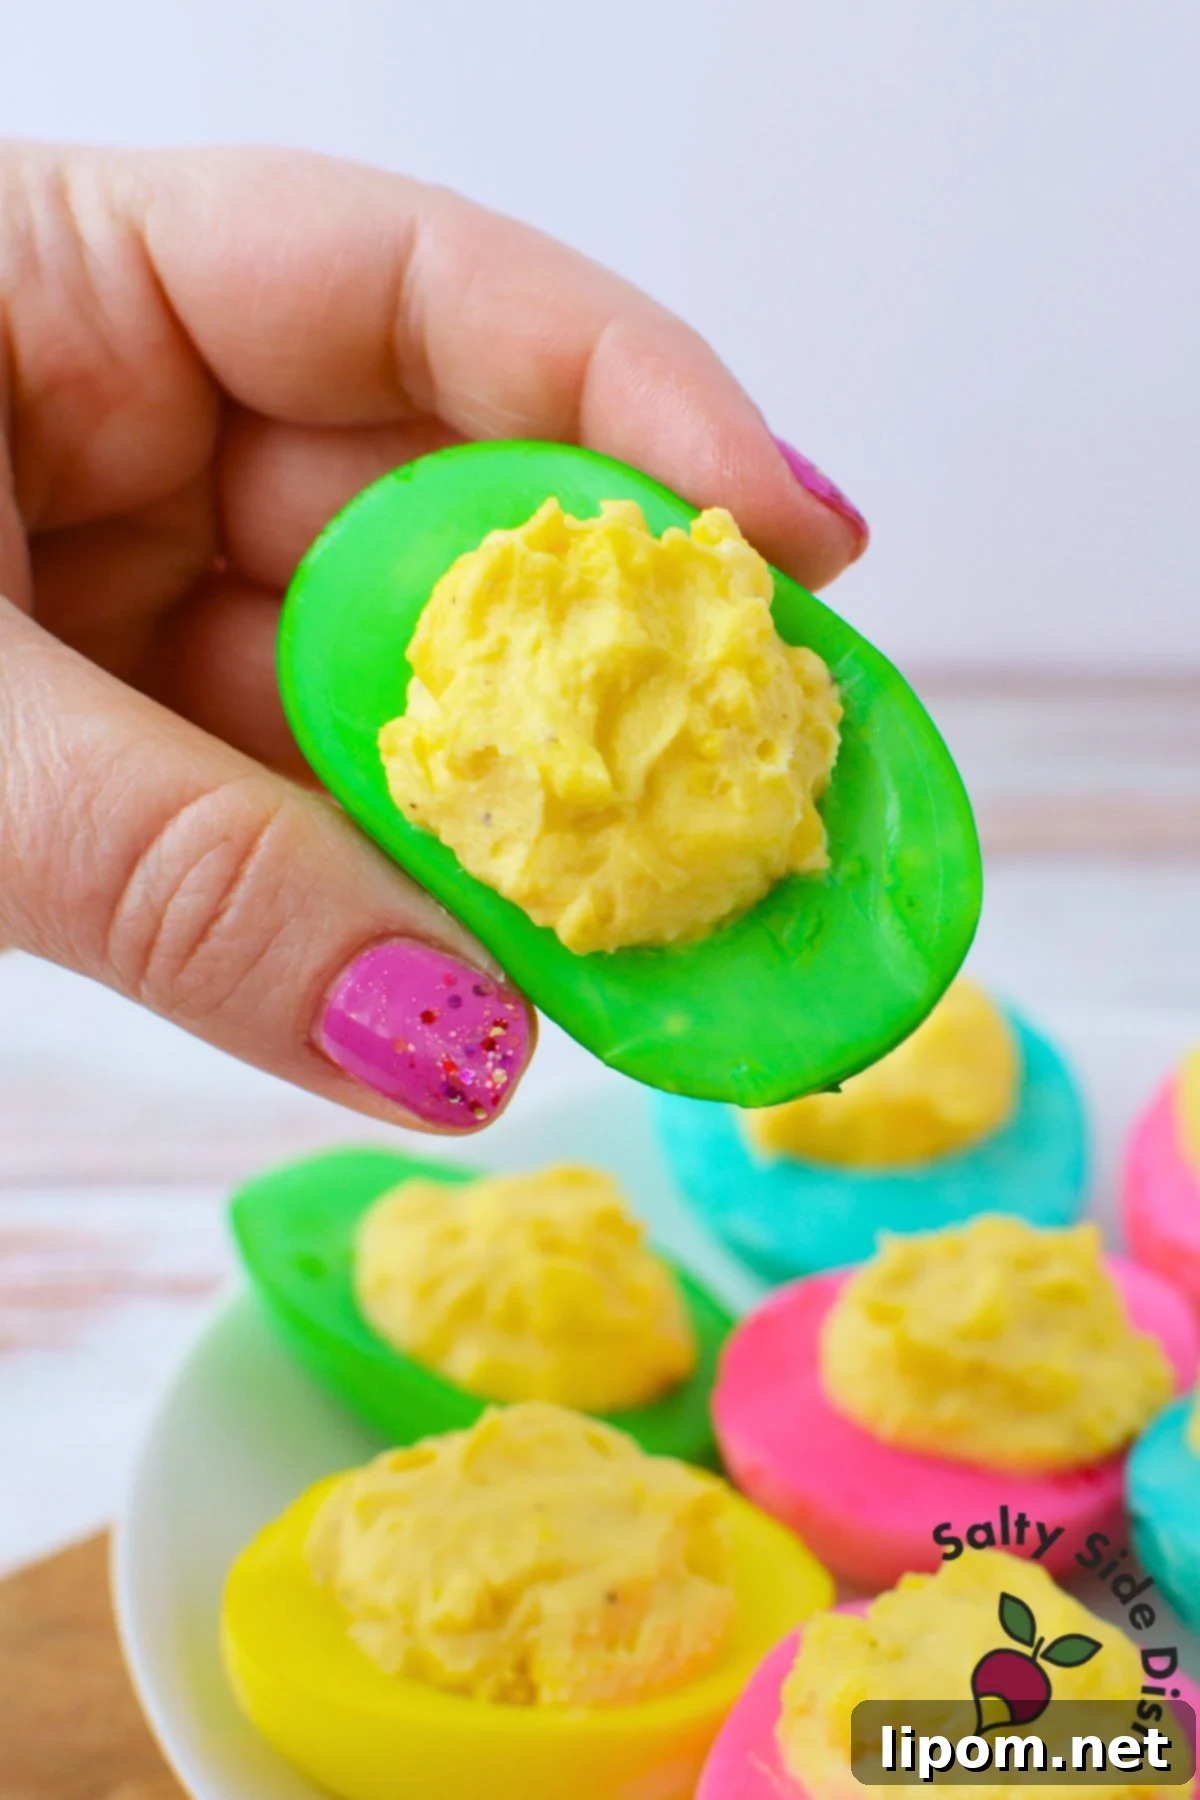
For these colorful creations, I prefer to keep the filling intentionally simple. A smooth, classic deviled egg filling is what most people expect when they reach for one from the tray. This straightforward approach also allows the vibrant colors of the egg whites to truly shine, making them the star of the show.
Ingredients for Colorful Easter Deviled Eggs
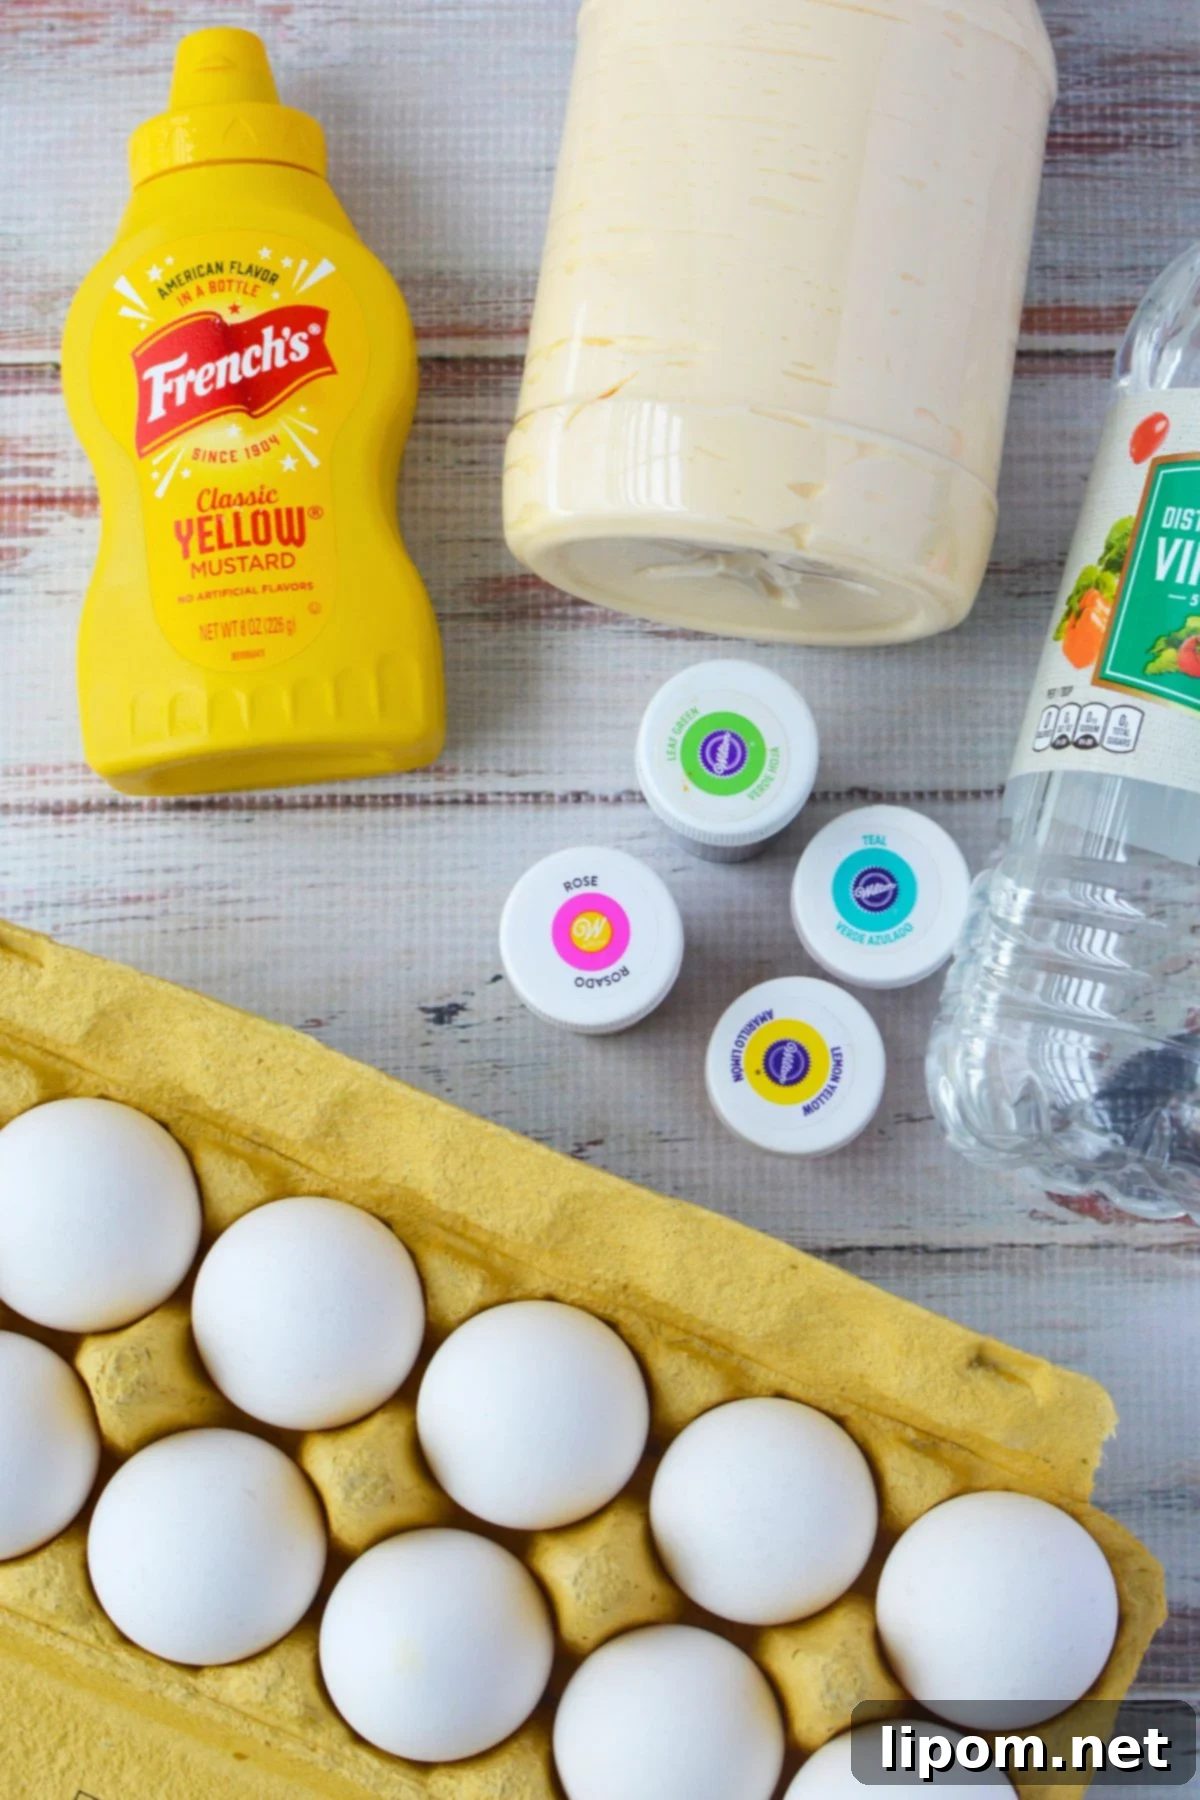
For the Eggs:
- 6 eggs (boil 2 extras in case any peel poorly)
- Egg timer that changes color as eggs cook
- Ice cubes for cooling
For Coloring the Egg Whites:
- 3 cups warm water, divided
- 4 teaspoons white vinegar, divided
- Food coloring (gel or liquid)
I personally used Wilton gel colors in rose, lemon yellow, leaf green, and teal for a beautiful pastel palette. Feel free to experiment with your favorite colors to create a unique and personalized Easter appetizer.
For the Deviled Egg Filling:
- 1/3 cup real mayonnaise
- 1 teaspoon prepared mustard
- Salt and pepper to taste
How to Boil Eggs for Perfect Deviled Eggs
Boiling eggs perfectly is crucial for easy peeling and a smooth texture. This is the tried-and-true method I’ve used for years, consistently delivering excellent results. Following these steps will ensure your eggs are cooked just right for the best deviled eggs.
Before boiling, I also “crack the shell” by gently tapping the back of each egg with a spoon until the sound changes. This simple trick helps create a small gap between the egg white and the shell, making peeling significantly easier after cooking.
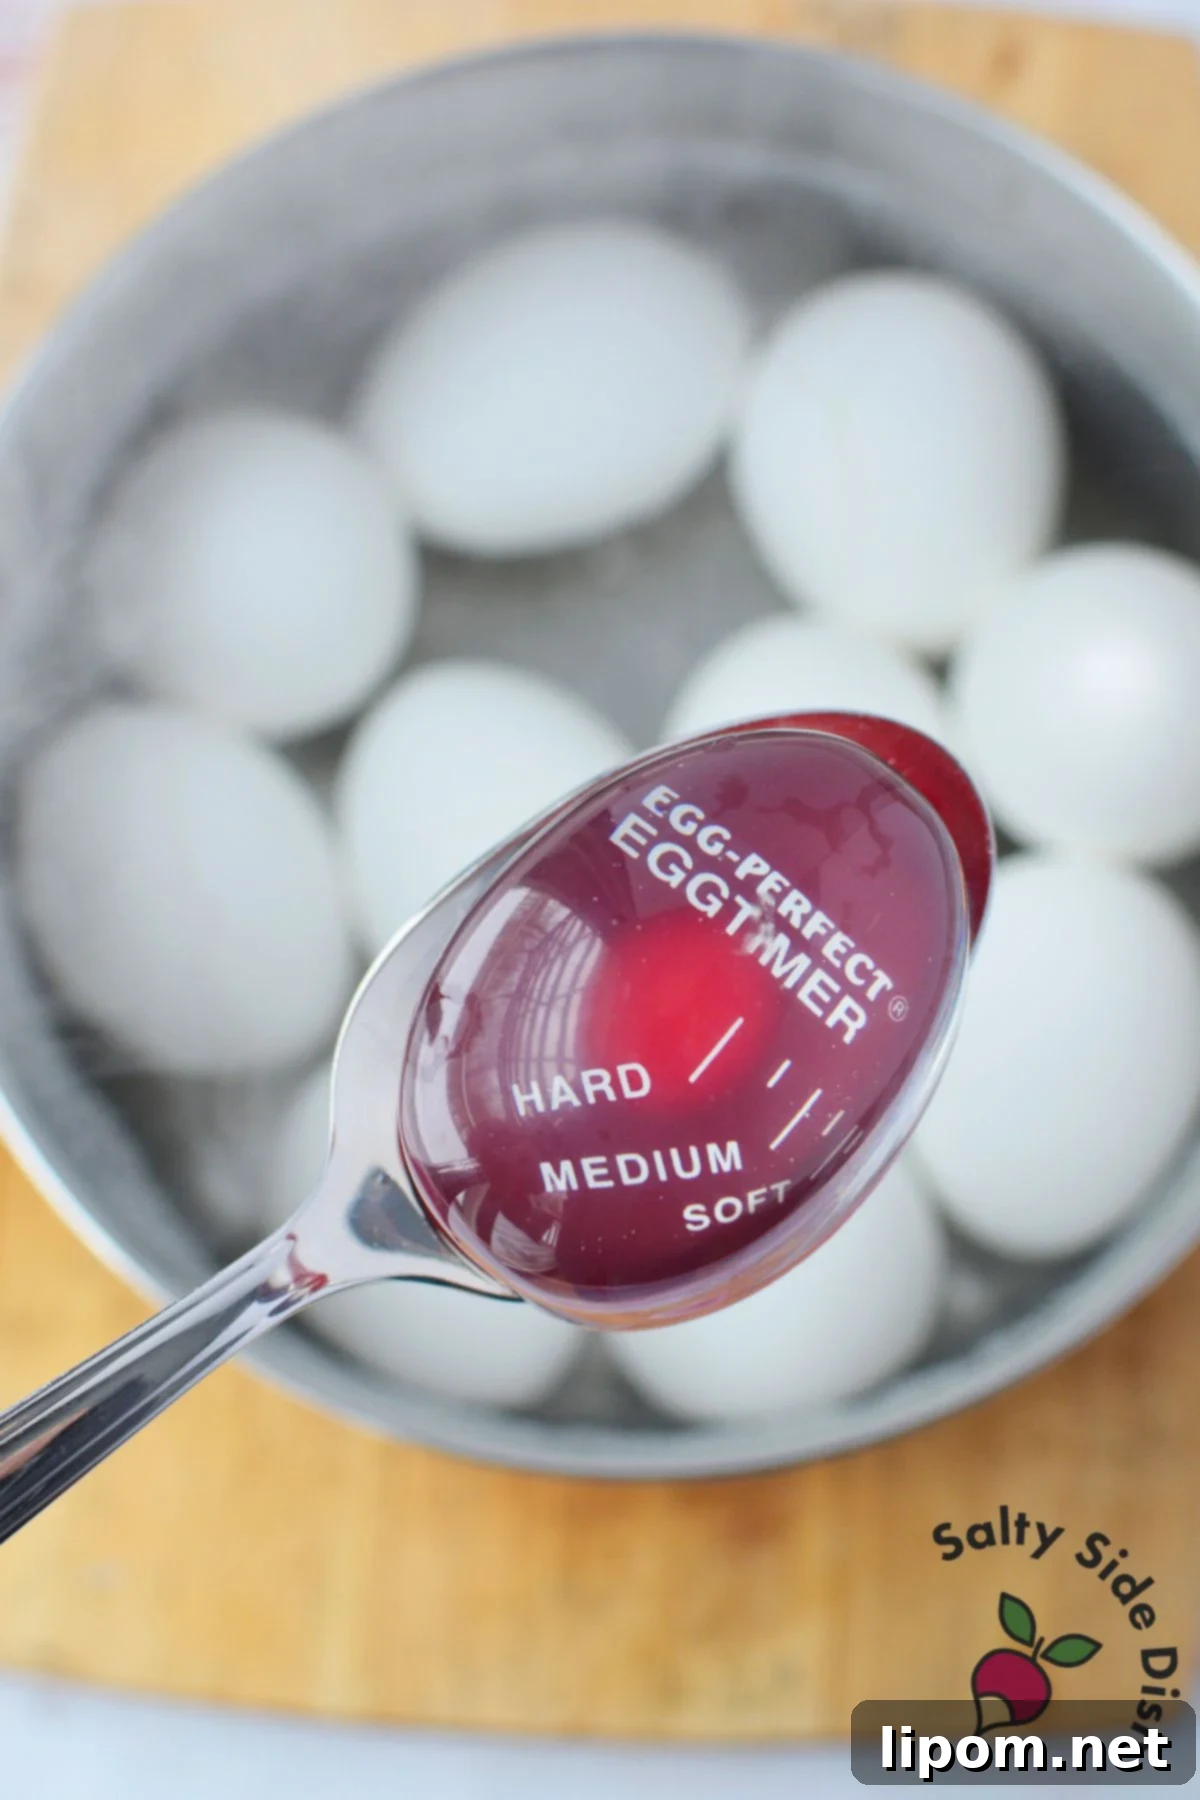
Place the eggs and egg timer into a saucepan. Cover the eggs completely with cold water, ensuring the water level is at least 1 inch above the eggs. This helps ensure even cooking.
Heat the saucepan over medium-high heat. Keep a close eye on the egg timer. When the timer turns completely solid red, the eggs are perfectly hard-boiled and ready to be used for deviled eggs. Proper cooking time is essential for achieving the desired texture and preventing overcooking.
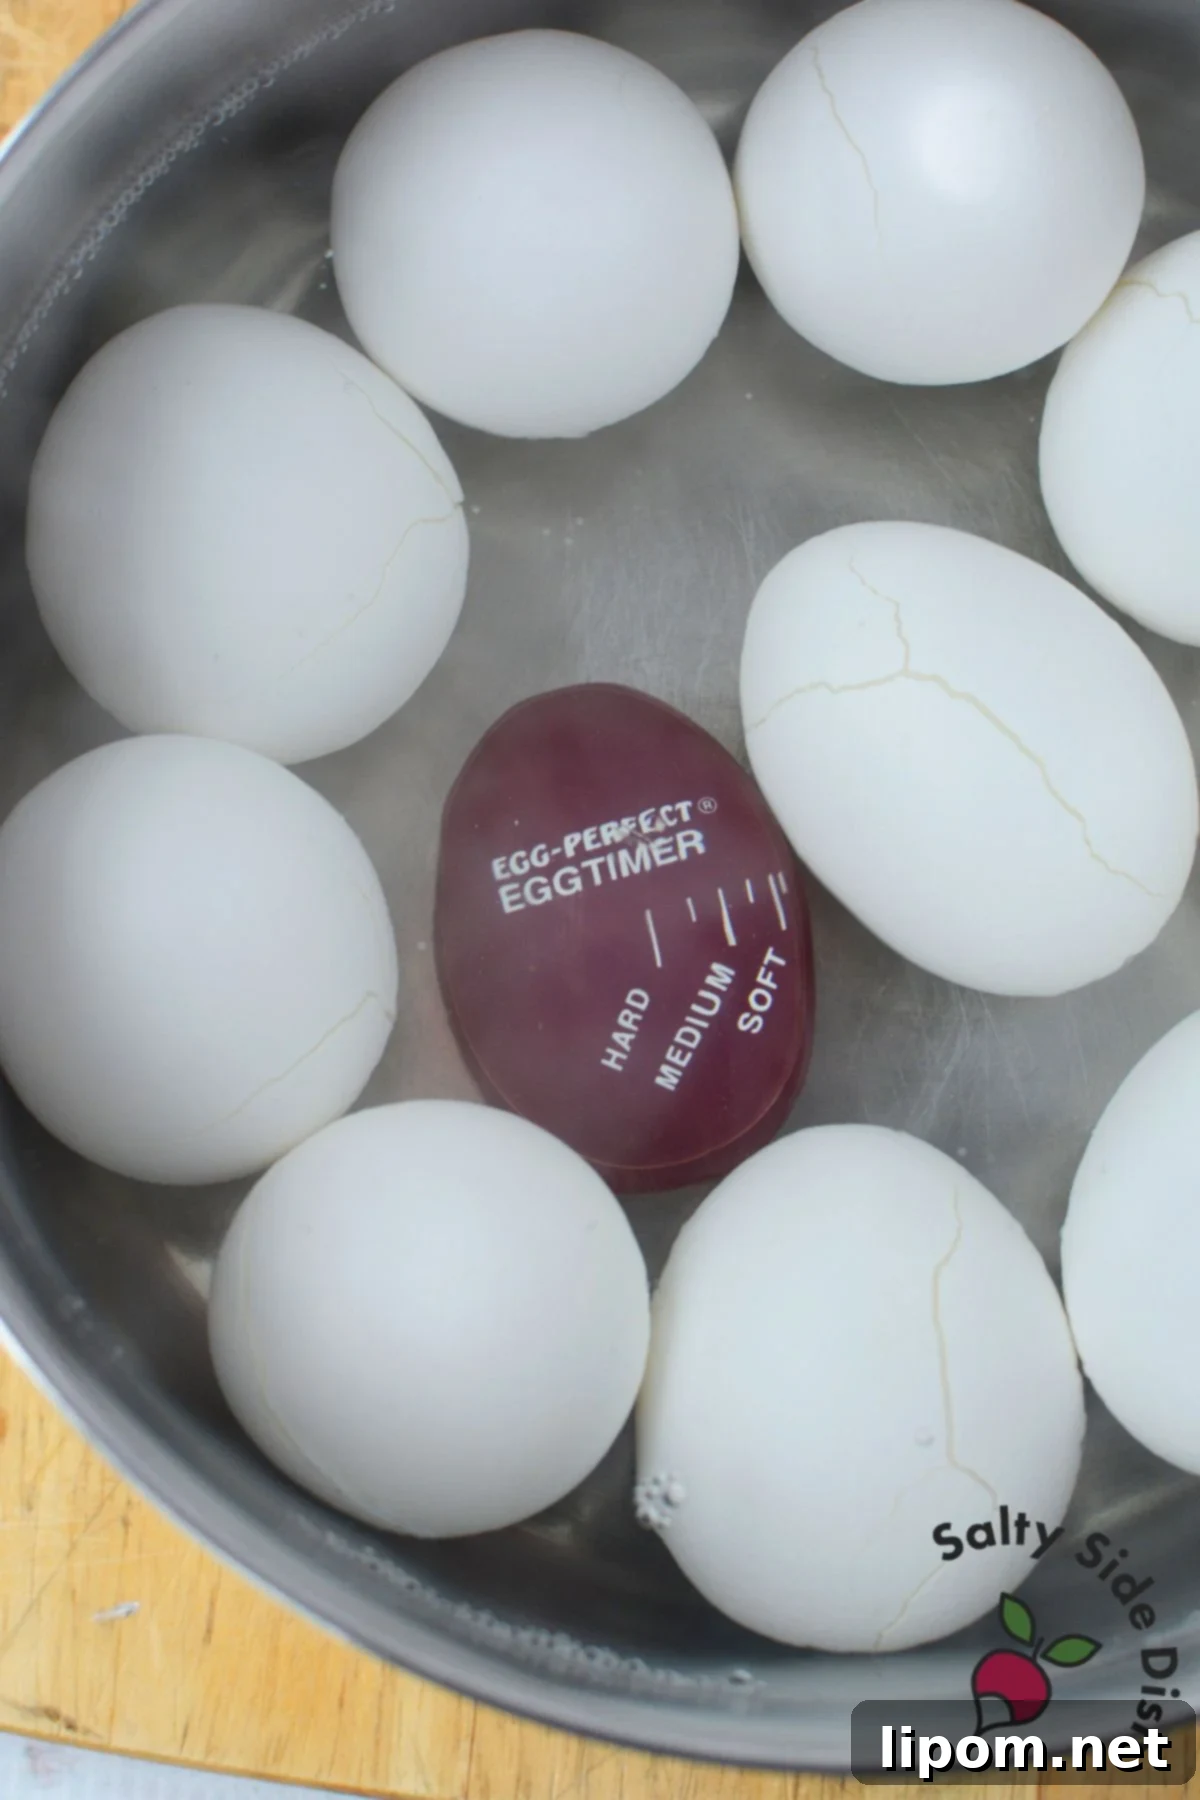
Immediately drain the hot water from the saucepan and add ice cubes and cold water. The rapid cooling helps to stop the cooking process and further prevents overcooking. If the ice melts quickly, add more to maintain the cold temperature.
Let the eggs cool completely in the ice bath. This usually takes around 15-20 minutes. Once cooled, drain the water and refrigerate the eggs until you’re ready to use them. You can also use them right away if preferred.
How to Color Egg Whites for Festive Deviled Eggs
The key to achieving vibrant, evenly colored egg whites is to dye them *after* the eggs are cut in half, not as whole eggs. This technique keeps the yolks clean and allows for a stronger, more consistent color saturation. This method ensures your deviled eggs will have a beautiful, professional-looking finish.
Start by adding 3/4 cup of warm water to four small bowls or jars. Using separate containers for each color will prevent them from mixing and creating muddy hues.
Next, stir 1 teaspoon of white vinegar into each bowl of warm water. The vinegar acts as a mordant, helping the food coloring adhere to the egg whites and preventing the color from fading during soaking. This step is crucial for achieving long-lasting, vibrant colors.
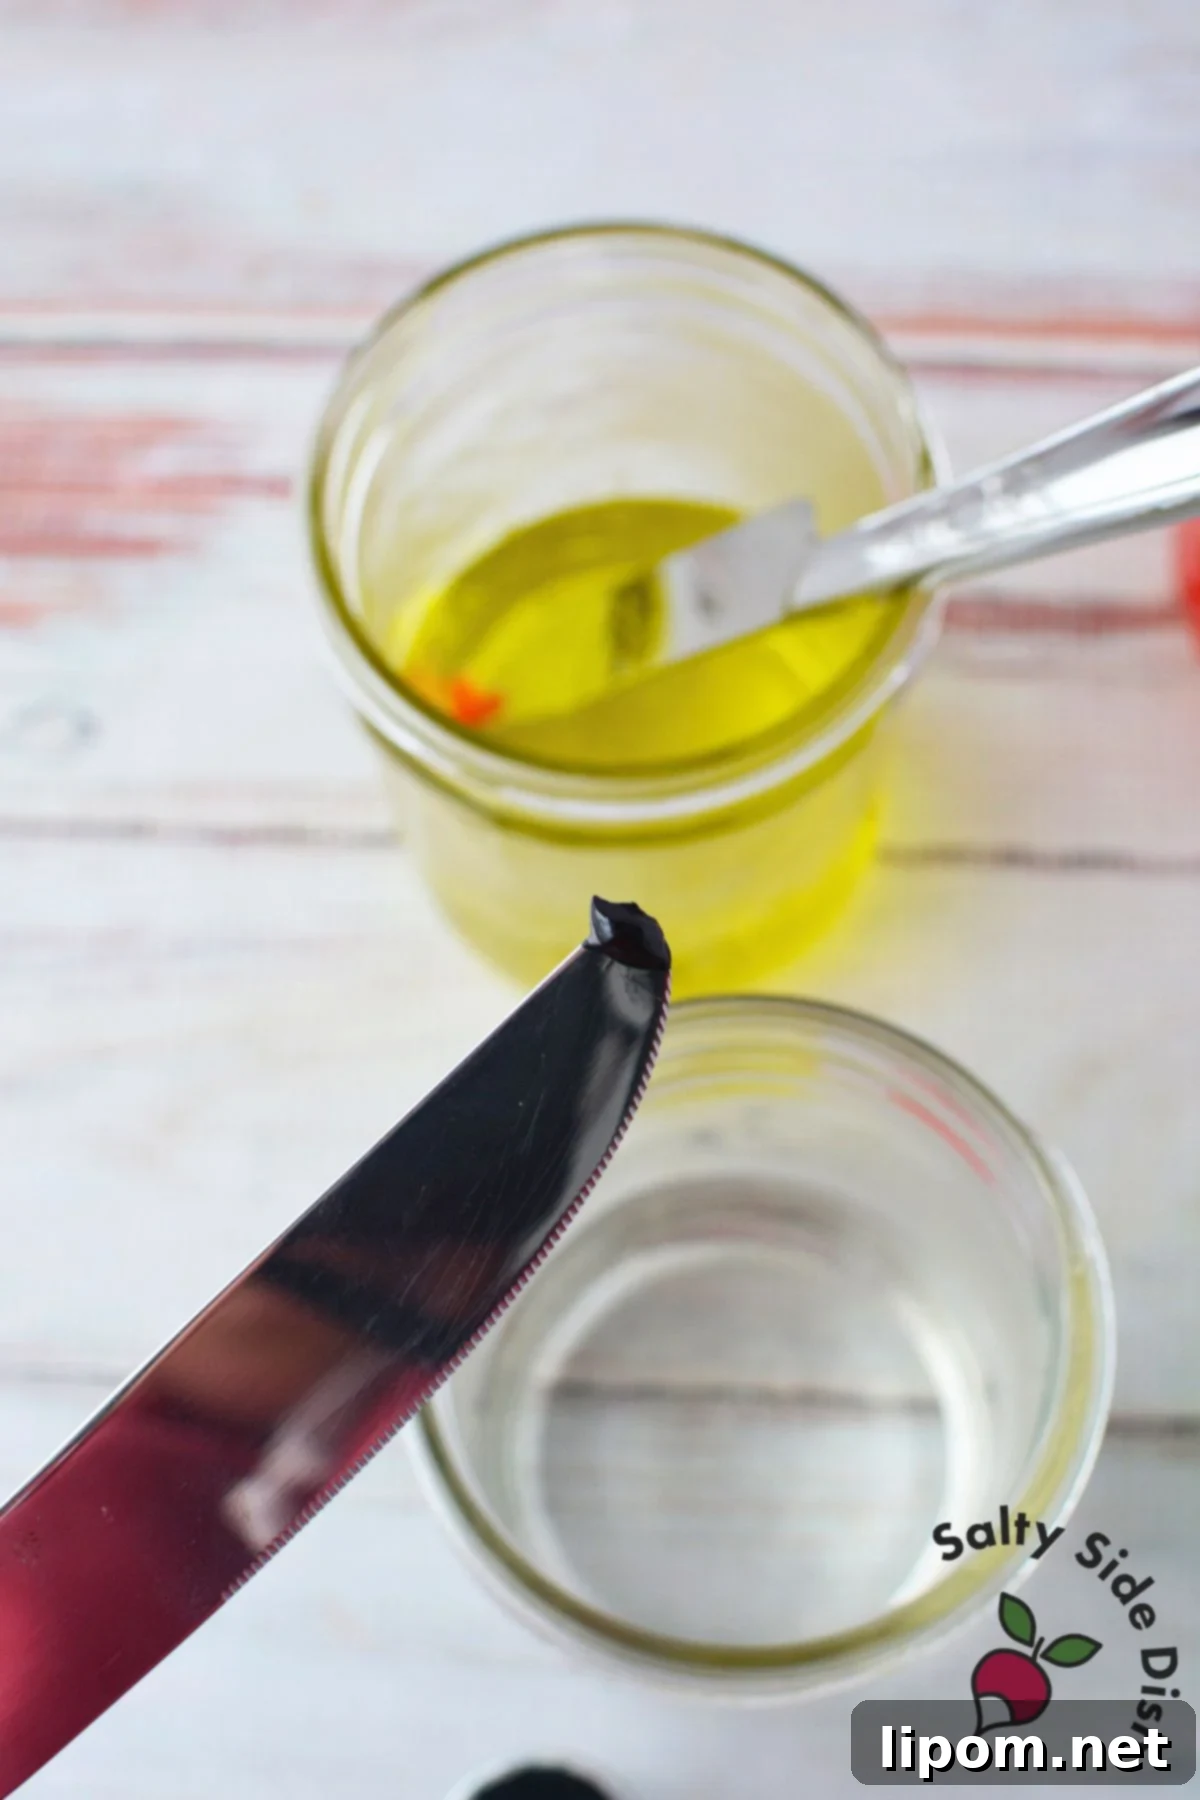
Add your desired food coloring to each bowl and mix thoroughly. Use gel food coloring for the most vibrant results, but liquid food coloring can also be used. Adjust the amount of food coloring depending on the desired intensity of the colors.
Carefully slice the cooled, hard-boiled eggs in half lengthwise and gently remove the yolks. Place the yolks in a separate bowl – these will be used to make the delicious deviled egg filling. Ensure the egg whites are clean and free of any yolk residue before placing them in the dye bath.
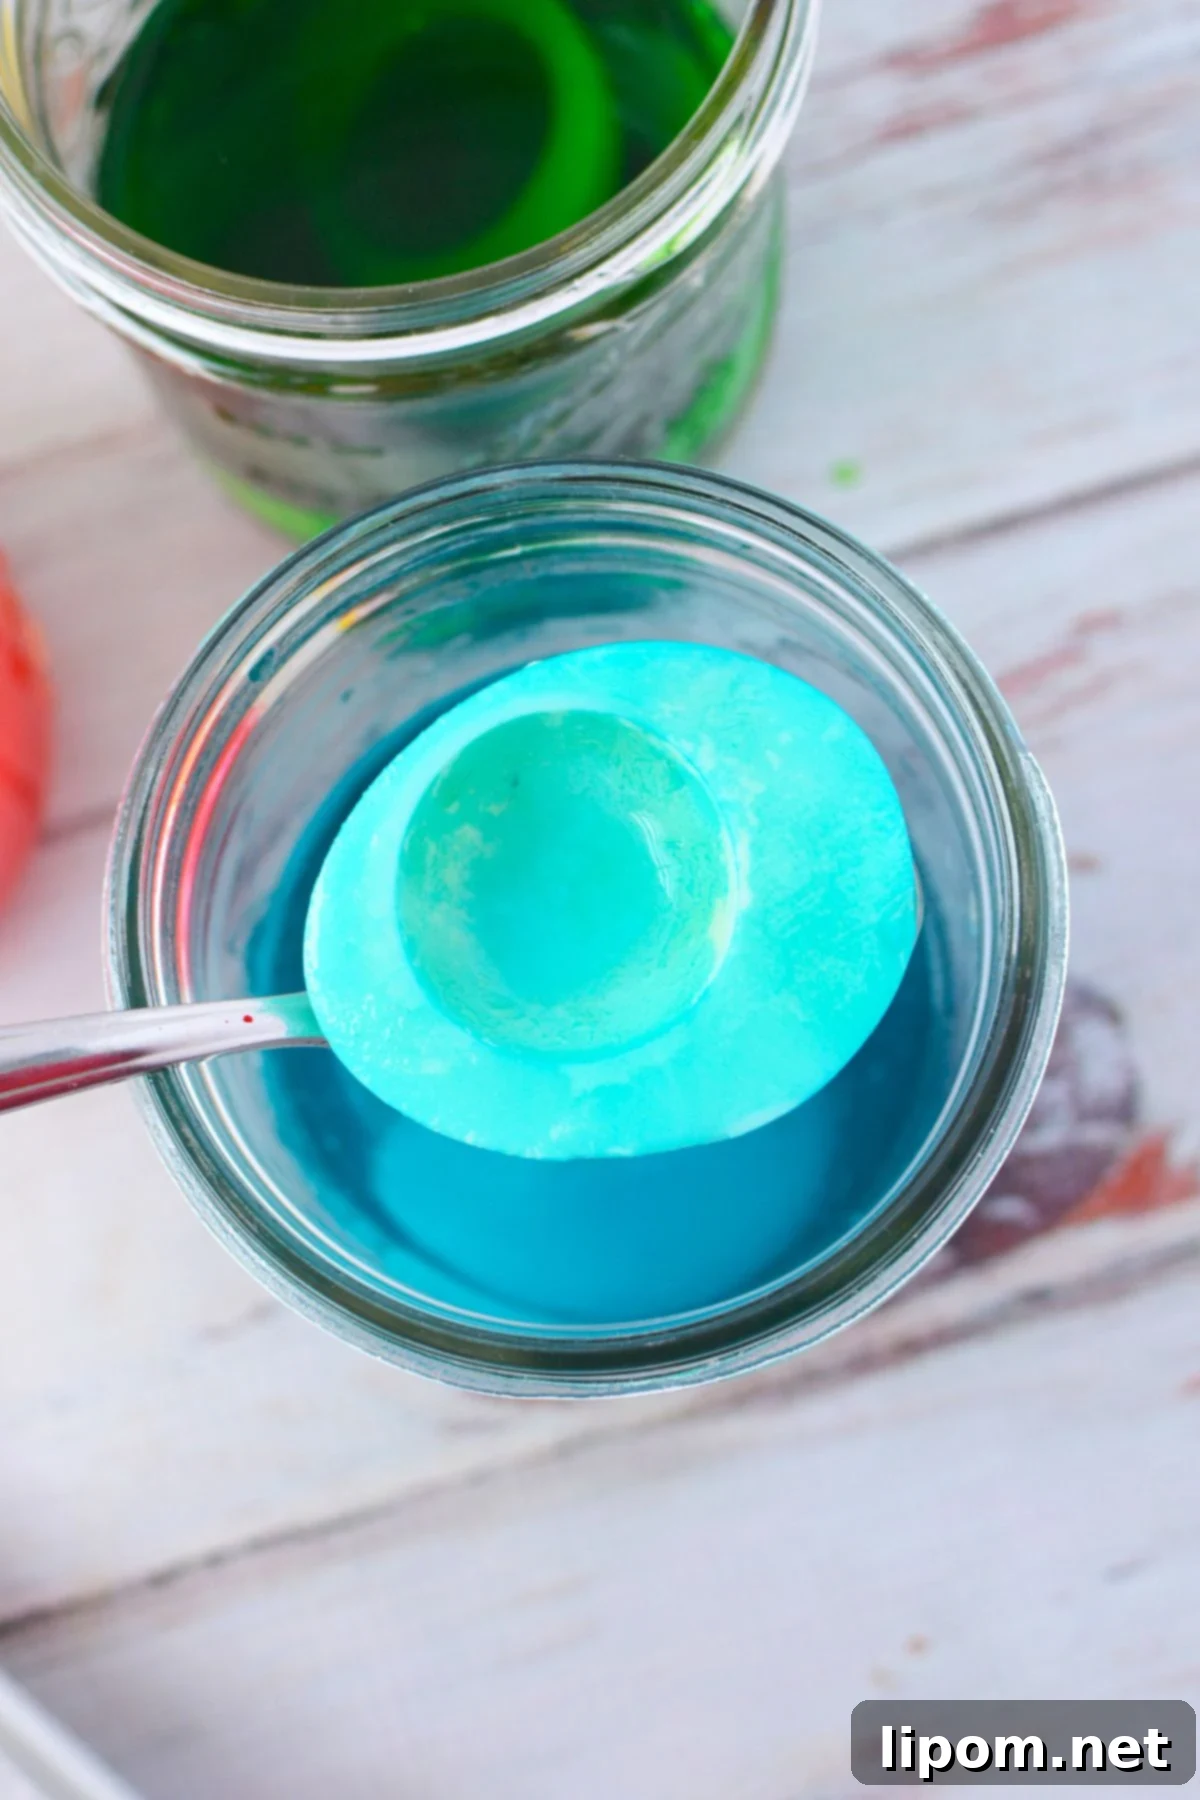
Place three egg white halves into each bowl of colored water, ensuring they are completely submerged. Submerging the egg whites evenly ensures uniform color distribution.
Set a timer for 10 minutes. This is a general guideline, and you can adjust the soaking time slightly shorter if you prefer lighter, more pastel colors. Check the egg whites periodically to monitor the color development and adjust the soaking time accordingly. Remember, it’s better to start with a shorter soaking time and add more time if needed, rather than over-soaking and ending up with overly dark colors.
Making the Deviled Egg Filling: A Simple Classic
While the egg whites are soaking in the colored water, it’s the perfect time to prepare the deviled egg filling. A classic filling is the perfect complement to the vibrant egg whites, providing a familiar and satisfying taste.
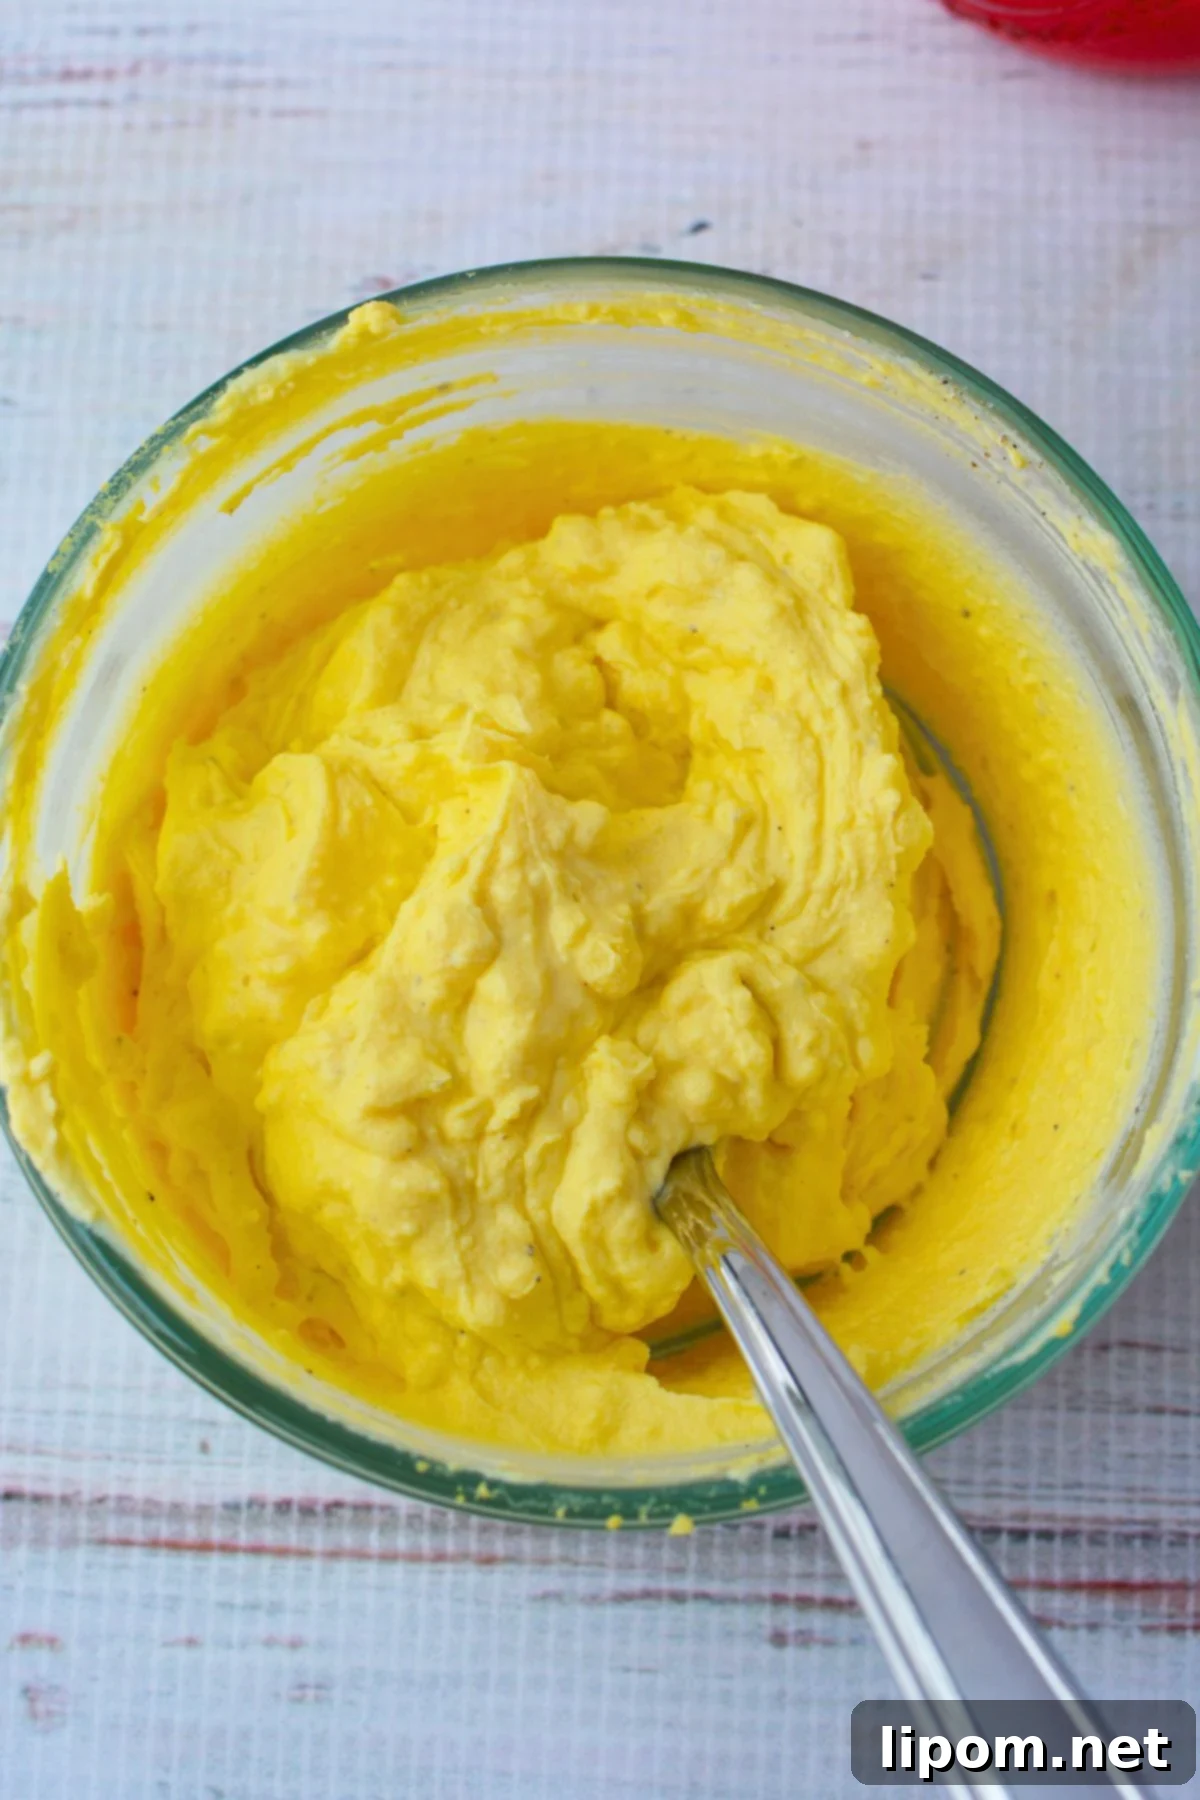
- Mash the egg yolks with a fork until they are smooth and free of lumps. Ensure all the yolks are thoroughly mashed for a creamy, consistent filling.
- Add the real mayonnaise and prepared mustard to the mashed yolks. Mix well until the ingredients are thoroughly combined and the mixture is creamy and smooth. The mayonnaise provides richness and moisture, while the mustard adds a subtle tang.
- Season the filling generously with salt and pepper to taste. Adjust the seasoning according to your personal preferences. You can also add a pinch of paprika or a dash of hot sauce for an extra layer of flavor.
Assembling Your Colorful Deviled Eggs
With the egg whites beautifully dyed and the filling ready, it’s time to assemble your colorful deviled eggs! This final step brings together all the elements to create a stunning and delicious appetizer.
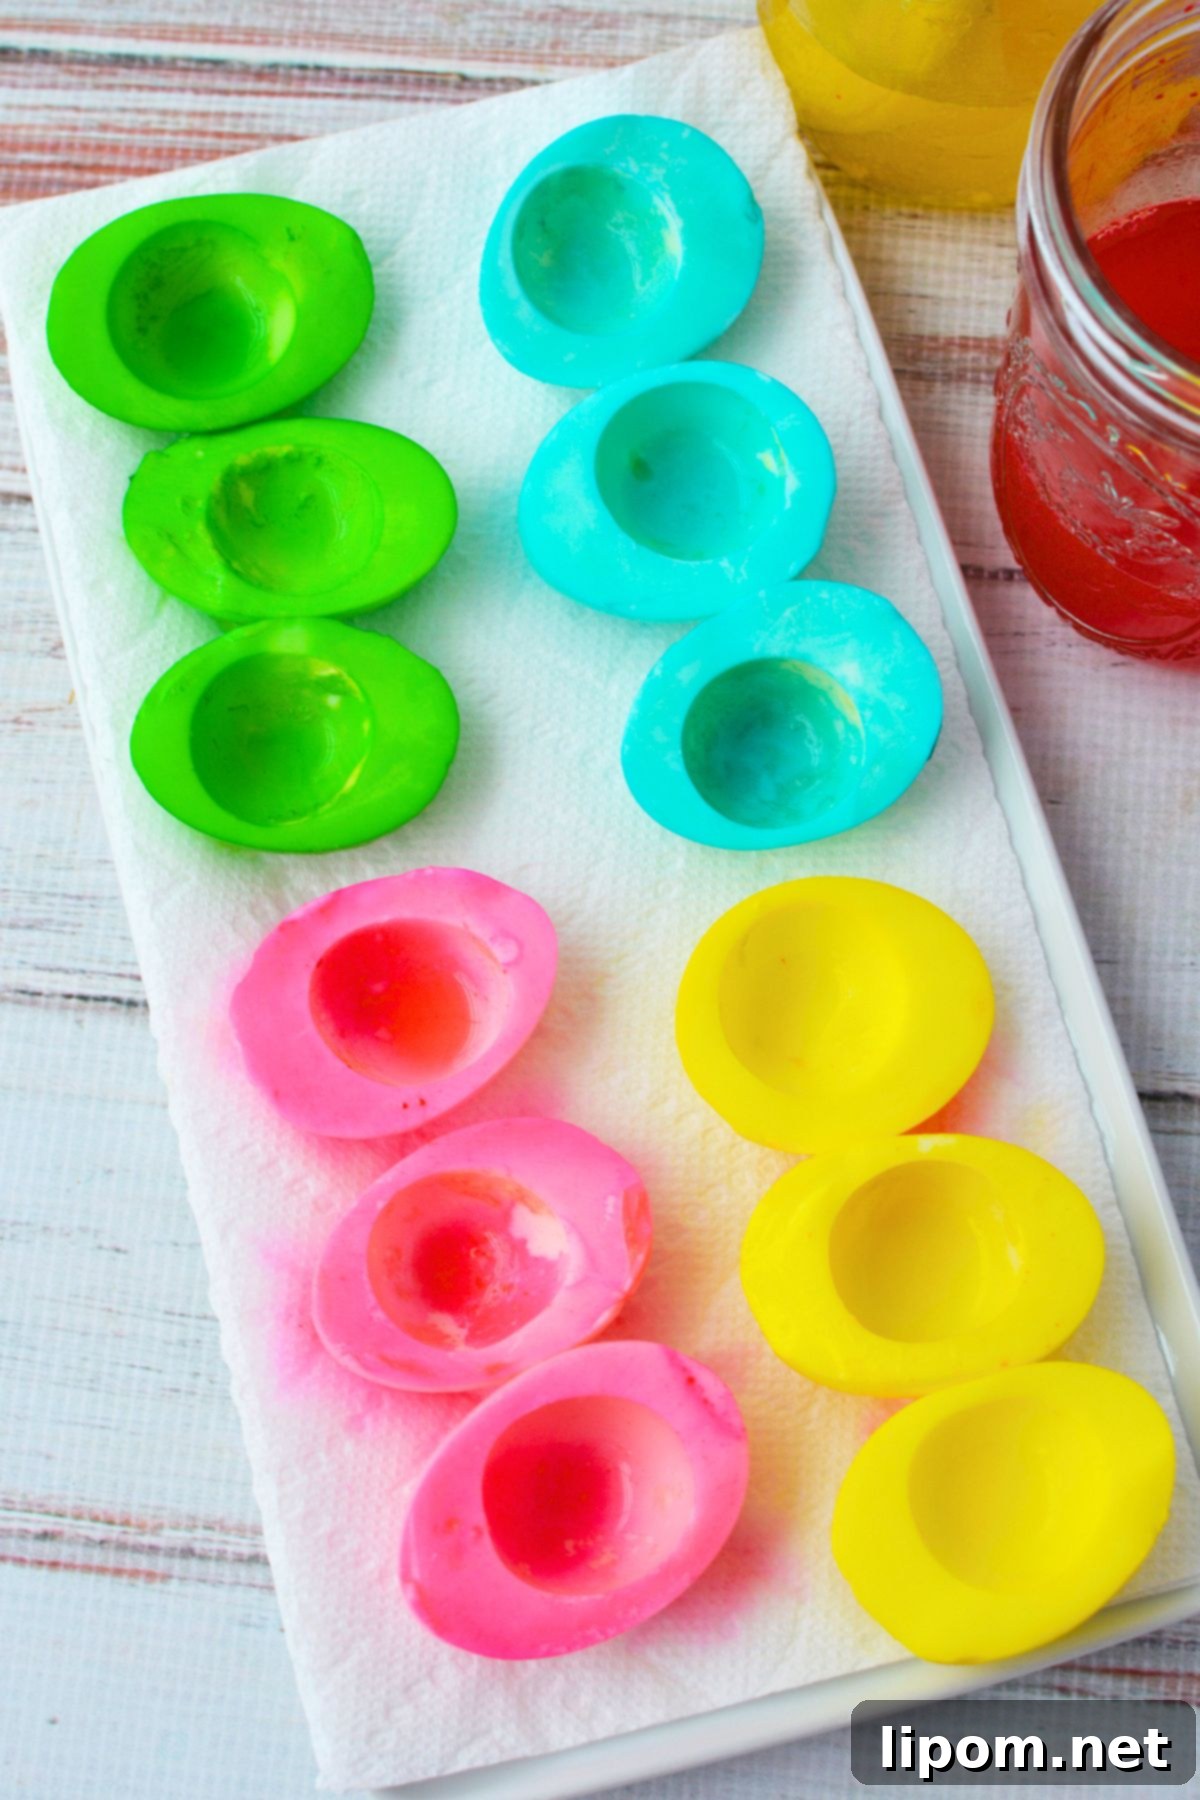
Carefully remove the egg whites from the dye baths and place them on paper towels to dry. Gently pat the egg whites dry to remove any excess liquid. Drying the egg whites will help the filling adhere better and prevent the deviled eggs from becoming soggy.
If any liquid pools in the center of the egg white halves, dab it out gently with a paper towel. Removing excess liquid will ensure the filling stays in place and prevents the deviled eggs from becoming messy.
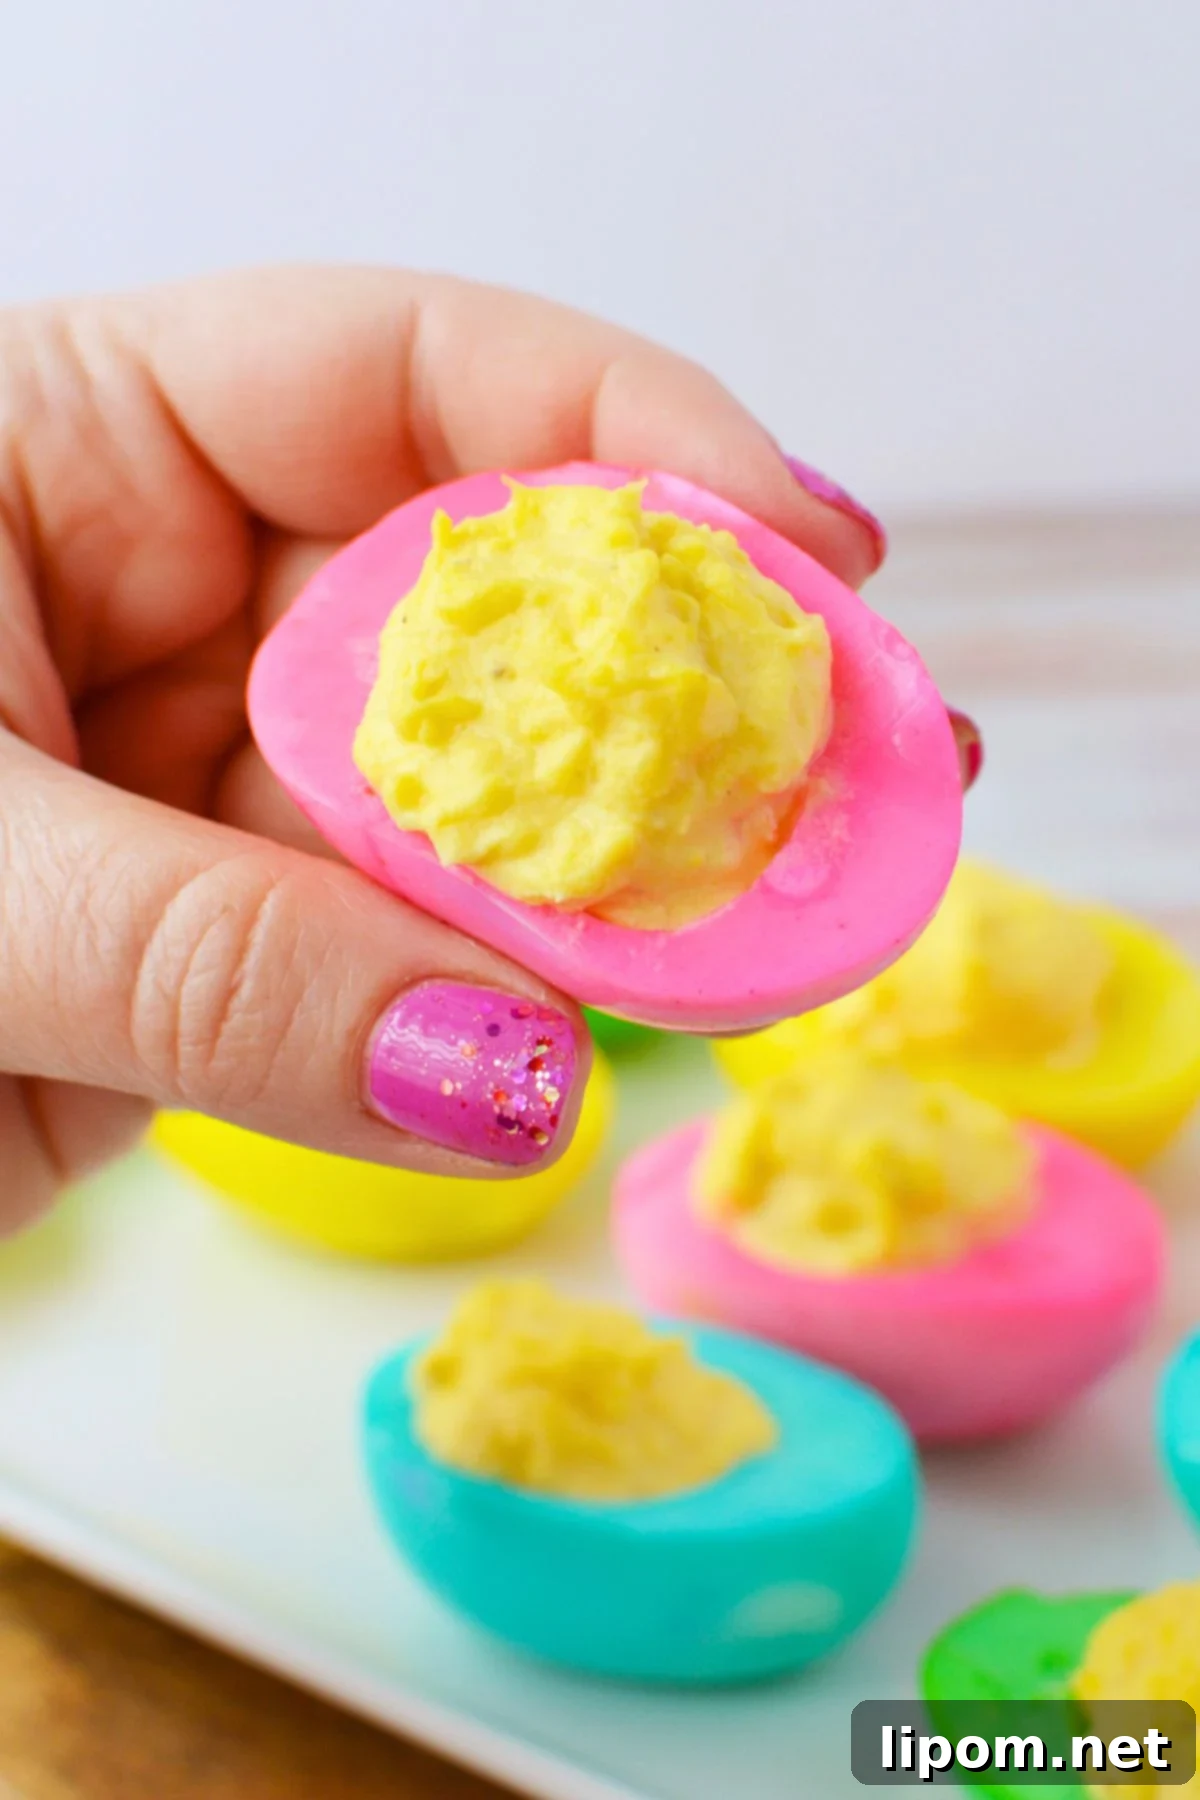
Spoon or pipe the yolk mixture into each egg white half. For a neat and professional look, use a piping bag fitted with a decorative tip. Alternatively, you can use a spoon to carefully fill each egg white half.
Serve the colorful deviled eggs immediately for the best flavor and texture. Or, cover them tightly and refrigerate until ready to serve. Chilling the deviled eggs for a short period can help the flavors meld together and makes them even more refreshing.
Tips for Best Results: Achieving Deviled Egg Perfection
- The egg timer is extremely reliable. Mine shows light red in cold water and gradually changes color. When it is solid red, the eggs are perfectly cooked.
- Cracking the shells slightly *before* boiling really does help with peeling.
- Always boil a couple of extra eggs, just in case a few don’t peel cleanly.
- Gel food coloring works well, even if it’s a little dry or doesn’t dissolve completely
- Don’t skip the vinegar! It really helps the color adhere to the egg whites.
- Use real mayonnaise for the filling to get the smoothest texture.
How to Store Your Colored Deviled Eggs
Store your prepared deviled eggs, covered, in the refrigerator for up to two days. This short storage period ensures the colors stay bright and the eggs hold their texture well when kept airtight.
If you are creating a full spring or Easter menu, these eggs work well alongside fresh appetizers such as tulip tomatoes, or as a lighter contrast to richer options like deep-fried deviled eggs.
More Fun Deviled Recipes to Try
If you like playful twists on classic recipes, a sweet option like deviled brownies makes a fun dessert to round out an Easter spread.
- These colored deviled eggs always get attention because they look far more complicated than they are to create. Once you try this method, it’s easy to bring them back every spring. Make sure to pin this recipe here so you dont lose this article!