
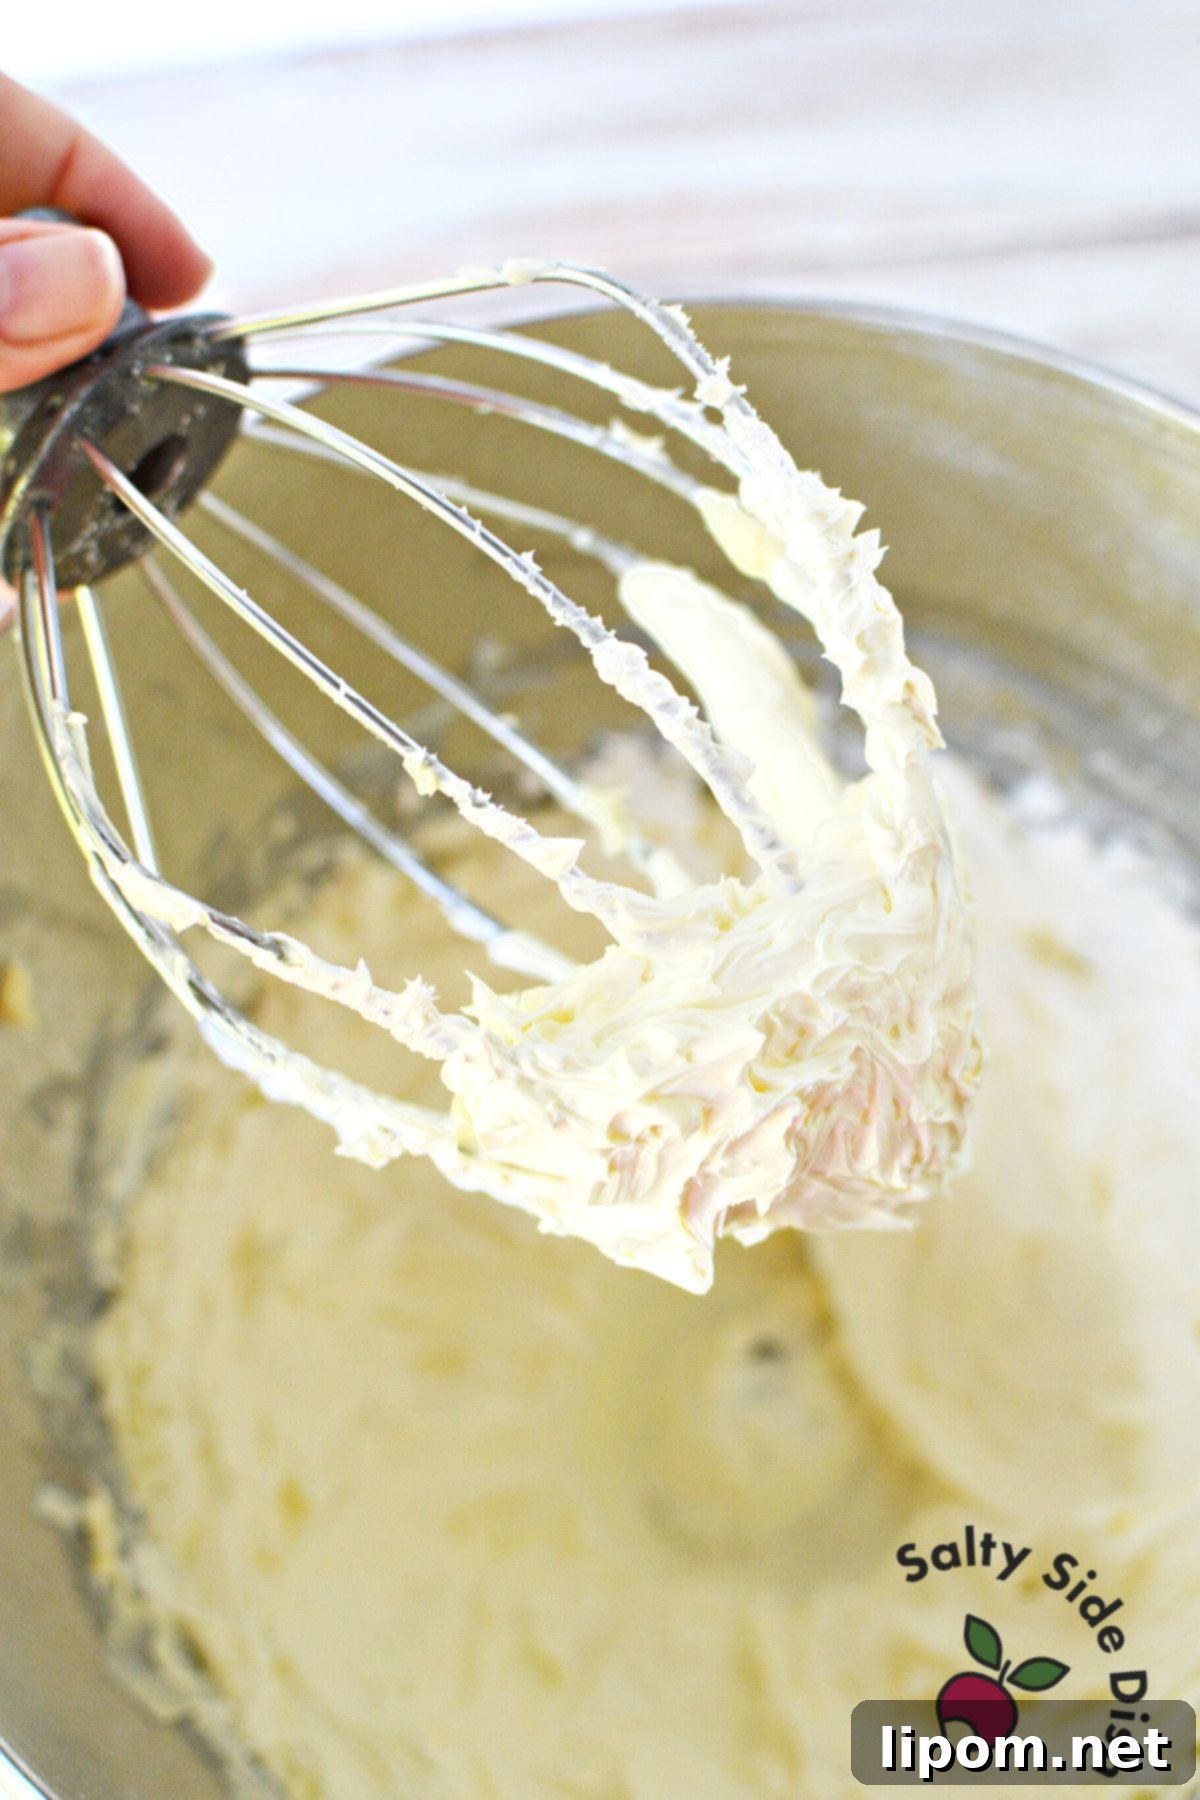
Unlock the secret to effortlessly perfect desserts with an **easy Russian buttercream frosting recipe** – a fundamental skill for any home baker. While store-bought cakes and cupcakes offer convenience, nothing conveys genuine warmth and homemade charm quite like a beautifully frosted treat adorned with **fluffy, stable buttercream**. This delightful frosting is not only simple to master but also boasts a uniquely smooth texture and a less-sweet flavor profile that stands apart from its American counterpart.
This exceptional **Russian buttercream recipe** calls for just three core ingredients (a fourth, powdered sugar, is optional for extra thickening) and delivers a consistency ideal for intricate piping and elegant decorations. Unlike traditional American buttercream, which relies heavily on butter and powdered sugar for its structure, Russian buttercream is crafted using softened butter and sweetened condensed milk. This key difference results in a remarkably airy, silky frosting that melts in your mouth without the gritty sweetness often associated with confectioners’ sugar-based frostings.
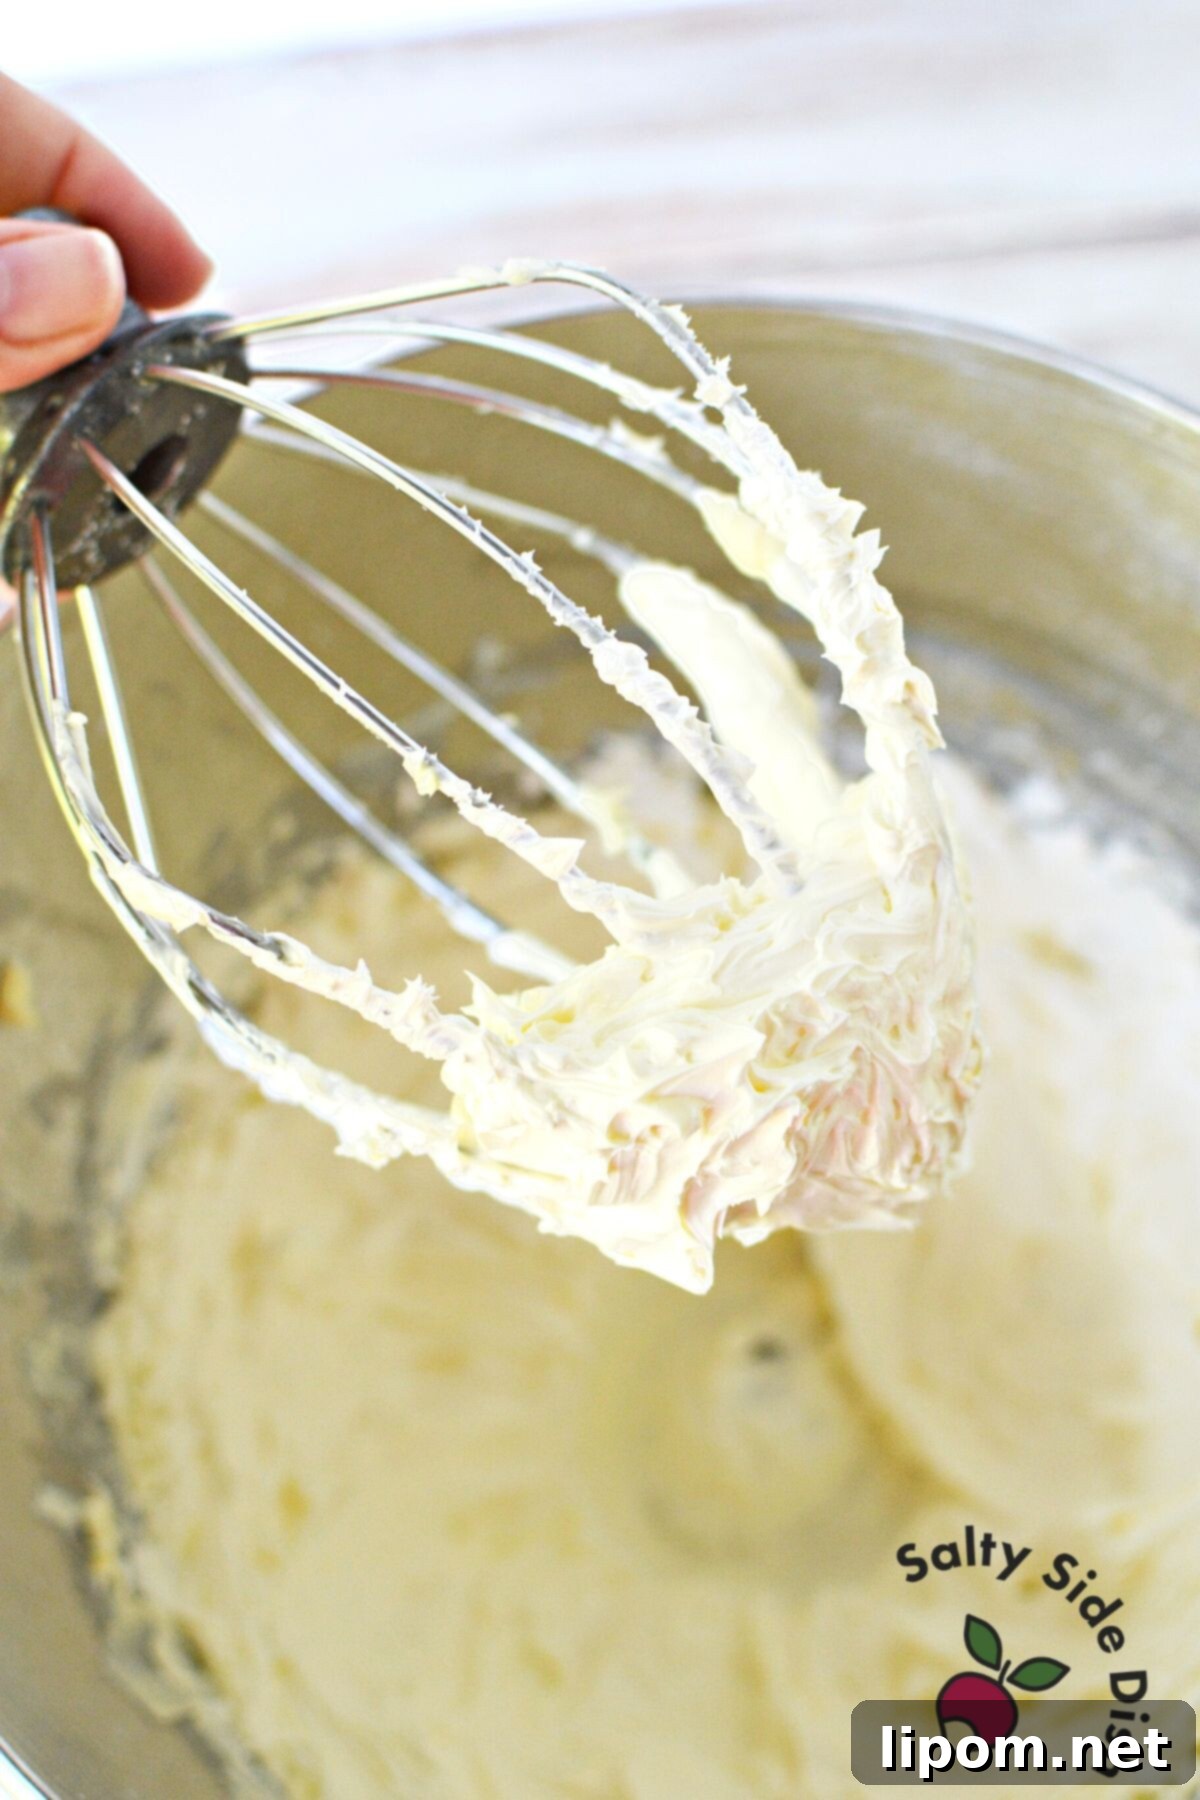
The magic of **sweetened condensed milk in Russian buttercream** creates a frosting that’s incredibly stable for piping intricate designs, holding its shape beautifully. It comes together surprisingly quickly, making it a fantastic option for last-minute baking projects or when you need a reliable, delicious frosting without fuss. Beyond its structural integrity, this buttercream offers a rich, creamy flavor that complements a wide array of baked goods, providing a refreshing alternative to frostings that taste solely of powdered sugar.
Essential Ingredients for Russian Buttercream
Crafting this simple yet sophisticated frosting requires minimal ingredients, but paying attention to their condition is crucial for success:
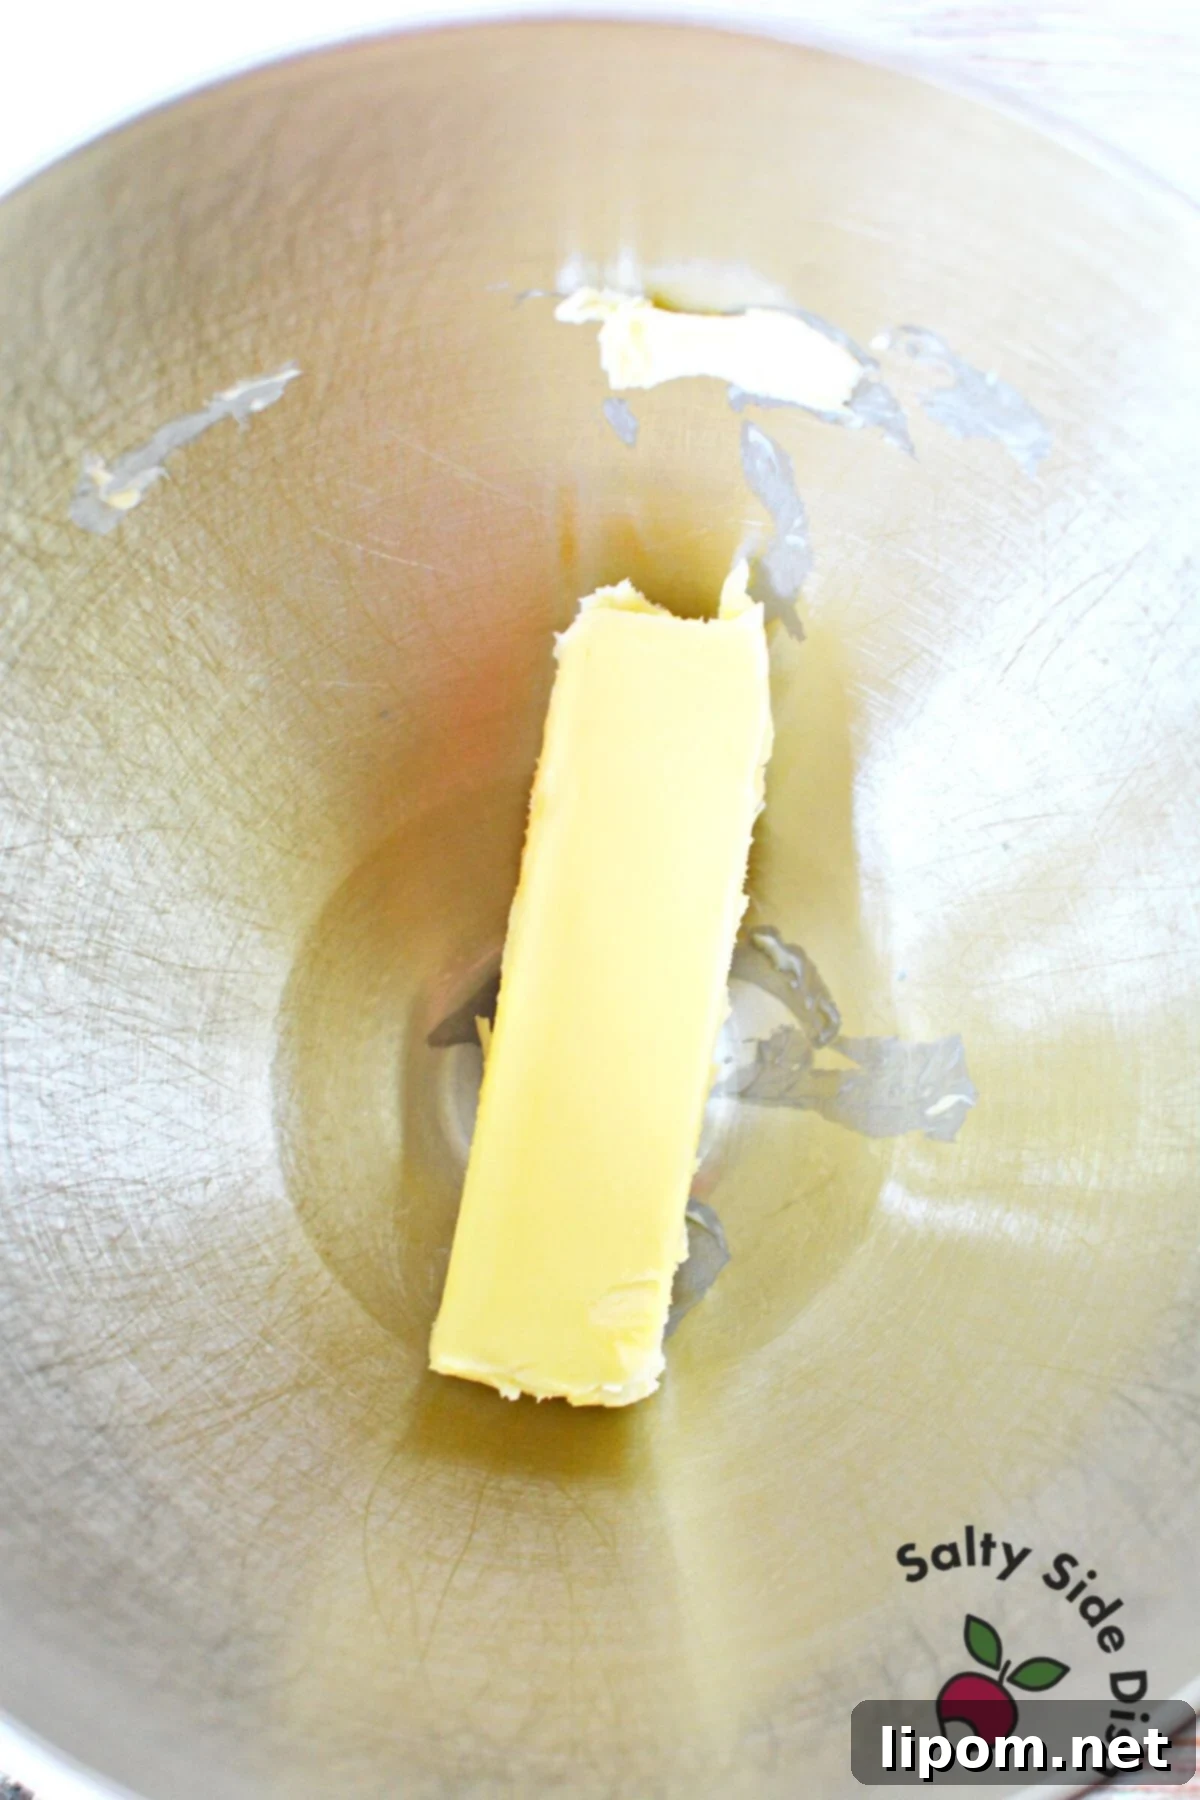
- Unsalted Butter: The foundation of this buttercream. It absolutely must be softened to room temperature. This is non-negotiable for achieving a smooth, emulsified frosting. Using unsalted butter allows you to control the overall saltiness, ensuring a balanced flavor. Avoid melting butter in the microwave, as this will compromise the final texture.
- Sweetened Condensed Milk: This is the star ingredient that differentiates Russian buttercream. Like the butter, it should be at room temperature. This helps it emulsify seamlessly with the butter, preventing separation and ensuring a consistently smooth mixture. Make sure you use *sweetened* condensed milk, not evaporated milk.
- Vanilla Extract or Vanilla Bean Paste: Essential for adding a classic, aromatic flavor. Pure vanilla extract offers a clean taste, while vanilla bean paste provides a more intense flavor and beautiful flecks of vanilla bean.
- Powdered Sugar (Confectioners’ Sugar), optional: This ingredient is only needed if your frosting is too soft or runny and requires additional thickening. It helps adjust the consistency for firmer piping or warmer environments without making the buttercream overly sweet, as the bulk of the sweetness comes from the condensed milk.
Mastering the Art of Russian Buttercream: Step-by-Step Guide
Follow these detailed steps to create a flawless batch of **homemade Russian buttercream**:
- Prepare the Butter: Begin by placing your perfectly softened, room-temperature butter into the bowl of a heavy-duty stand mixer equipped with the whisk attachment. This initial creaming step is vital for incorporating air and developing a light, fluffy base. Beat the butter on high speed for a full 6 minutes. During this time, it’s essential to stop the mixer every 2 minutes and scrape down the sides and bottom of the bowl thoroughly. This ensures all the butter is evenly whipped and no pockets of uncreamed butter remain. This extended beating time is crucial for expelling excess moisture and achieving the desired pale color and aerated texture.
- Observe the Butter Transformation: As you beat, the butter will gradually transform. It will lighten significantly in color, becoming almost white or a very pale yellow, and take on a noticeably light, airy, and fluffy consistency. This indicates it’s ready for the next stage.
- Incorporate Sweetened Condensed Milk Gradually: Now, with the mixer running on medium-low speed, begin adding the room-temperature sweetened condensed milk in 3-4 small portions. After each addition, beat well until fully incorporated before adding the next part. Resist the urge to dump the entire can in at once; a slow, steady incorporation allows the butter and condensed milk to emulsify properly, preventing the mixture from separating or curdling. This gradual process is key to a stable and smooth buttercream.
- Continue Beating for Stability: Once the entire can of sweetened condensed milk has been added, continue beating the mixture on medium-high speed for another 2 minutes. This final beating period helps to ensure all ingredients are fully combined, creating a stable, homogenous, and beautifully fluffy frosting.
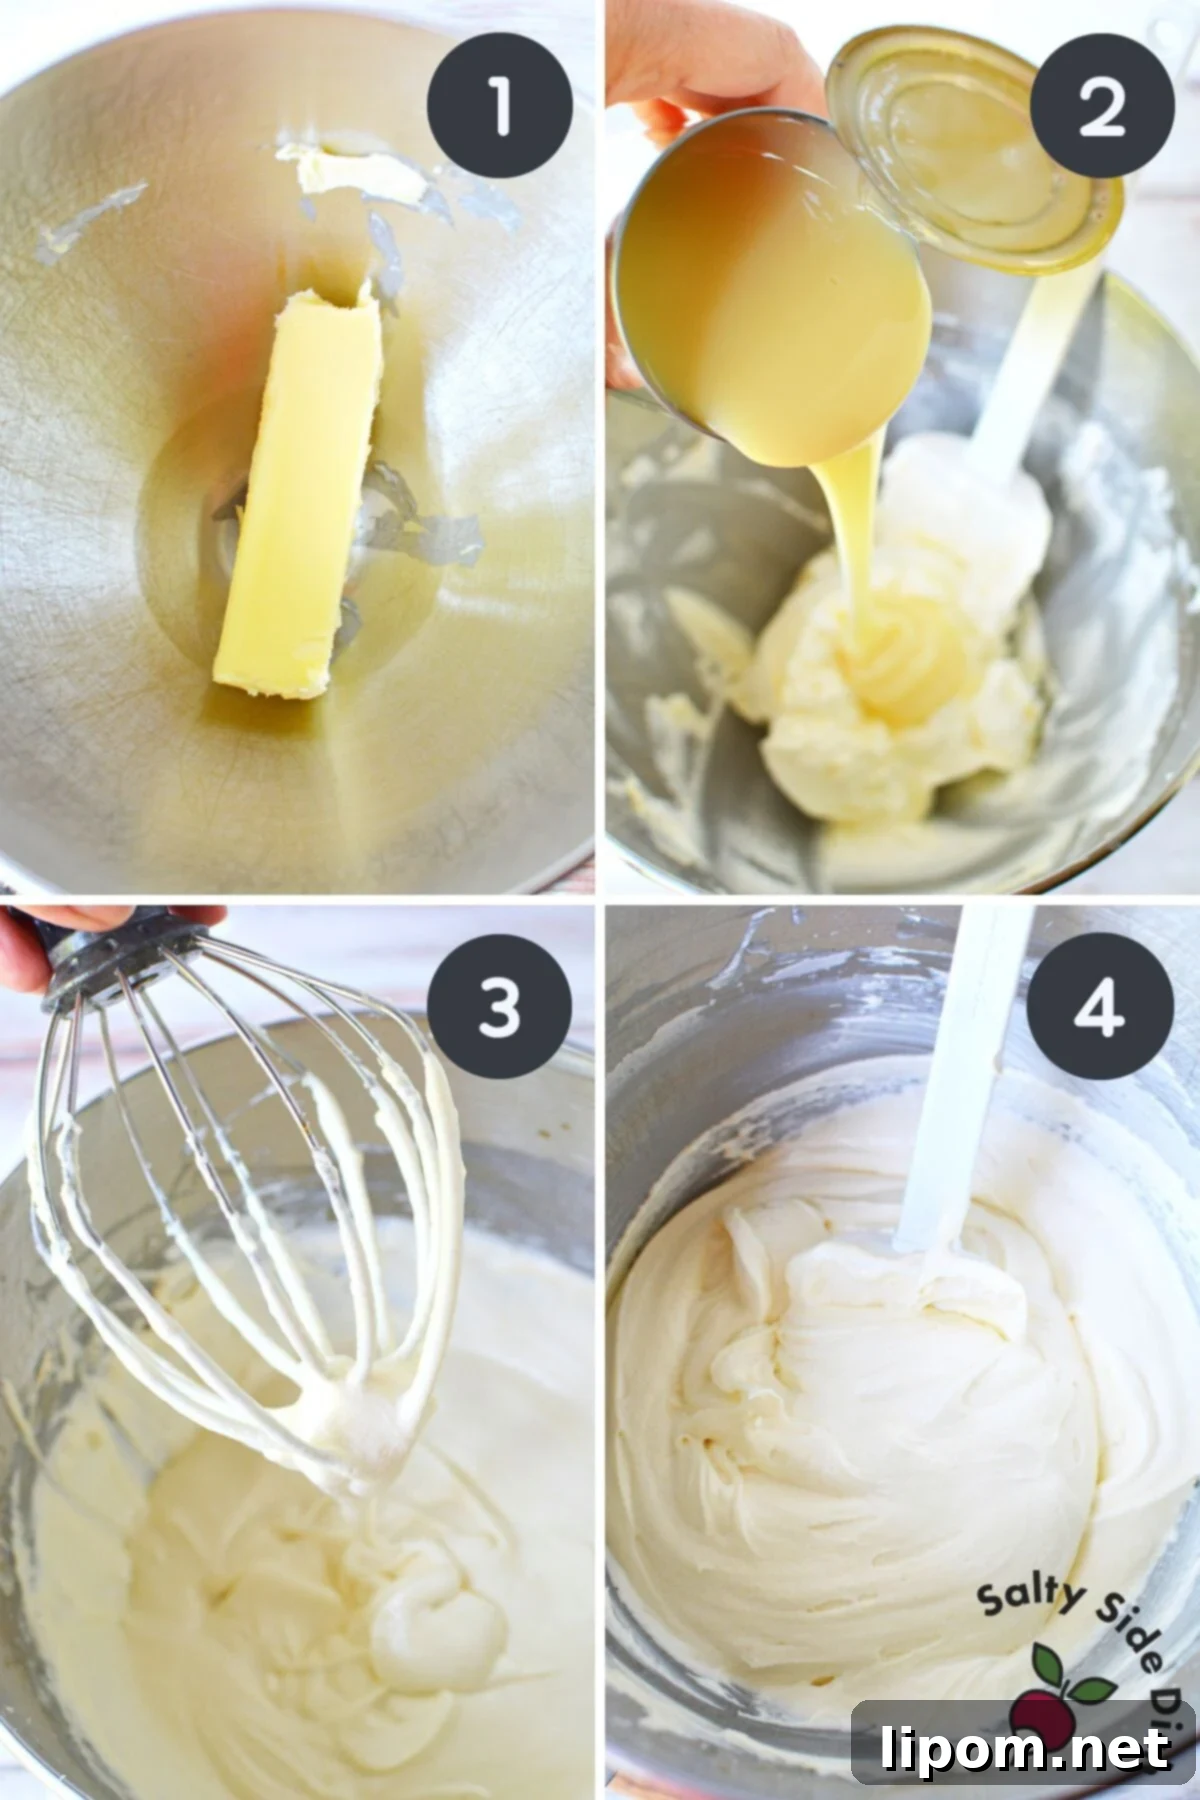
- Add Flavoring: Carefully add 1 teaspoon of vanilla extract or vanilla bean paste to the buttercream. Mix on low speed until just combined. At this point, your homemade frosting should possess a wonderfully smooth and velvety texture, ready for its final adjustments.
- Adjust Consistency (If Needed): If you find your buttercream is too runny for your intended use, such as detailed piping, you can gradually thicken it with powdered sugar. Add a tablespoon of powdered sugar (also known as confectioners’ sugar) at a time, mixing well after each addition, until your desired consistency is achieved. This step offers flexibility, allowing you to create a frosting that’s perfect for spreading, piping, or filling.
- Ready to Use and Store: Transfer the freshly made Russian buttercream into a pastry bag fitted with your chosen tip and pipe it onto cupcakes, cakes, or any other dessert. For best results and food safety, this frosting should be used fairly quickly or stored appropriately. If not using immediately, place it in an airtight container and refrigerate.
The Critical Art of Softening Butter for Perfect Buttercream
The success of your Russian buttercream hinges significantly on properly softened butter. This means butter that yields gently to pressure but isn’t greasy or oily. It’s best to remove butter from the refrigerator, unwrap it, and leave it on your kitchen counter for at least an hour, or even up to two hours, before you plan to start mixing. The exact time will depend on the ambient temperature of your home. If your kitchen is particularly warm, or if you’re already baking and your oven is on, the butter may soften faster or even begin to melt. A good test is to gently press your finger into the butter; it should leave an indentation without your finger going straight through.
Why is room temperature butter so important? When butter is too cold, it won’t cream properly, leading to a lumpy, separated buttercream. If it’s too warm or melted, it won’t be able to hold air, resulting in a greasy, soupy frosting that lacks volume and stability. Remember, the goal is *softened*, not melted, butter. Avoid shortcuts like microwaving, as this often creates pockets of melted butter that will disrupt the emulsification process.
Key Facts and Tips for Russian Buttercream
Understanding the characteristics of Russian buttercream will help you achieve the best results and manage it effectively:
- Refrigeration is Essential: Due to its high butter content, this **buttercream cannot stay on the counter for hours** like some other frosting types. It must be stored in the refrigerator, especially if your decorated treats won’t be consumed immediately. For decorated cakes or cupcakes, aim to keep them cool to prevent the frosting from softening too much.
- Re-Softening After Chilling: When refrigerated, Russian buttercream will naturally harden, becoming quite firm. If you need to re-pipe it onto cupcakes or cakes, or simply achieve its original fluffy texture for spreading, it **must be brought back up to room temperature first**. Allow it to sit on the counter for 30-60 minutes, then re-whip it in your stand mixer on medium speed for a few minutes until it’s smooth, light, and spreadable again. This process restores its beautiful consistency.
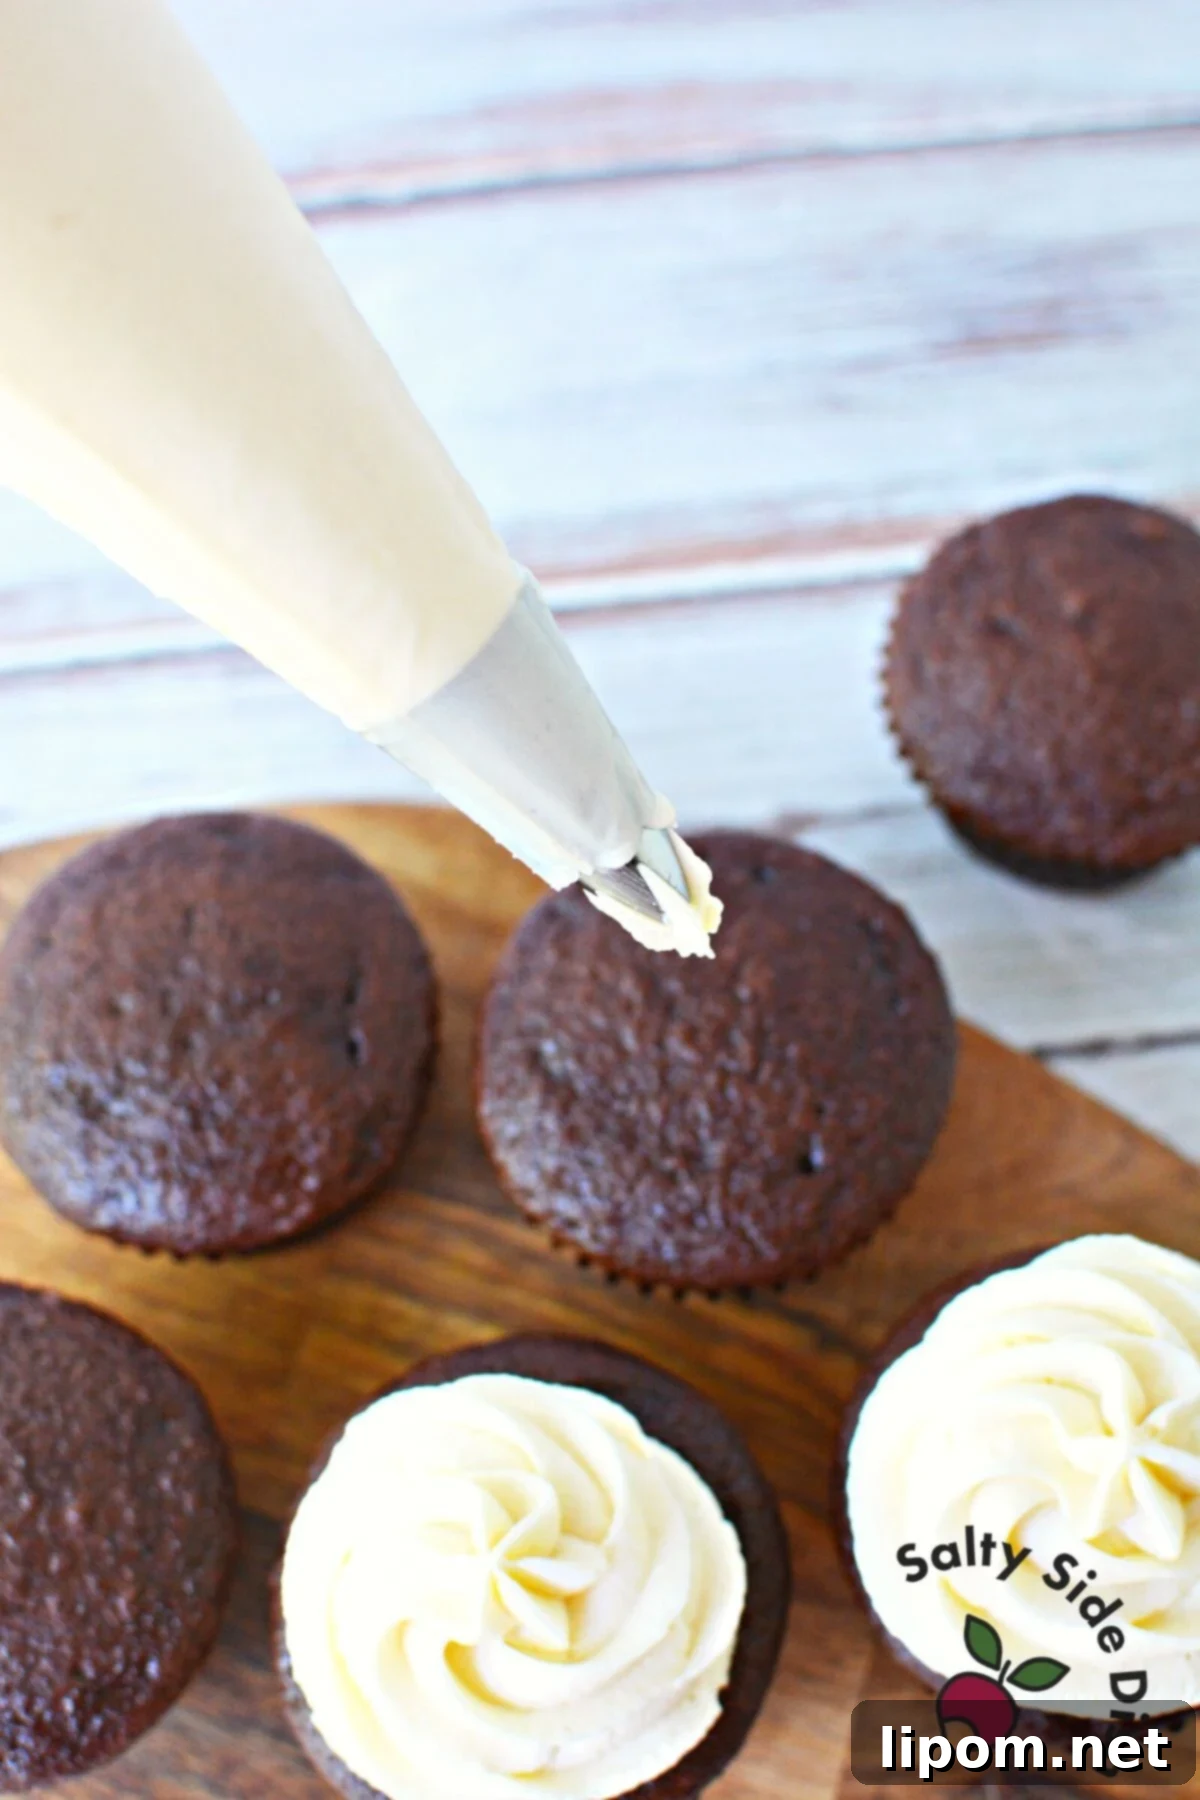
- Smooth Texture, Less Sweetness: One of the most appealing qualities of this frosting, unlike regular **American buttercream made from powdered sugar**, is its incredibly smooth mouthfeel and significantly reduced sweetness. Since it contains little to no granulated sugar (or only a small amount of powdered sugar if thickened), it offers a delicate, creamy flavor that doesn’t overpower your baked goods. This makes it a favorite for those who prefer a less sugary frosting.
- Flavor Variations: This versatile buttercream is easy to customize. Add a tablespoon or two of unsweetened cocoa powder to transform it into a rich **Russian chocolate buttercream**. For other delicious variations, consider incorporating a teaspoon of almond extract, a shot of espresso powder, lemon or orange zest, or even a few drops of food-grade essential oils for a unique twist. Gel food colorings work beautifully for vibrant hues without adding excess liquid.
- Freezing: Russian buttercream freezes exceptionally well. Store it in an airtight container for up to 2-3 months. Thaw in the refrigerator overnight, then bring to room temperature and re-whip until smooth and fluffy before use.
Troubleshooting: What if My Russian Buttercream Separates or is Runny?
Baking can sometimes feel as much like a science experiment as it is a creative endeavor, and even the best recipes can have hiccups. If your Russian buttercream starts to separate, looks curdled, or becomes too runny, don’t panic! This is often a common issue and usually fixable.
Separation or Curdling: This typically occurs when there’s a significant temperature difference between the butter and the sweetened condensed milk, or if one ingredient is too warm or too cold. The fat and liquid simply aren’t emulsifying correctly. To fix this, you can usually bring the buttercream back together:
- **Chill and Re-Whip:** Place the entire bowl of separated buttercream into the refrigerator for 5-10 minutes. This will slightly firm up the butter.
- **Beat Again:** Remove from the fridge and, using your stand mixer with the whisk attachment, beat on medium-high speed. The mixture should gradually come back together, becoming smooth and emulsified. Continue beating until it’s light and fluffy again. If it’s still separated, chill for another 5 minutes and try re-whipping.
Prevention: Ensure both your butter and sweetened condensed milk are at the *exact* same room temperature before you start. This is the most crucial step to avoid separation.
Too Runny Buttercream: If your frosting is too soft to hold its shape for piping, especially in a warm kitchen, you have a simple solution:
- **Add Powdered Sugar:** With the mixer on low speed, gradually add 1-2 tablespoons of powdered sugar (confectioners’ sugar) at a time, beating until fully incorporated after each addition. Continue adding until your desired stiffness is achieved. The powdered sugar will absorb excess moisture and add structure.
- **Chill Briefly:** Alternatively, or in combination with powdered sugar, you can chill the buttercream in the refrigerator for 10-15 minutes, then re-whip to check consistency.
With these troubleshooting tips, you can confidently tackle any buttercream challenges and ensure a consistently perfect result!
Delightful Applications for Russian Buttercream
Now that you’ve mastered this incredible frosting, the possibilities are endless! Its smooth texture and delightful flavor make it perfect for a wide variety of desserts.
Especially during the holidays, its most common use is on cupcakes! Try creating this ultra-cute cupcake with Christmas trees on top, where the buttercream makes a pretty and delicious layer of perfect frosting that truly looks like fresh snow.
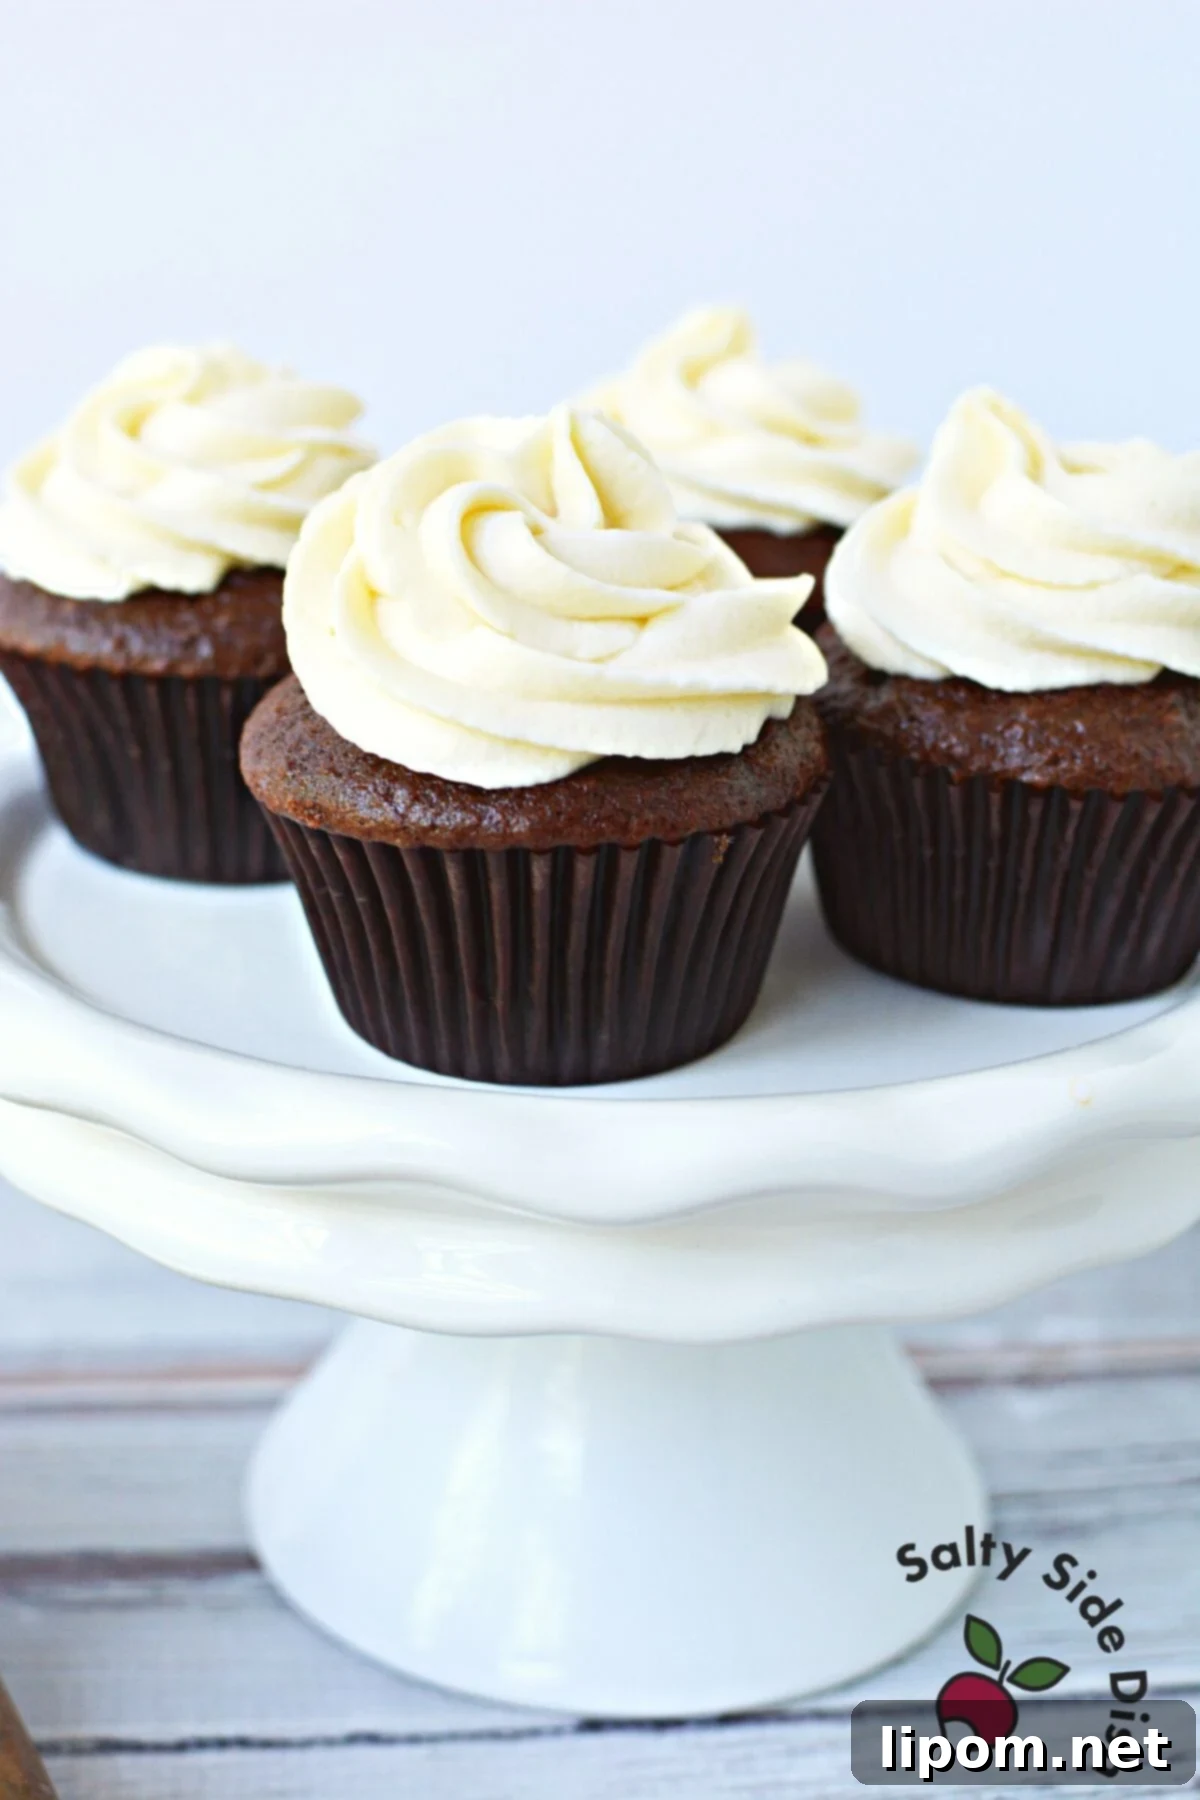
Beyond cupcakes, Russian buttercream makes a fantastic, smooth filling for banana bars, offering a lighter alternative to cream cheese frosting. It would also be an exquisite topping for a homemade banana pudding poke cake or a vibrant holiday-themed fruit pizza. Imagine it generously piped onto soft sugar cookies, layered in delicate macarons, or even used to elevate these trendy TikTok cinnamon rolls for an extra touch of decadence. Its versatility makes it a go-to frosting for any celebration or everyday indulgence!
Russian Buttercream (Sweetened Condensed Milk)
Equipment
-
Stand Mixer (or heavy-duty hand mixer)
Ingredients
- 1 cup unsalted butter softened to room temperature, equal to 2 sticks
- 14 oz. sweetened condensed milk at room temperature
- 1 tsp vanilla extract or vanilla bean paste
- powdered sugar To thicken ONLY if needed
Instructions
-
Add softened butter to a heavy-duty stand mixer fitted with the whisk attachment. Beat on high speed for 6 minutes, stopping to scrape down the bowl thoroughly every 2 minutes. This step is crucial for incorporating air and achieving a light, fluffy base.
-
Continue beating until the butter lightens significantly in color, appearing nearly white or a pale yellow, and is visibly light and fluffy.
-
With the mixer running on medium-low, gradually add the room-temperature sweetened condensed milk in 3-4 separate parts. Beat well after each addition until fully incorporated. This slow incorporation prevents separation and ensures a perfectly smooth buttercream.
-
After all the sweetened condensed milk has been added, continue to beat the mixture on medium-high for an additional 2 minutes to ensure a stable, homogenous texture.
-
Stir in 1 teaspoon of vanilla extract or vanilla bean paste until just combined. The homemade frosting should now have a smooth, velvety texture.
-
If the buttercream’s consistency is too runny for piping, gradually add powdered sugar (confectioners’ sugar), one tablespoon at a time, mixing well after each addition, until the desired stiffness is achieved.
-
Transfer the Russian buttercream into a pastry bag fitted with your preferred tip and pipe it onto your cooled cupcakes or cakes. This frosting is best used fresh or stored properly in the refrigerator.
Notes
Storage Tips: Russian buttercream can be stored in an airtight container in the refrigerator for up to 1 week. Before using, let it come to room temperature for 30-60 minutes, then re-whip in your stand mixer until smooth and fluffy again. It can also be frozen for up to 2-3 months; thaw overnight in the fridge and re-whip as directed.
Flavor Enhancements: Feel free to experiment with flavorings! Add a teaspoon of almond extract for a nutty twist, a touch of lemon or orange zest for brightness, or even a tablespoon of instant coffee granules (dissolved in a tiny bit of hot water) for a subtle coffee flavor.
Nutrition
Nutritional Disclaimer: The nutritional data provided here is auto-calculated and intended for your convenience only. As it’s generated via automation, its accuracy may be compromised. For precise nutritional insight, please compute the values utilizing the actual ingredients in your recipe through your chosen nutrition calculator or application.
Sharing of this recipe is encouraged and appreciated. Copying of full recipe to any social media is prohibited.
Did You Make This Recipe?
We’d love to see your creations! Make sure to follow Salty Side Dish on Pinterest and rate the recipe here. Don’t forget to leave a comment below and share your experience!