
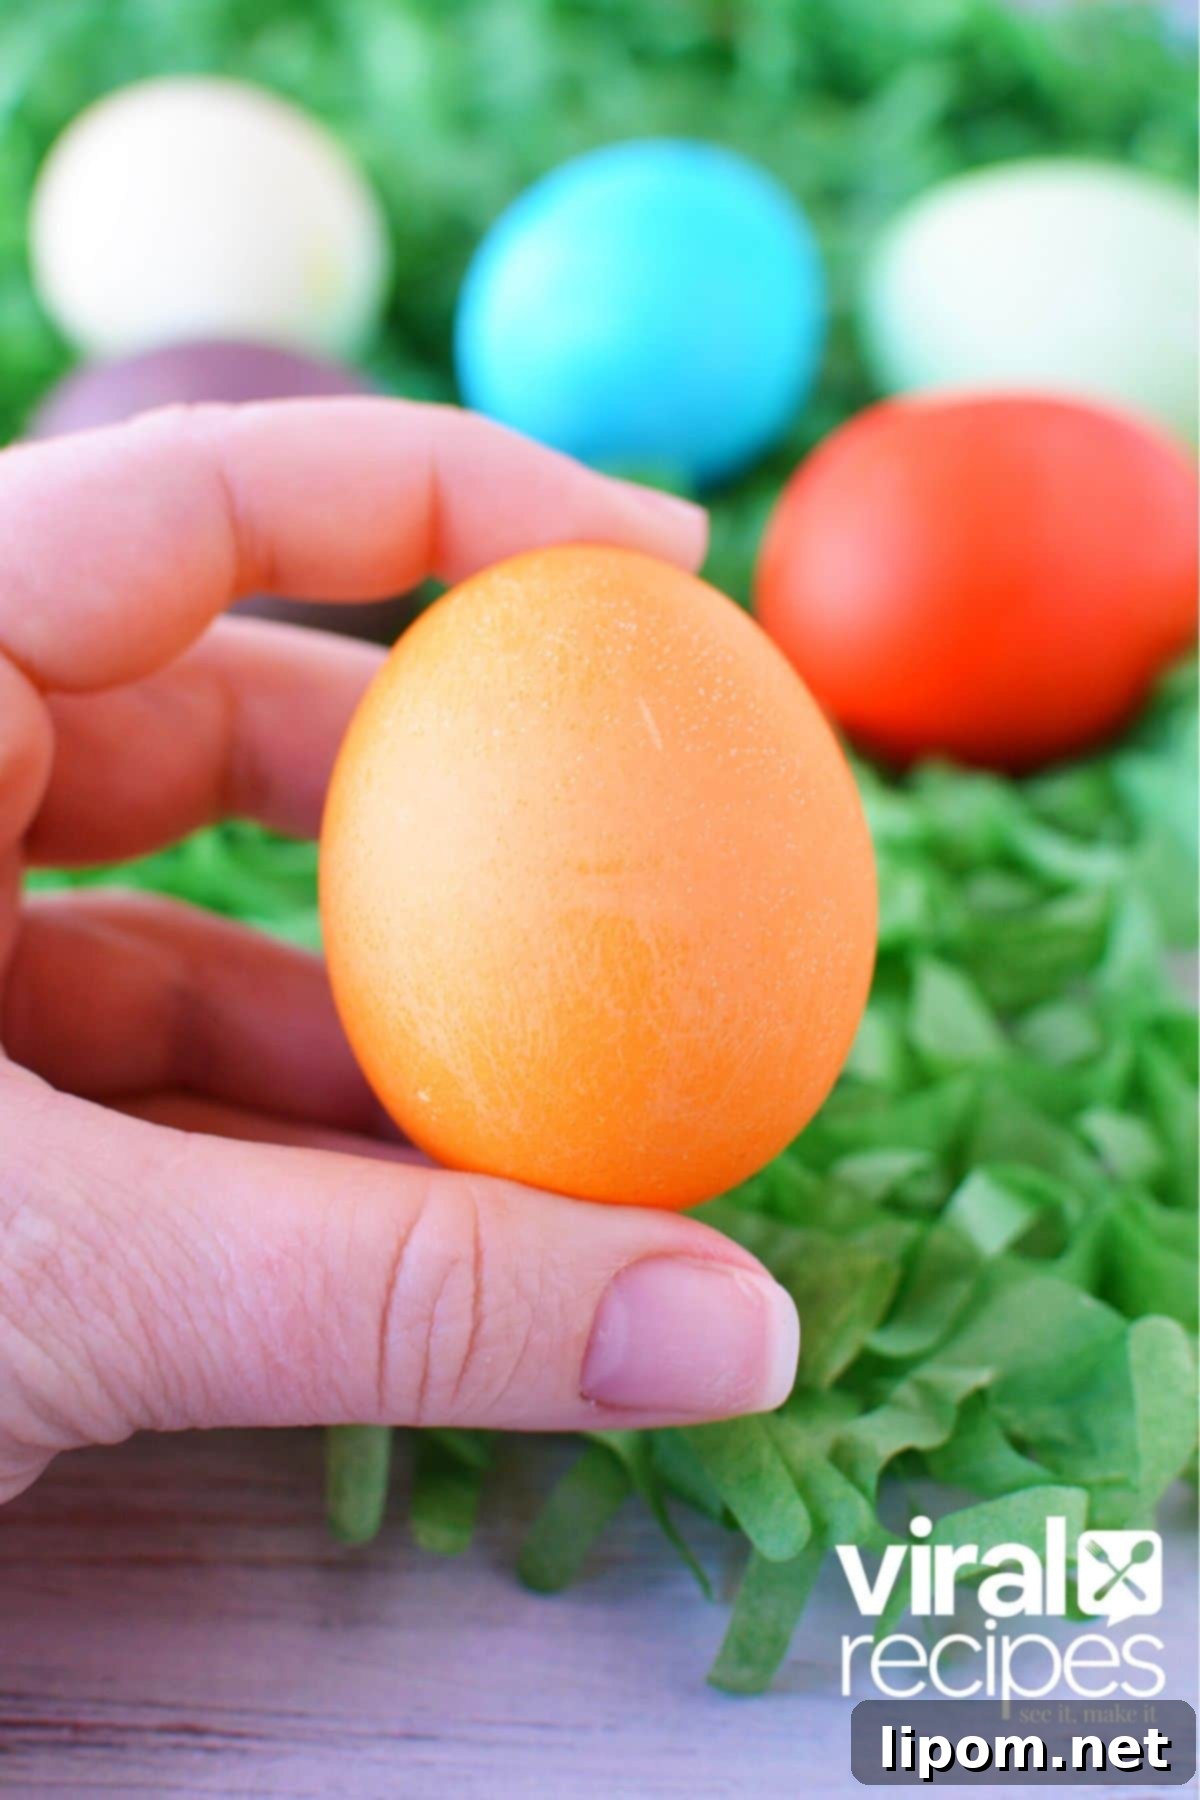
Easter is a time of joy, renewal, and vibrant colors, making it one of the most beloved holidays for children. A central tradition that captures this festive spirit is, undoubtedly, decorating Easter eggs. Over the years, countless methods have emerged, from classic liquid dyes and intricate dip-dye techniques to playful shaving cream marbling. Yet, amidst all these creative options, families often seek a method that is not only easy and fun but also safe for everyone, especially the youngest participants. This year, we’re thrilled to reintroduce a brilliantly simple, remarkably effective, and completely kid-friendly way to create stunning Easter eggs: using Kool-Aid!
A few years ago, we shared this clever hack on our TikTok channel, and it quickly became a sensation with kids and parents alike. The magic of this method lies in its simplicity: no harsh vinegar smell, no complex mixtures, just two primary ingredients to transform plain hard-boiled eggs into a spectrum of gorgeous, bright **Kool-Aid Colored Easter Eggs**. It’s an ideal craft for even the littlest hands, ensuring a mess-free and enjoyable experience for the whole family while yielding truly spectacular results (and yes, most colors turn out fantastically vibrant!).
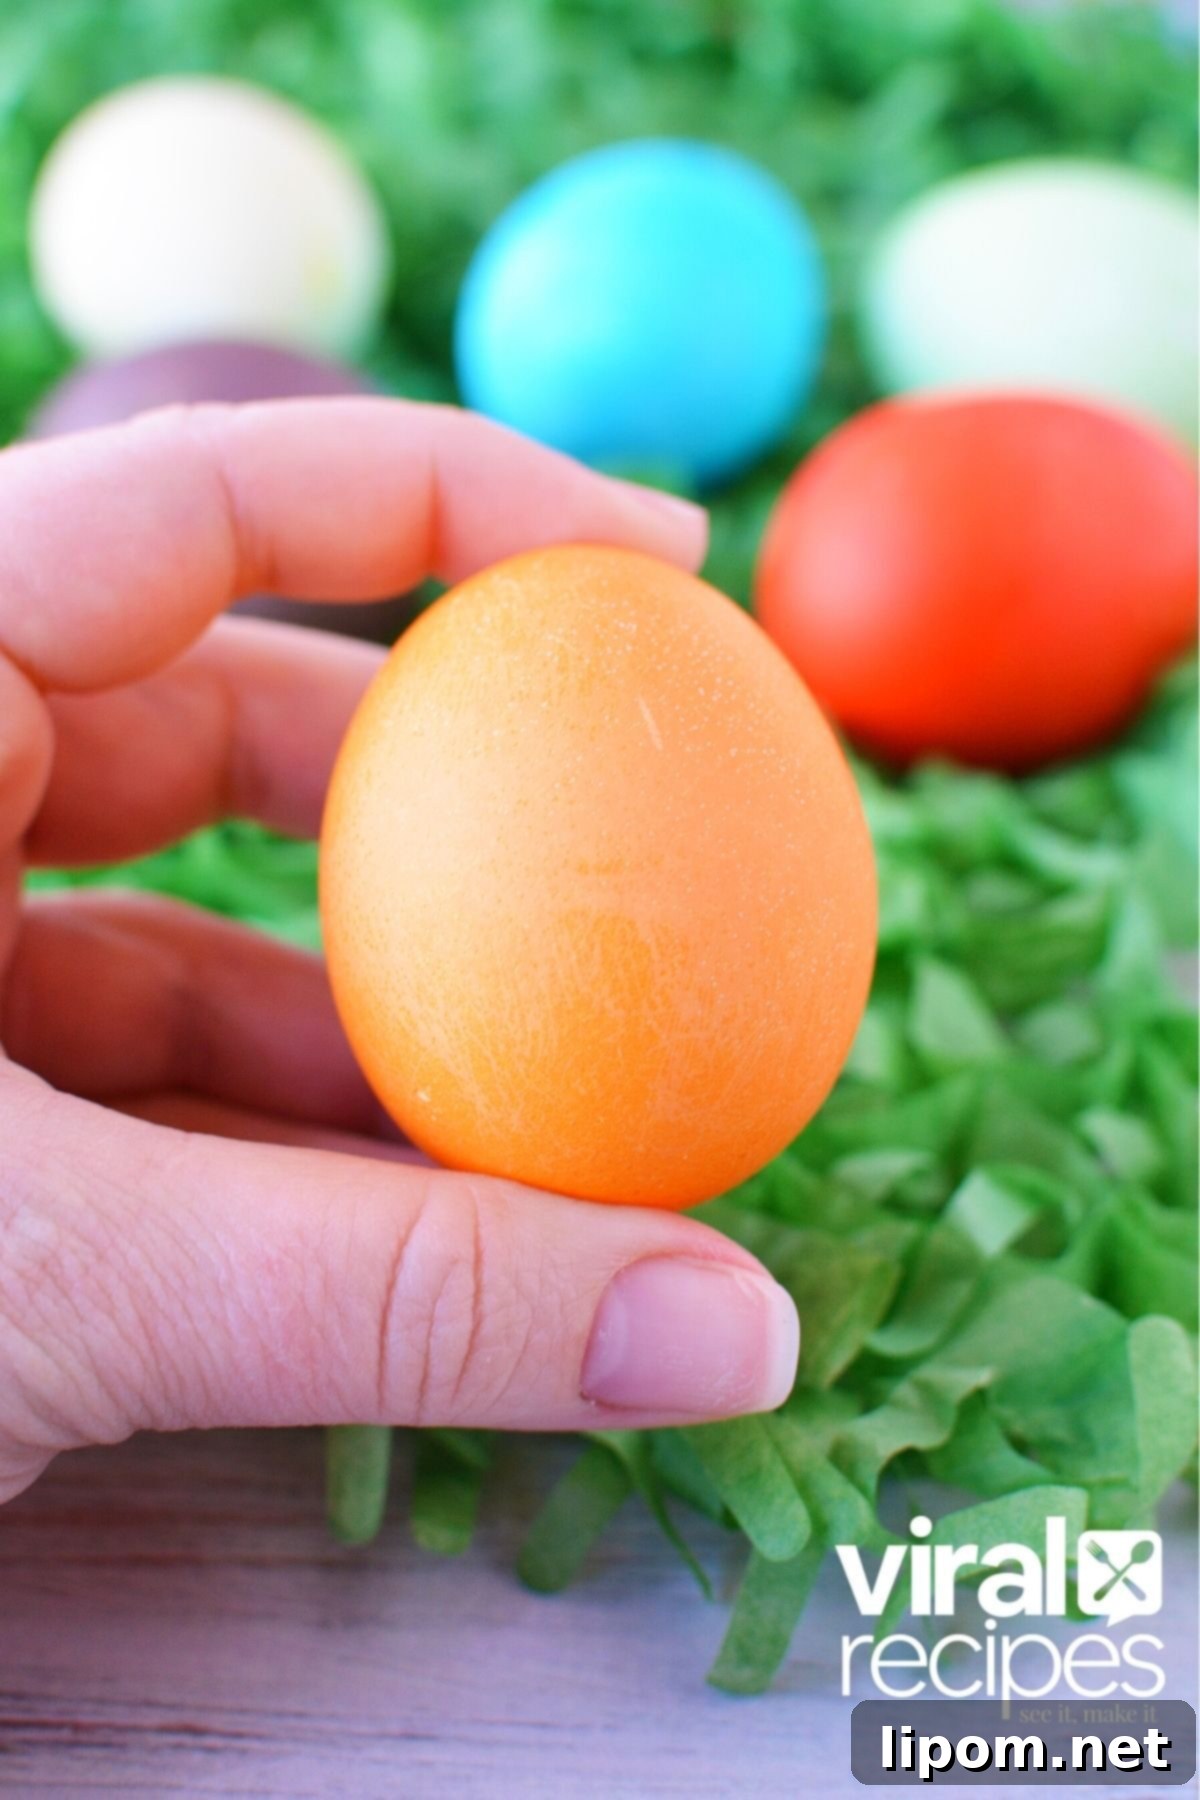
Why Kool-Aid is the Perfect Egg Dye
Before diving into the how-to, let’s explore why Kool-Aid stands out as an exceptional choice for dyeing Easter eggs, especially for families with children. Traditional egg dyeing kits often contain small dye tablets that require vinegar to activate the colors. While effective, the strong scent of vinegar can be unpleasant, and handling dye tablets can sometimes be tricky for kids. Kool-Aid, however, bypasses these issues entirely. Its powdered form dissolves easily in warm water, creating a vibrant, food-safe dye bath that is completely scent-free.
The beauty of using Kool-Aid isn’t just in its ease; it’s also incredibly economical. You can often find a wide array of flavored packets at your local grocery or dollar store for a fraction of the cost of conventional egg dyeing kits. This allows you to experiment with many colors without breaking the bank. Furthermore, because Kool-Aid is a food-grade product, any accidental spills or contact with skin are harmless, providing peace of mind for parents supervising young crafters. The resulting colors are remarkably intense and uniform, offering a fantastic alternative to natural dyes while still providing a safe and accessible option for stunning Easter creations.
Gather Your Simple Supplies: What You’ll Need
Preparing for this fun and easy Easter craft is straightforward. You only need a few readily available items to get started. Before you begin, gather everything to ensure a smooth and continuous dyeing process.
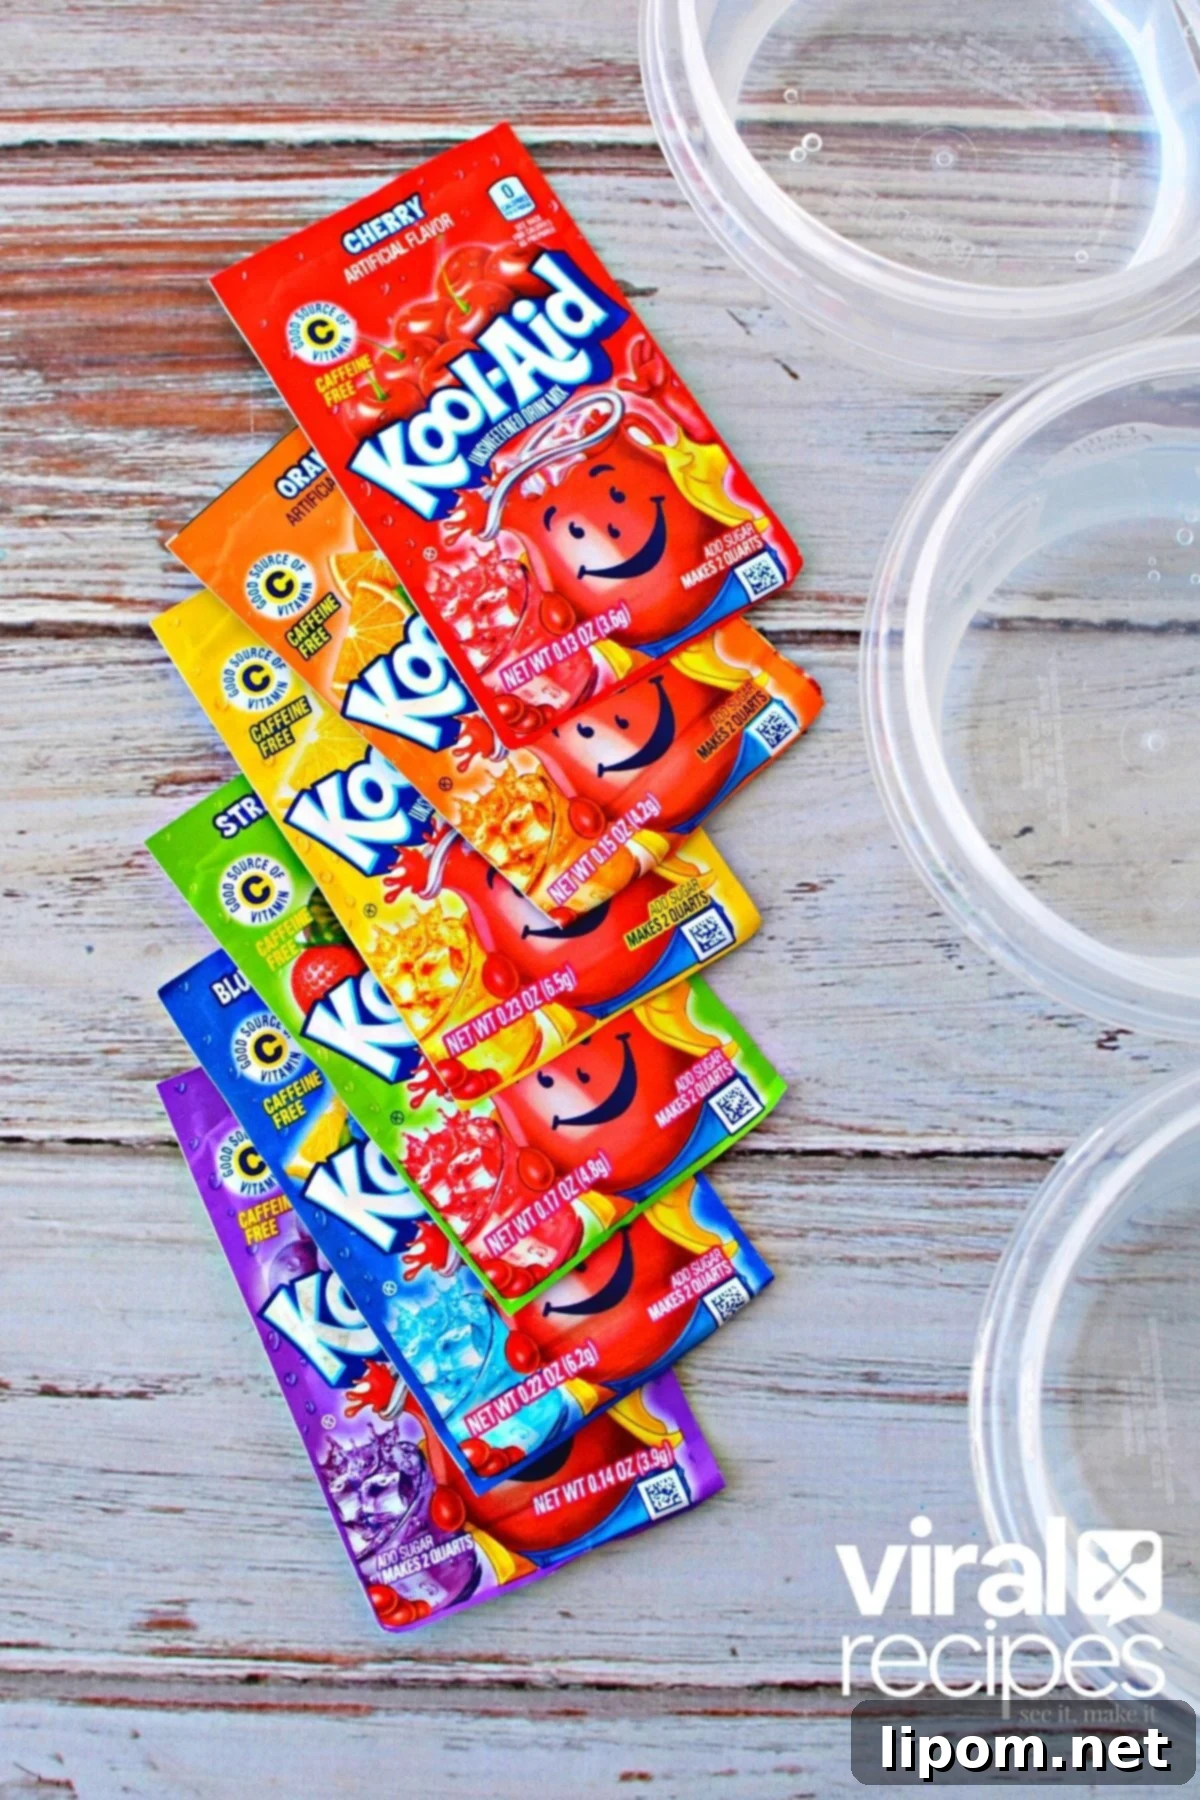
- Variety of Colored Kool-Aid Packets: The key ingredient! For the vibrant eggs featured in this article, we used classic flavors like cherry (for a brilliant red), orange, lemonade (which yields a sunny yellow), blue raspberry (also known as Berry Blue), and grape. We recommend selecting a diverse range to achieve a rainbow of colors.
A little tip: While many popular Kool-Aid flavors produce fantastic primary and secondary colors, you might find blue and green packets less common in some areas. Don’t worry if they’re unavailable! We’ve included easy instructions below for creating gorgeous green and rich blue shades by combining other packets, proving that a little creativity goes a long way. This allows you to customize your palette and explore unique color blends.
- Hard-Boiled Eggs: These are your canvases! For ultimate convenience, especially when crafting with eager children, purchasing pre-made hard-boiled eggs can be a real time-saver, cutting out an entire preparation step. However, if you prefer to hard boil your own, it’s incredibly simple. Whether you use a traditional stovetop method or a pressure cooker like a Ninja Foodi for perfectly cooked eggs, ensure your eggs are fully cooled before dyeing. Cold eggs help the dye adhere more evenly and prevent premature cracking.
- Individual Plastic Containers: You’ll need one container for each color you plan to make. Small, inexpensive plastic containers, like those from the Dollar Tree (Betty Crocker brand works great!), are perfect for this. Their disposable nature makes cleanup a breeze, or they can be easily rinsed and reused.
- Warm Water: Approximately 1 cup per color station. Warm water helps the Kool-Aid powder dissolve quickly and completely, ensuring a smooth, lump-free dye bath for the best color saturation.
- Spoons or Tongs: For stirring the dye and gently placing/removing eggs without making a mess.
- Paper Towels or a Wire Rack: Essential for drying your beautifully dyed eggs. A baking sheet lined with paper towels provides a soft, absorbent surface, while a wire rack allows for air circulation for even drying.
- Optional: Gloves: While Kool-Aid is food-safe, it can temporarily stain hands. Gloves can be helpful for adults or older children who prefer to avoid stained fingers.
Step-by-Step Guide: How to Make Vibrant Kool-Aid Easter Eggs
Using Kool-Aid packets might not be considered a natural dye, but it delivers an incredible intensity of color, coupled with the significant benefit of being completely food-safe. This means you can confidently enjoy your beautifully colored eggs after the festivities. The finished eggs will display a variety of striking hues, with the depth of color largely dependent on how long you allow them to soak. This method is not only practical but also immensely fun, resulting in a basket full of pretty, brightly colored eggs.
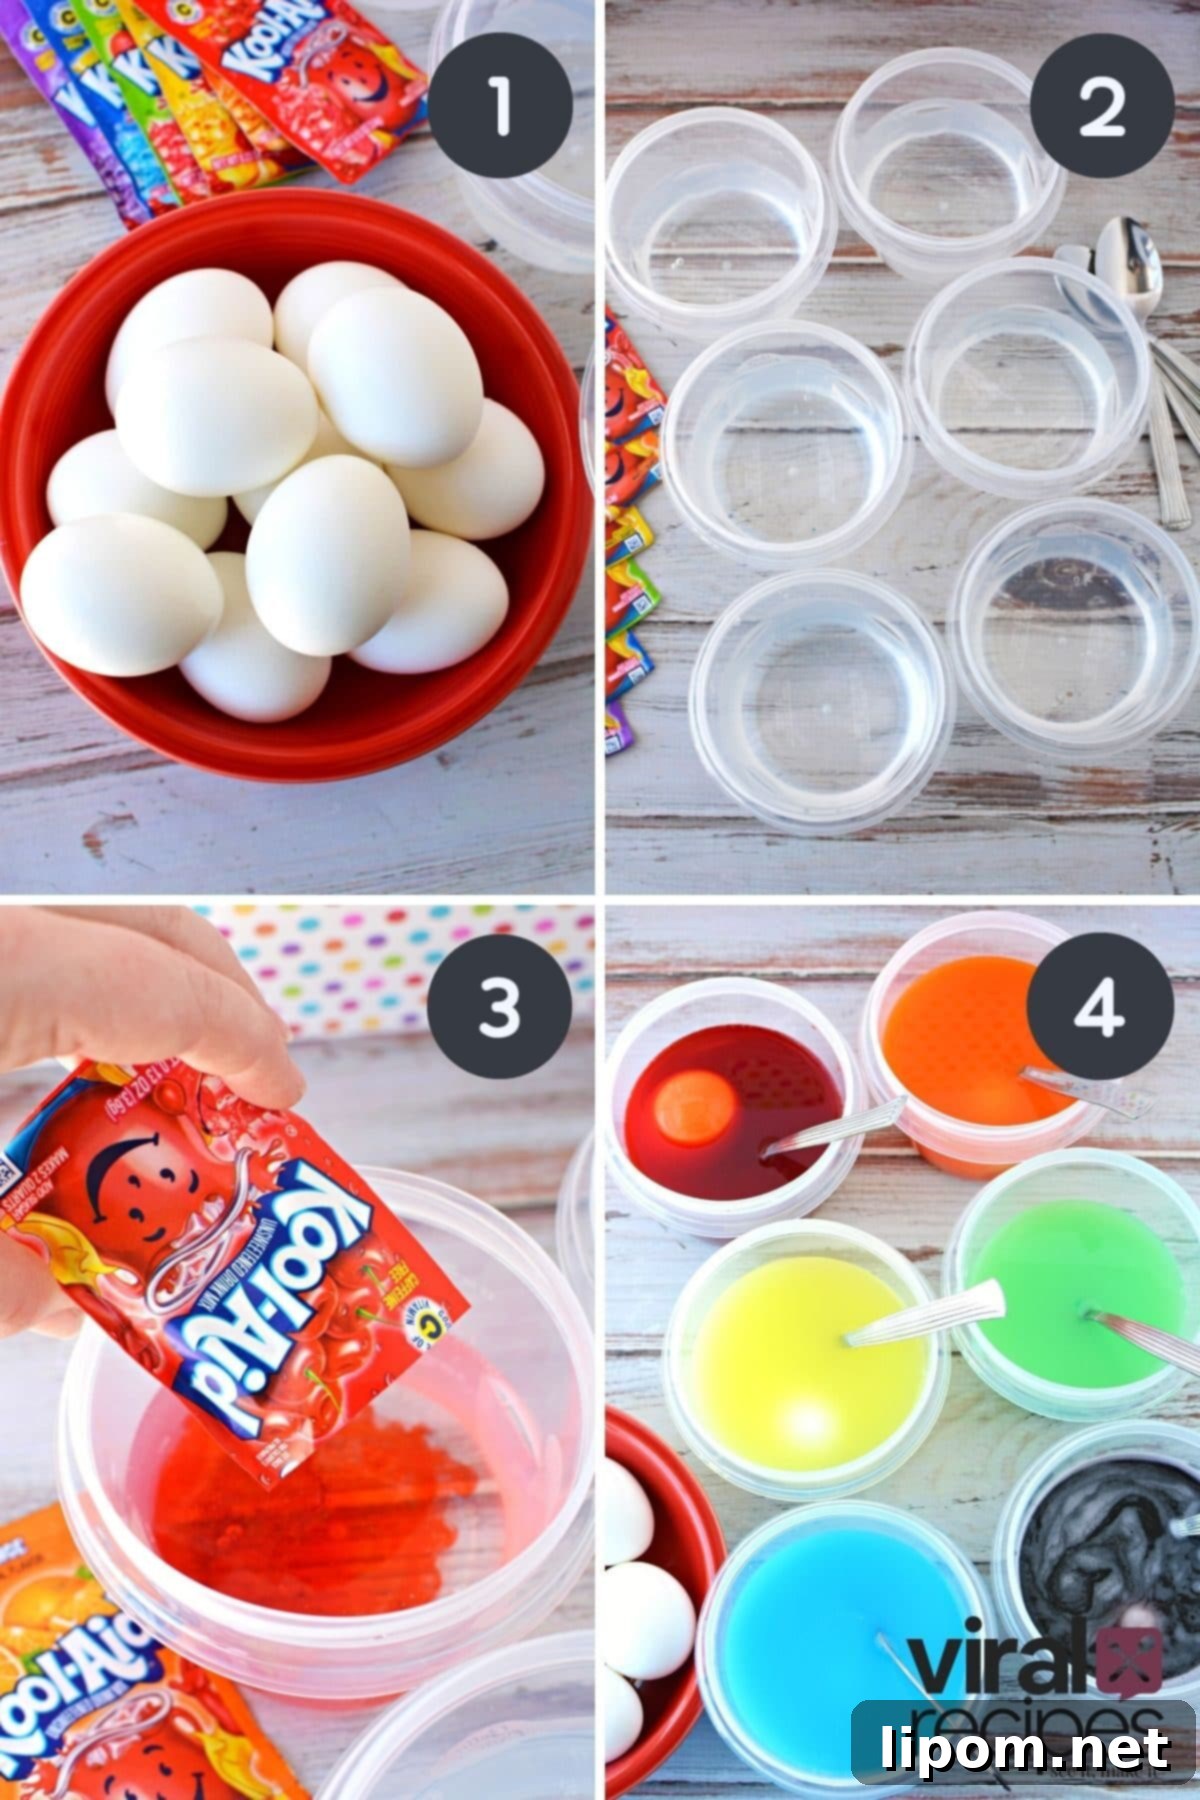
- Prepare Your Eggs: Start with hard-boiled eggs that have been completely cooled. Cold eggs are less prone to cracking and accept dye more evenly. If you wish to peel them before dyeing, you can, but it’s not necessary and often better to dye them in their shells. Once boiled and cooled, place your eggs in a bowl or on a tray, ready for dyeing.
- Set Up Your Dye Stations: Arrange six (or more, depending on how many colors you want) separate plastic containers on a protected surface. Pour exactly 1 cup of warm water into each container. This consistent measurement ensures consistent dye concentration across all colors.
- Mix Your Red Dye: Open one packet of cherry (or any red-flavored) Kool-Aid powder. Pour the entire packet into one of the containers with warm water. Stir thoroughly until the powder is completely dissolved, creating a vibrant red liquid.
- Mix Your Orange Dye: Take one packet of orange Kool-Aid powder and add it to a separate container with 1 cup of warm water. Mix well until no powder clumps remain.
- Mix Your Yellow Dye: For a vivid yellow, you’ll want to use two packets of lemonade Kool-Aid powder. Add both packets to another container with 1 cup of warm water and mix until fully dissolved. Using two packets helps achieve a richer, more noticeable yellow.
- Create Your Green Dye: Since green Kool-Aid can be hard to find, we’ll create our own! In a fresh container with 1 cup of warm water, add a generous ¼ teaspoon of blue raspberry (Berry Blue) Kool-Aid powder. Then, add one full packet of lemonade Kool-Aid. Mix very well. The combination of blue and yellow will magically create a beautiful green hue. Adjust the blue amount slightly if you want a deeper or lighter green.
- Intensify Your Blue Dye: If you’re using blue raspberry or Berry Blue Kool-Aid, pour the contents of one packet into a bowl. To ensure a deep, true blue rather than a pale shade, add a second packet of the blue Kool-Aid to the same bowl. Mix with 1 cup of warm water until completely dissolved.
- Mix Your Grape Dye: Finally, add one packet of grape-flavored Kool-Aid to the last container with 1 cup of warm water. Mix until it’s entirely dissolved. A note of caution: while grape often yields a lovely purplish hue, sometimes it can produce more of a brownish-grape colored egg, depending on the eggshell and concentration.
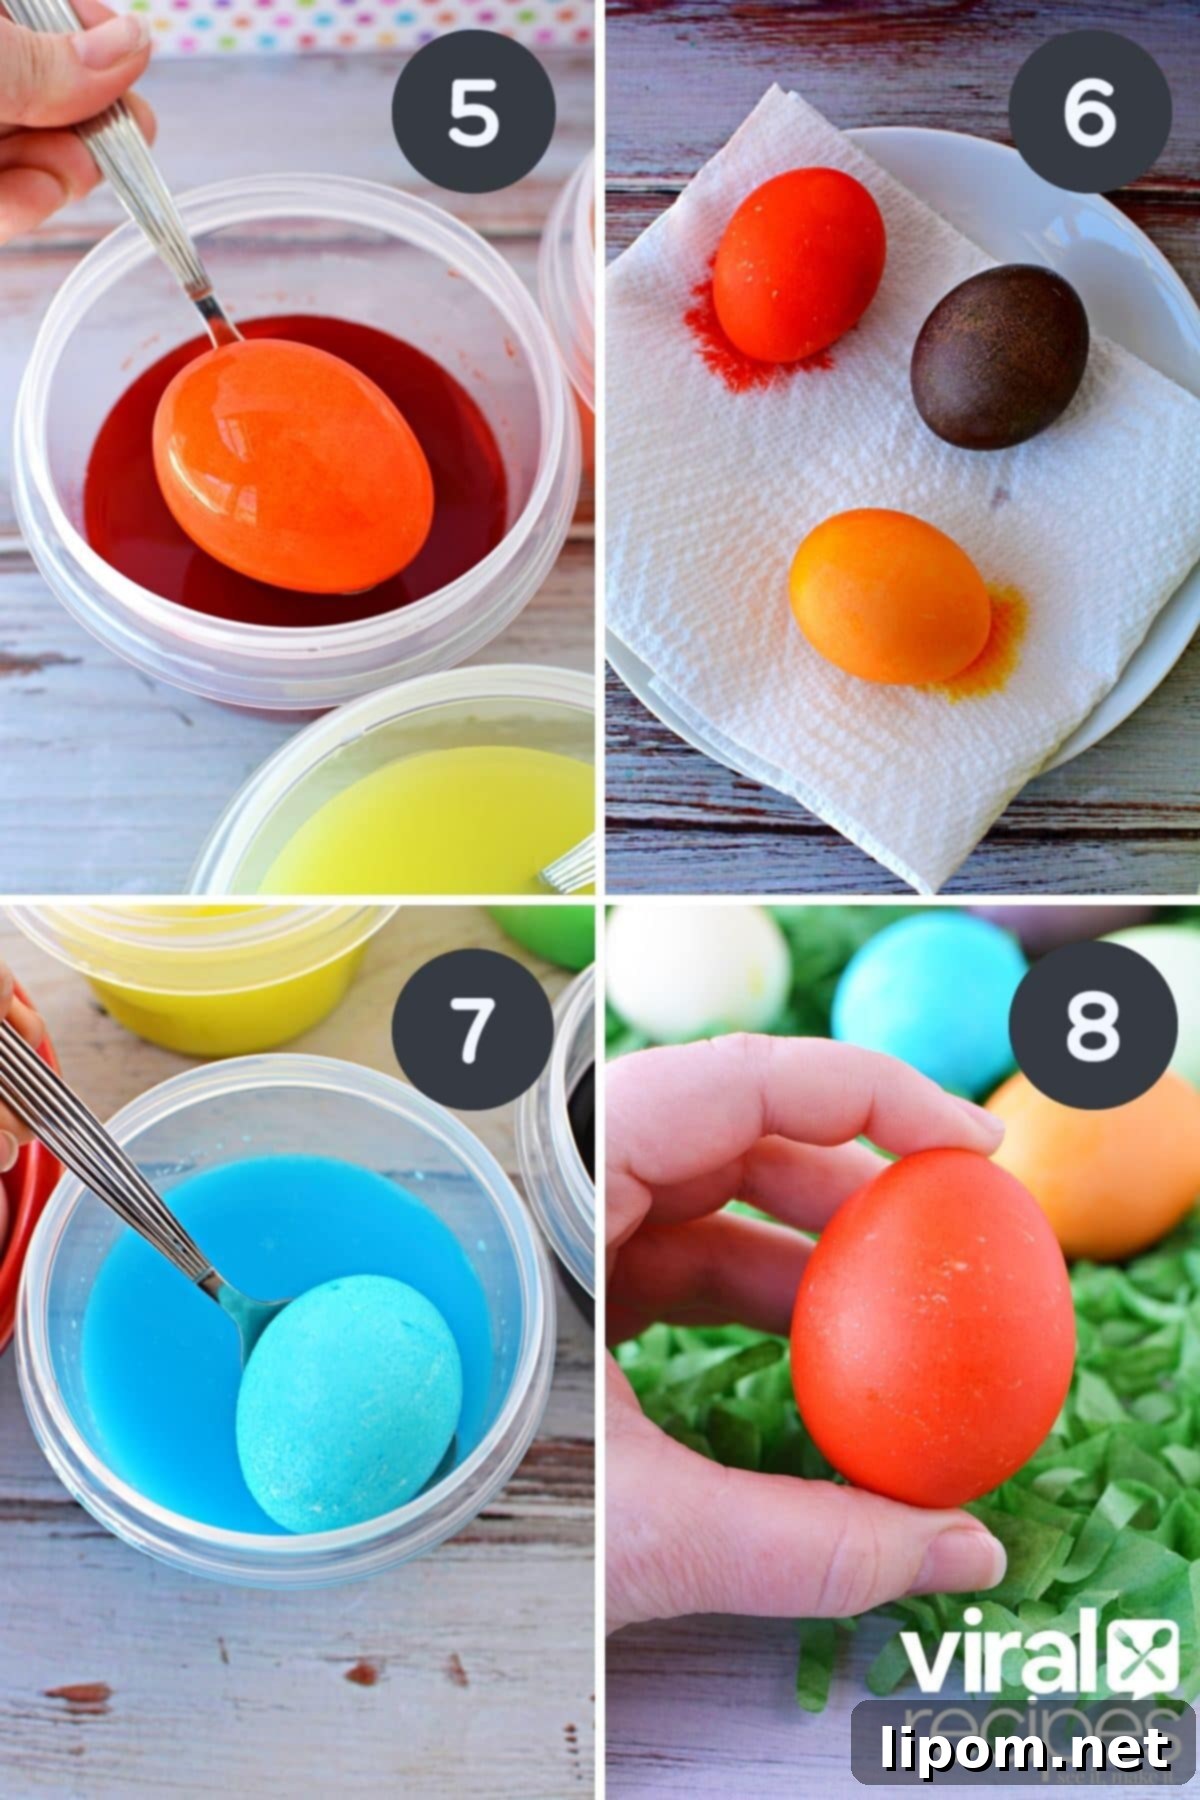
- Begin Dyeing Your Eggs: Carefully add one hard-boiled egg at a time to each bowl of colored water. Submerge the egg completely. Allow the eggs to sit in the dye for 2 to 5 minutes, or even longer for more intense, deeper colors. The longer the soak, the more vibrant the result. You can experiment with shorter dips for pastel shades or longer dips for rich, jewel tones. For interesting patterns, you can also partially dip eggs or gently swirl them.
- Remove and Dry: Once your desired color intensity is achieved, gently remove each egg from its dye bath using a spoon or tongs. Place the dyed eggs on a paper towel-covered baking sheet or a wire rack to dry completely. This prevents the colors from smudging and allows them to set.
- Repeat for More Eggs: Continue the Kool-Aid dyeing process with the remaining eggs, experimenting with different colors and soak times until you have your desired number of bright, beautiful Easter eggs.
- Store Your Creations: Once fully dry, store your colorful eggs in their original egg carton or an airtight container in the refrigerator.
Tips for Best Results & Creative Variations
- Clean Eggs: Start with clean, unblemished eggshells for the best dye absorption.
- Room Temperature Eggs: While cold eggs are fine, eggs closer to room temperature may absorb dye slightly faster and more evenly.
- Two-Tone Eggs: Dip one end of an egg into one color, let it set, then dip the other end into a different color for a fun two-tone effect.
- Marbled Effects: After mixing your Kool-Aid dye, add a teaspoon of vegetable oil to the cup and swirl gently before dipping the egg. The oil repels the dye, creating unique marbled patterns.
- Drying: Ensure eggs are completely dry before handling extensively or storing to prevent color transfer.
How Long Can Easter Eggs Be Left in the Fridge?
Dyeing Easter eggs is a joyous tradition every year, and it can be tempting to dye a large batch, perhaps thinking you can enjoy them throughout the entire month. However, when it comes to food safety, the USDA advises caution. Hard-boiled eggs, whether dyed or not, have a limited shelf life. For optimal safety and freshness, these delightful creations should be consumed within one week when stored properly in the refrigerator.
To ensure your Kool-Aid colored eggs remain safe to eat, store them in their original egg carton or an airtight container immediately after they have completely dried. Place them in the coldest part of your refrigerator. While the food-grade nature of Kool-Aid makes it safe to ingest, the eggs themselves are perishable. After a week, even if they look fine, it’s best to discard them. This timeframe gives you plenty of opportunity to enjoy them in various ways, such as in egg salads, deviled eggs, or simply as a nutritious and colorful snack!
Related Crafts and Recipes
The fun doesn’t have to stop with Easter eggs! If you enjoyed the simple and vibrant process of dyeing with Kool-Aid, there are many other creative avenues to explore. This craft is fantastic for sparking creativity and developing fine motor skills in children.
Before you go – Learn how to Dye Pasta too!
- If you loved this colorful craft, make sure to head over and learn how to dye pasta for play! This versatile tutorial is excellent for enhancing sensory skills, creating unique necklaces, or even gluing colorful pasta onto art projects and sheets. It’s another safe, budget-friendly, and incredibly engaging activity for kids.
- Consider exploring other kid-friendly Easter crafts like making homemade playdough in spring colors or creating adorable bunny-themed treats. The vibrant pigments of Kool-Aid can also be used for dyeing other materials, offering endless possibilities for imaginative play and artistic expression beyond just eggs.
Kool-Aid Easter Egg Dye: DIY & Examples
Ingredients
- 12 hard-boiled eggs
- 6 Kool-Aid Packets (as detailed in recipe: 1 cherry, 1 orange, 3 lemonade, 2 blue raspberry, 1 grape for a full spectrum)
Instructions
-
Ensure hard-boiled eggs are completely cooled before starting.
-
Place 1 cup of warm water into six different plastic containers, one for each color you plan to make.
-
For a vibrant red, place 1 packet of cherry Kool-Aid into a bowl and mix well until dissolved.
-
For bright orange, add 1 packet of orange Kool-Aid powder to a separate bowl, and mix well.
-
For sunny yellow, add 2 yellow (lemonade) Kool-Aid packets to a separate bowl and mix until dissolved.
-
To create green, add 1/4 teaspoon blue raspberry Kool-Aid and 1 package of lemonade Kool-Aid to a bowl and mix well.
-
For a deep blue, pour 2 packets of blue raspberry (Berry Blue) Kool-Aid into a bowl and mix until fully dissolved.
-
For grape, add 1 packet of grape Kool-Aid to a bowl and mix until dissolved. Keep in mind that grape often produces more of a brown-colored egg, depending on the eggshell.
-
For solid colored eggs, add hard-boiled eggs, one at a time, to each bowl and let set for 2-5 minutes, or until the desired color vibrancy is achieved. Longer soaking times result in deeper hues.
-
Carefully remove eggs from the dye with a spoon or tongs, and dry them on a paper towel-lined baking sheet or wire rack.
-
Repeat the dyeing process for all desired eggs, experimenting with colors and patterns.
-
Store your beautifully dyed eggs in a carton in the refrigerator for up to one week.
Nutrition
Nutritional Disclaimer: The nutritional data provided here is auto-calculated and intended for your convenience only. As it’s generated via automation, its accuracy may be compromised. For precise nutritional insight, please compute the values utilizing the actual ingredients in your recipe through your chosen nutrition calculator or application.
Sharing of this recipe is encouraged and appreciated. Copying of full recipe to any social media is prohibited.
Did You Make This Recipe?
Make sure to follow Salty Side Dish on Pinterest and rate the recipe here and make sure to leave a comment below!